Castlevania Lords of Shadow 2: City of the Damned
#18 Soldier Diary, #22 Chaos Gem

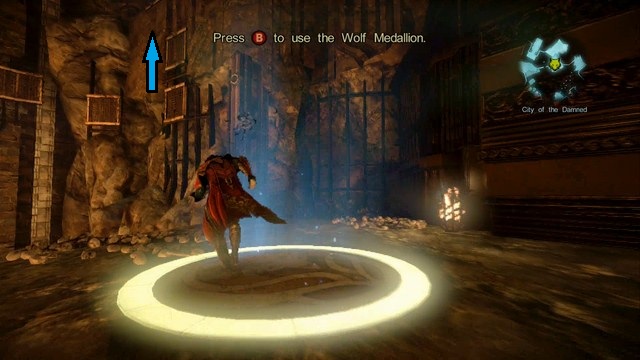
Stand on the altar to activate the White Wolf Medallion in such a way, so that there will be a statue in front of you and the Chupacabras' store to your left. In the distance you should be able to see a dim blue light. Go there and using the double jump get to a platform where you will find a Pain Box (Chaos Gem) and a corpse with a Soldier Diary.
After collecting them, go to the elevator located to the right of the Chupacabras' store building. Activate the device and wait for the doors to open.
#20 Pile of Sacrifice

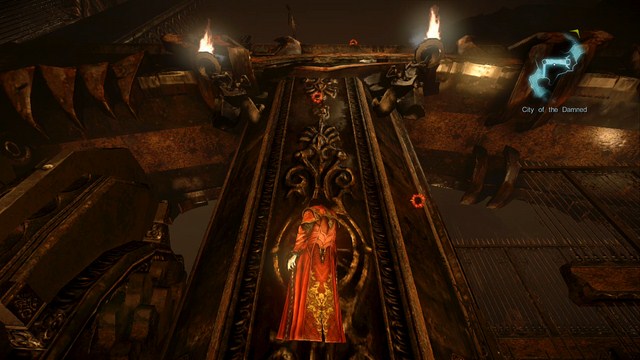
After you leave the elevator, come close to the edge (stand on a small ledge) and jump onto the wall in front of you. Climb up and get to the other column by moving to the left. Watch out for blades and flowing lava - if you get hit, there's still a chance to save yourself from going back to the save point by using your second jump. After reaching the second column, go up a little (instead of continuing to the left). Notice the hole in the fence to your right - you can jump there to get to a Pile of Sacrifice, from which you will collect an upgrade to the Stolas' Clock relic.
#23 Chaos Gem
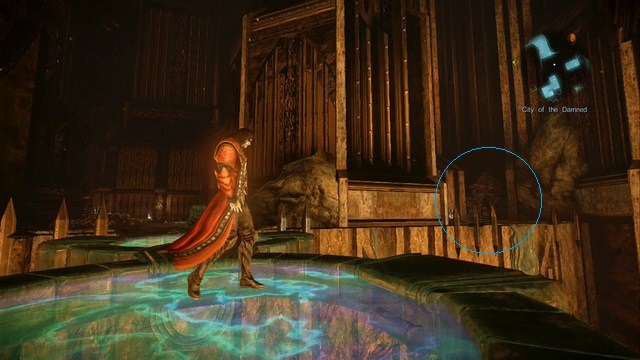
Get back on the column and climb all the way up, to stand on top of the wall. From there, move to the left, stand on the edge and look ahead - you will see a narrow ledge there. Jump onto it, move to the other side and collect a Chaos Gem from a Pain Box.
#15 Keyhole for a Dungeon Key

Jump down and move close to the wall again (standing on the ledge) - turn your camera to the left, where you should see a keyhole. Use your double jump to get there, activate the mechanism with a Dungeon Key and collect 2,000 points of experience.
After collecting all the items near the wall, go into a room with devices activated by Dracula's blood. To get there, stand on the ledge in front of the wall (the keyhole you just activated should be to your left) - the mentioned room is right behind you, you just need to use a Chaos Bomb to bring the platform down.
#16 Keyhole for a Dungeon Key

When you enter the room, active the device to your left (ignore the one in front of you, leading to a narrow passage). Leave the room through the passage you just opened and you should see an altar to active the White Wolf Medallion. Go there, but don't activate it - instead, climb the wall all the way up to reach a keyhole for a Dungeon Key.
#17 Keyhole for a Dungeon Key
Collect the experience boost and get back to the altar and stand on the edge in the opposite direction to the place where you've just activated a keyhole (behind you will be the altar and to your right the lava-spitting vents). Jump over the lava to the other side, get into the hole and climb up on the other side. Soon, you will be in the chamber where you had to free the Chupacabras.

Activate the first device and extend the bridge all the way to the front. Afterwards, stand on the middle of the bridge, turn around and you should be able to see a keyhole for a Dungeon Key in the distance, slightly to the right. You access it by extending the bridges or simply by using your double jump - jump near the mechanism in front of you and then jump again to reach the keyhole. Collect it, find a Map Room (near Chupacabras' store) and transfer to Overlook Tower.
- Castlevania: Lords of Shadow 2 Game Guide & Walkthrough
- Castlevania Lords of Shadow 2: Game Guide
- Castlevania Lords of Shadow 2: Collectibles - second pass
- Castlevania Lords of Shadow 2: Downtown
- Castlevania Lords of Shadow 2: Victory Plaza
- Castlevania Lords of Shadow 2: Arts District
- Castlevania Lords of Shadow 2: Sciences District
- Castlevania Lords of Shadow 2: City of the Damned
- Castlevania Lords of Shadow 2: Overlook Tower
- Castlevania Lords of Shadow 2: Bernhard's Wing
- Castlevania Lords of Shadow 2: Carmilla's Lair
- Castlevania Lords of Shadow 2: Collectibles - second pass
- Castlevania Lords of Shadow 2: Game Guide
You are not permitted to copy any image, text or info from this page. This site is not associated with and/or endorsed by the developers and the publishers. All logos and images are copyrighted by their respective owners.
Copyright © 2000 - 2026 Webedia Polska SA for gamepressure.com, unofficial game guides, walkthroughs, secrets, game tips, maps & strategies for top games.
