Castlevania Lords of Shadow 2: Mission 9 - The Second Acolyte

The mission starts in the place you were just before the fight with Inner Dracula. In front of you there's a building you must go to, but before it you have one other thing to do - turn around to the right and notice a truck blocking the street. You couldn't get there earlier, but now you have your double jump and the situation has changed. Go there, jump over the truck and collect a Void Gem from a Pain Box.
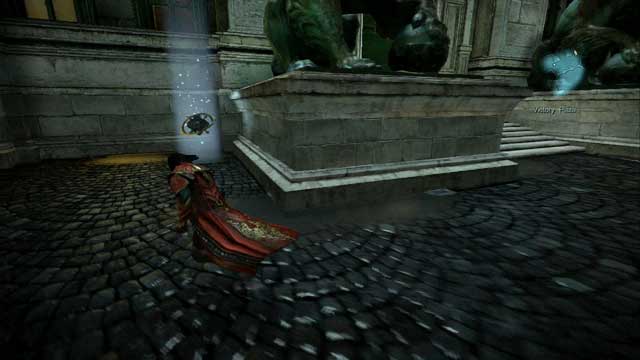
After collecting the gem, head towards previously mentioned building and jump over the hole in the wall. There are two sculptures in front of the building - near the right one there's a hatch you need to go through in your quest, and near the left one there's a Pain Box containing a Life Gem. Collect the gem and enter the hatch on the right side.
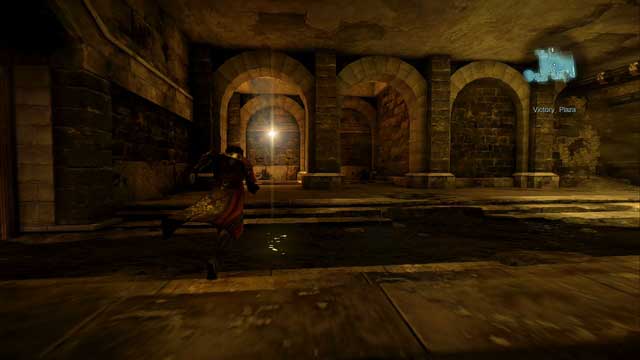
You will land in a sever-like location - go in the only available to you direction until you arrive in a room with a save point. Stand above the airflow on the left side of the room and use your Mist power to get to the upper level, where another stealth section awaits you. In the room there are 3 Golgoth Guards - two are patrolling the room and one is blocking the stairs where you have to go.
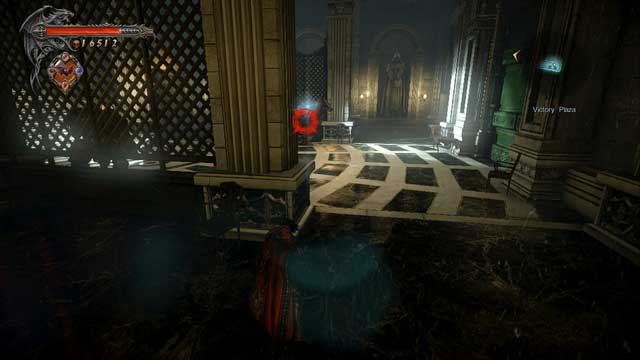
Use your Bat Swarm on one of the patrolling guards (the one standing further away from you) to distract him and the one that will arrive to help him, allowing you to get past them to the other side of the room - to get there you can possess the other guard or use Mist to slip near them undetected. After reaching the other side, stand above the grid without the airflow (closest to the elevator) and use your Mist power again to get to the lower level.
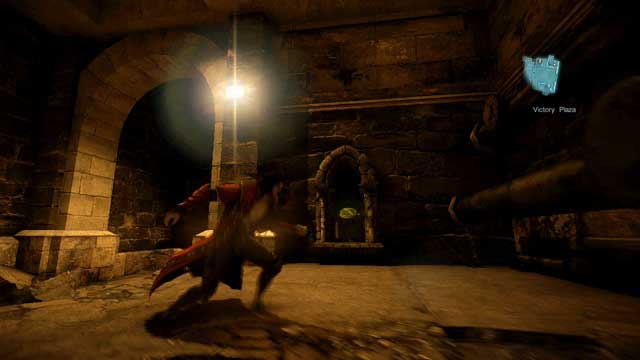
You will get into a room with a Memorial. Collect it and use a nearby Shadow Portal and cross the narrow tunnel below ground to get to another room. After reaching it, use a Shadow Portal to regain your form and activate a nearby keyhold with a Dungeon Key to collect experience points. Afterwards, get back to the room with a Memorial and use the airflow to get back to the room with Golgoth Guards.
Stand behind the pillar, near the grid you used to get to the lower level and throw a Bat Swarm at the guard standing on top of the stairs. You need to choose an ideal moment, in which both of the patrolling guards won't be looking in your direction and rush towards the stairs - slip through him by using your Mist power. After reaching the other side the door will be closed and you will have to face a laser-protected section.
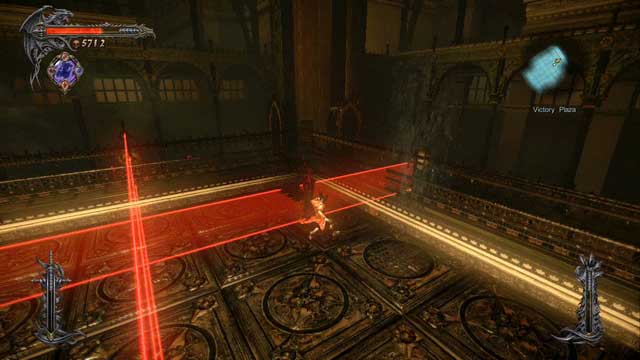
In the distance you should be able to see an airflow extracting from the floor - it is where you must go and use your Mist power to get through the ceiling. A few tips to make it more simple:
- You can't slip past the laser sensors using the Mist power - the only way to avoid them is to jump over them. Your biggest enemy here is the camera - you will certainly fail a jump which you thought was going to be perfect.
- There are sensors on the floor too - after standing on any of the plates, a circle will start to fill. When the circle outline will be complete, an alarm will be activated. When you are not standing on a particular plate, the outline will slowly disappear.
- Sounding the alarm is equivalent to a painful return to a save point - you can "outsmart" the alarm, giving yourself a few extra seconds while being in the form of Mist, because you can't be targeted while maintaining it.
By trial and error you should soon be able to get to a plate with the airflow - use your Mist power to get to the upper level. After arrival, use nearby Magic Font and statue to replenish your Magic and health and enter the elevator. After arriving at the top, follow Trevor into the corridor on the left side - you can't do much here at the moment, but you will return to this place in a moment. Go back to where you met Trevor and enter the room indicated by the marker on the map, to initiate a cutscene (notice a Pain Box behind Dracula).
After regaining control over your character, you will notice that Dracula is severely weakened and you can't fight. Drag the Acolyte to the arena-like room that you were in previously with Trevor - it will initiate another cutscene and a boss fight will begin.
Boss - Second Acolyte / Raiders of the Storm

This fight is rather unusual, as you won't be fighting the boss himself but with a three monsters controlled by him. It means a three versus one fight, but often appearances are deceptive and the battle is a lot easier than you would ever think.
Three Raiders of the Storm are equipped with:
- Huge battering ram - this foe is characterized by strong, but very slow attacks, which are easy to block (provided that he uses a blockable attack). If you get away from his melee distance, he will start attacking you with ranged energy attacks, which are very easy to dodge, but you shouldn't try to block them. During close combat pay attention to his weapon - if he rises it above his head, it means that he's preparing a stomp-like shockwave attack. After a short while he will smash his weapon to the ground, creating a shockwave which will spread in every direction - you need to jump over it to avoid the damage.
- Spear - this enemy has weaker attacks than his ram-wielding ally, but they are a lot faster at the same time. Besides that, the enemy can use the element of Wind, which he will constantly use in his attacks - two of them are ranged, unblockable, grab-like attacks, which initiate QTE sequences if you get caught by them.
- Sword - similar to spear-wielding raider, this one has weaker attacks but he moves a lot faster. Aside from that, he can use electricity in his attacks.
Concentrate on the ram-wielding enemy - his attacks are the slowest and less problematic from the boss' trio. When he prepares an unblockable attack, simply jump over him and when he raises his ram in the air get away from him and jump over the shockwave. While fighting him, you must pay attention to his allies, who will constantly attack you from afar.
When the health of the Acolyte drops to 2/3 value, a cutscene will initiate, during which the sword-wielding enemy will be destroyed - his power will be absorbed by the one wielding a spear, which will enable him to use both wind and electricity in his attacks. After that the second stage of the fight begins, which is identical to the previous - the only difference is that you will have one less enemy to worry about. Bring the Acolyte's health to 1/3 initiates another cutscene, after which you will be one on one versus the ram-wielding monster.
After the death of his comrades, he gets charged with both electricity and wind, which give his abilities a slight boost - most of his attacks are now unblockable. He also acquired two additional attacks: first one, in which he spins around with his ram (you have to jump over this attack to avoid getting hit) and the second one is just an upgraded version of his shockwave attack - the shockwave is now simply bigger and it's harder to jump over it. Keep attacking him to drop his health down and when it goes near zero, he will jump back to the opposite side of the arena and you job will be to get close to him, avoiding his energy attacks. When you finally get close, a QTE sequence will initiate, after which the fight will end.
- Castlevania: Lords of Shadow 2 Game Guide & Walkthrough
- Castlevania Lords of Shadow 2: Game Guide
- Castlevania Lords of Shadow 2: The Main Campaign - walkthrough
- Castlevania Lords of Shadow 2: Prologue - Castle Siege
- Castlevania Lords of Shadow 2: Mission 1 - Bioquimek Corporation
- Castlevania Lords of Shadow 2: Mission 2 - The Three Gorgons
- Castlevania Lords of Shadow 2: Mission 3 - The Antidote
- Mission 4 - Next Stop: Castlevania
- Castlevania Lords of Shadow 2: Mission 5 - The Blood Curse
- Castlevania Lords of Shadow 2: Mission 6 - The Antidote II
- Castlevania Lords of Shadow 2: Mission 7 - Pieces of a Mirror
- Castlevania Lords of Shadow 2: Mission 8 - The Hooded Man
- Castlevania Lords of Shadow 2: Mission 9 - The Second Acolyte
- Castlevania Lords of Shadow 2: Mission 10 - The Mirror of Fate
- Castlevania Lords of Shadow 2: Mission 11 - Revelations
- Castlevania Lords of Shadow 2: The Main Campaign - walkthrough
- Castlevania Lords of Shadow 2: Game Guide
You are not permitted to copy any image, text or info from this page. This site is not associated with and/or endorsed by the developers and the publishers. All logos and images are copyrighted by their respective owners.
Copyright © 2000 - 2026 Webedia Polska SA for gamepressure.com, unofficial game guides, walkthroughs, secrets, game tips, maps & strategies for top games.
