Castlevania Lords of Shadow 2: Mission 6 - The Antidote II

Use your freshly acquired ability, to get through the bars, and then stand above the airflow and use the Mist power again - it will allow you to get to the upper level. Replenish you Magic by the Magic Font, climb up the scaffolding, and then, hanging in the airflow, use Mist yet again, to get to the other side.
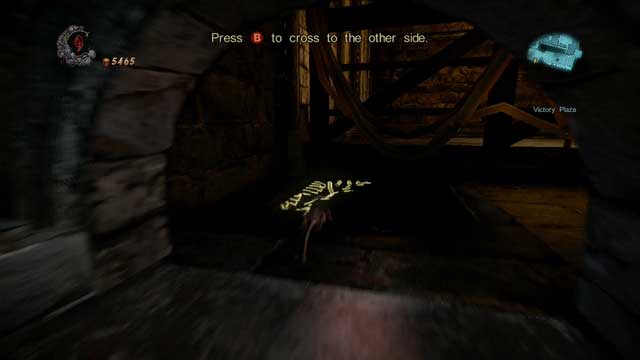
You will land on a Shadow Portal - use it, to get into your rat form and get inside the nearby grid. Go through the tunnel, until you reach a place where you can jump down through a hole in the ground - turn to the right, ignoring the hole, to reach a room with a Pile of Sacrifice (containing a Kleidos' Nail), which will unlock a first set of challenges for you (remember: you can access them in the Chupacabras' store). Collect the treasure and run back to the place with the hole in the ground - jump through it, until you reach a familiar Pain Box located on the roof (it contains a Void Gem). Use a nearby Shadow Portal to get into your Dracula form and collect it.
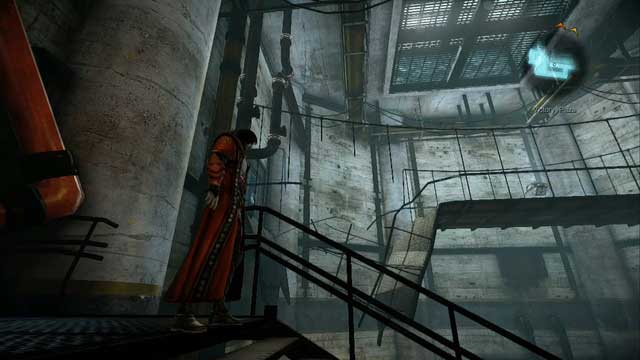
A little bit of backtracking awaits you now - you will go for a collectible you left behind a few missions earlier. Use a Dodo Egg if you want to make it easier for you. Jump down the roof and get all the way back to the room in which you restored power with Zobek's Lieutenant (where you had to tear the cables apart) - to get there, climb up the scaffolding (to the opposite of the place from which you collected a Void Gem a second ago), and in the next room, where you had to climb a lot, jump down and go straight ahead. Pass through the bars by using your Mist power and climb up the ladder (remember about the keyhole for a Dungeon Key, which is located near the ladder), until you reach the room in which you fought Satan's Soldier. Deal with all the enemies chasing you and climb up the scaffolding. Use your Mist power to pass through the bars in front of you, which will allow you to get to a Pain Box with a Life Gem inside.
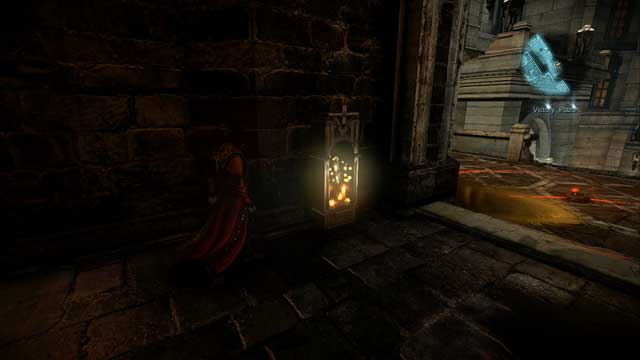
Get all the way back to the place in which you activated a Shadow Portal (after going through 2 airflows with your Mist power) and head towards the marker on the map - in the next room you will find a Memorial, and a freshly placed proximity mine at the entrance. The mine will immobilize you for a short while upon detonation. Jump down on the square below, to summon the enemies, with more proximity mines. An effective method of dealing with them is to "go through them with your dodge" - use it at the last second, the moment you get into the mine's range, to avoid taking damage and getting immobilized.
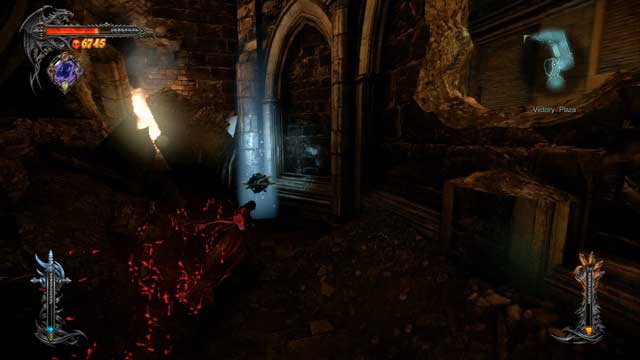
After dealing with the enemies, head towards the marker on the map and climb up the wall of a building with a Windrunner signboard on it (to the left of your actual position, there's a truck, behind which you will find a Pain Box - you can't reach it just yet) to get to the other side. Jump into the hole on the right side of the street (to the opposite direction to the marker on the map) - you will find a Pain Box (with a Chaos Gem inside) there, as well as a door leading to a Map Room. Collect the gem and head towards the waypoint. Find a grid you must slip through by using your Mist power, to get to a lower level. All you have to do now is to restore the power and get inside the elevator.
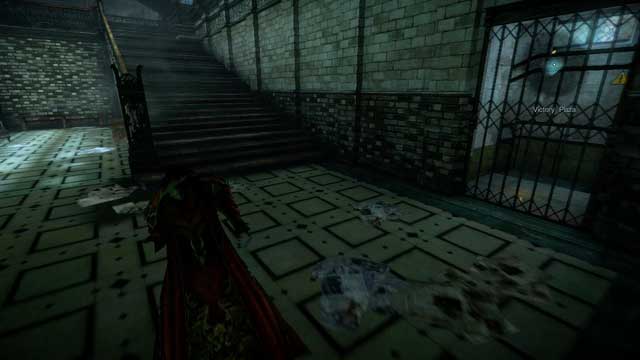
You will enter a building consisting of several floors - your job here is to get to the top floor, obviously. Don't run up the stairs - instead, mist through the bars on your right, where you will find a Pain Box with a Chaos Gem inside. Collect it, go back to the stairs and then go to the left side, use your Mist power to get through the bars blocking your way and flip the switch, to restore the power to the elevators in the building - note, that the power will shut down after a while, so you will have to come back and turn in back on at least a few times in this section.
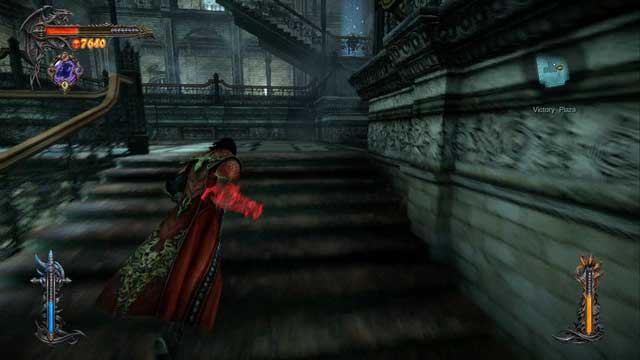
After restoring the power, run up the stairs and notice a Pain Box in the distance, located on damaged stairs. Get rid of the nearby enemies and collect a Void Gem from the mentioned Pain Box. Afterwards, head towards the elevator marker by the waypoint - to reach it, you will have to mist through the bars on the other side of the floor (opposite the marker on the map). After passing through them, deal with another group of enemies, collect a nearby Memorial, and enter the elevator (you must use Mist to get inside), to get to the upper floor (provided that the power is still there).

After leaving the elevator, go to your right - you will encounter another group of enemies and a Memorial to collect. Grab the treasure, go back to the elevator and head to the corridor on the left side. At its end, slip through a grid on the ground to get to another room - climb up the destroyed wall in front of you and run towards the marker on the map, to the second elevator. If the power is down, you will have to repeat the whole process. Either way, use the elevator to get to the second floor.
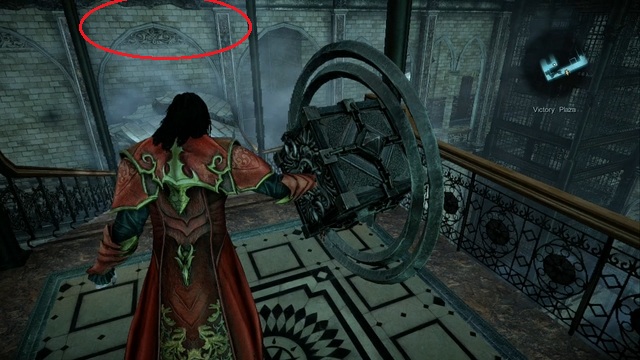
Leave the elevator and go to the right, but don't go into the corridor marked by the waypoint - instead, go straight ahead. Jump over a series of gaps, to get to a Pain Box with a Life Gem inside. To the left of your current position there's a Pile of Sacrifice - to get there, you will have to jump onto a thick wall, and run across it to get to the collectible (the above screen marks the mentioned wall). You won't get a Kleidos' Nail - this time you will be awarded with an upgrade to your Ensnared Demon relic, increasing the amount you can carry at a time (from 3 to 4). There's another Pain Box on this floor, but you can't reach it at the moment, so just ignore it and head towards the marker on the map, to initiate a cutscene.
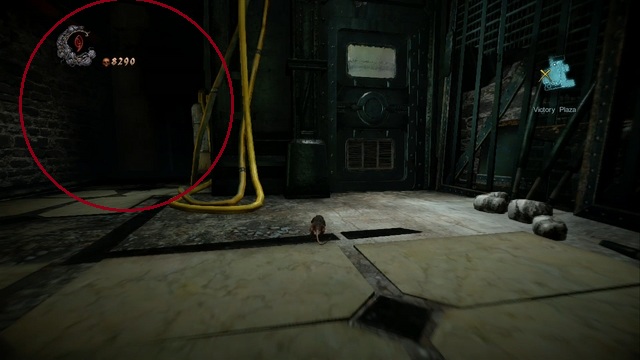
You will encounter another stealth section. Find the nearby Shadow Portal and go through a grid to get into a room with a Golgoth Guard. Locate the door from which the technicians enter the room - to the left there's a second Shadow Portal. Go near and use it and wait for your prey. As soon as the technician enters the room, sneak up on him and possess him. Afterwards, get inside the room the civilian was planning to enter. A series of cutscenes will initiate, after which you will encounter yet another boss.
Boss - Raisa Volkova, Satan's Daughter
After Carmilla's boss fight, this encounter will be a child's play. During the fight, Raisa will use the following attacks:
- Charge attack - an attack which you can't block, but it's slow enough for you to dodge it with ease.
- Different combinations of melee attacks - all are quite slow and you can block most of them, which should open her to your counterattack.
- Stomp - Raisa will smash the ground, creating a shockwave spreading in all directions. To avoid it you just have to jump over.
- Attacks using waves of energy - the only dangerous attack in her arsenal. Regardless of the distance between you and Raisa, she can (and will) send a wave of energy, which you cannot block - the only way to avoid taking damage is to dodge it. Just before she attacks, her wings will start to glow bright purple - if you are close to her you must immediately get away, as you can't dodge this attack if you are close to her.
- Attacks using energy projectiles (when she starts using after her health bar goes below 2/3) - from time to time she will jump up on the ledge and starts shooting energy projectiles resembling a mortar at you. Be on the move all the time and you should be safe from this attack, and even if you are hit with some of them, those projectiles deal minor damage. If you want to attack Raisa when she does that maneuver, use your Chaos Bombs.
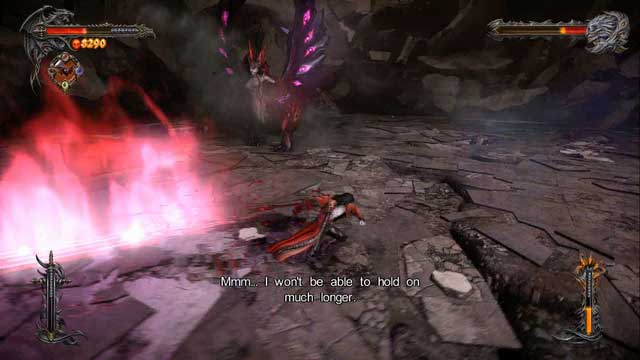
By using the above tips you shouldn't have any problems with defeating her - try to stay close to her and avoid her charge and energy attacks and she will pose no threat. After the boss drops dead, you will be transported to a new location.
- Castlevania: Lords of Shadow 2 Game Guide & Walkthrough
- Castlevania Lords of Shadow 2: Game Guide
- Castlevania Lords of Shadow 2: The Main Campaign - walkthrough
- Castlevania Lords of Shadow 2: Prologue - Castle Siege
- Castlevania Lords of Shadow 2: Mission 1 - Bioquimek Corporation
- Castlevania Lords of Shadow 2: Mission 2 - The Three Gorgons
- Castlevania Lords of Shadow 2: Mission 3 - The Antidote
- Mission 4 - Next Stop: Castlevania
- Castlevania Lords of Shadow 2: Mission 5 - The Blood Curse
- Castlevania Lords of Shadow 2: Mission 6 - The Antidote II
- Castlevania Lords of Shadow 2: Mission 7 - Pieces of a Mirror
- Castlevania Lords of Shadow 2: Mission 8 - The Hooded Man
- Castlevania Lords of Shadow 2: Mission 9 - The Second Acolyte
- Castlevania Lords of Shadow 2: Mission 10 - The Mirror of Fate
- Castlevania Lords of Shadow 2: Mission 11 - Revelations
- Castlevania Lords of Shadow 2: The Main Campaign - walkthrough
- Castlevania Lords of Shadow 2: Game Guide
You are not permitted to copy any image, text or info from this page. This site is not associated with and/or endorsed by the developers and the publishers. All logos and images are copyrighted by their respective owners.
Copyright © 2000 - 2026 Webedia Polska SA for gamepressure.com, unofficial game guides, walkthroughs, secrets, game tips, maps & strategies for top games.
