Castlevania Lords of Shadow 2: Mission 5 - The Blood Curse

After regaining control, turn around - behind the bars you will see a Pain Box, but you can't reach it at this moment, because, again, you lack a necessary skill to do so. Go in the only available direction - ahead - to initiate a cutscene. After it, you will notice that Carmilla poisoned you - your health bar now has a purplish shade. Part of the damage you will receive in this state will decrease your health bar permanently - you won't be able to regenerate it through feeding on your enemies, using relic or healing by a statue. Because of that, you will have to rely more on dodging than on blocking attacks. Soon after the cutscene you will face a new enemy - Bloody Skeleton. They are typically cannon fodder, if not for three things - they can (and in most cases will) wield a shield, which will block your normal (non-chaos) attacks, they aren't staggered by your attacks (they can attack you even during your combos - very few attacks can stagger them), and last but not least, after "dying" they will turn into a bloody pulp. During that phase, they will look around for a usable corpse - if they will succeed in it, they will be resurrected, as many times as there are corpses nearby.
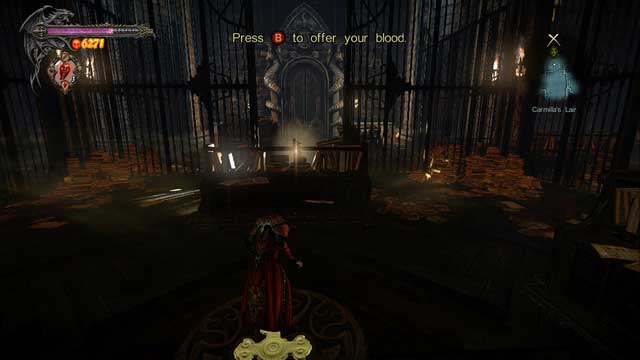
Soon after the fight, another cutscene will initiate - your health will be regenerated, but you are still poisoned, so keep on dodging attacks instead of blocking them to avoid unnecessary damage. You will face one of the most difficult fragments in the game - a stealth section, in which you must activate 4 devices scattered around the room. Their locations resemble an inverted cross - you start near one of them, two are on both sides and one is in front of you, from where Carmilla comes. To active all of them, you will have to move in such a manner, so that Carmilla won't spot you - if that happens, you will be locked on a small ring-like space and two Dishonored Vampires will come to attack you. It is important to note that Carmilla can deactivate devices, so you will have to do it numerous times.
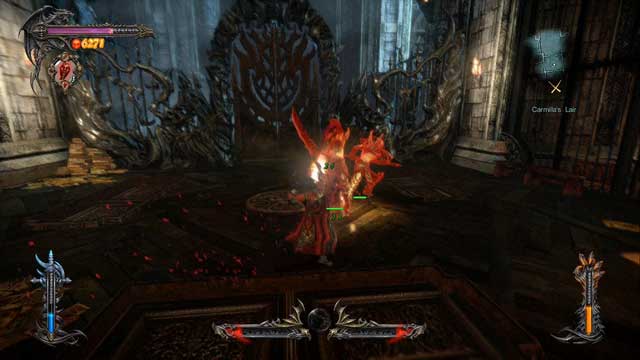
This spot is ideal for experience farming and mastering your skills - after getting spotted by Carmilla, a fight will await you, after which you will get back to the stealth section. You can repeat the whole process infinite number of times, without any consequences - if you devote several dozens of minutes, you will get enough experience to unlock most (if not all) and master some of your skills. The only flaw in this plan is that your health won't regenerate - if you're not careful, you will be killed and transported back to the save point, losing all the accumulated experience. Therefore, if you plan on staying here for a longer time, you will have to be extra careful and switch yourself into dodging, instead of blocking attacks. A good tactic against Dishonored Vampires is to knock them up into air and defeat them in aerial combat, where they can't counterattack. Use your Stolas' Clock relics if you need an additional boost to experience.
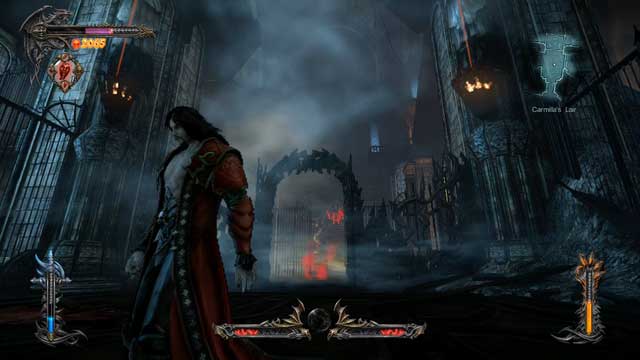
After getting through the stealth section and unlocking the gate, you will certainly notice that there are lots of collectibles all around you - unfortunately, you lack the necessary skills to be able to get to any of them, that is why you should ignore them for the time being and go through the newly opened gate, to activate a device inside (to the left of the device you will notice a Pain Box, but like the rest of collectibles, it's beyond your reach).
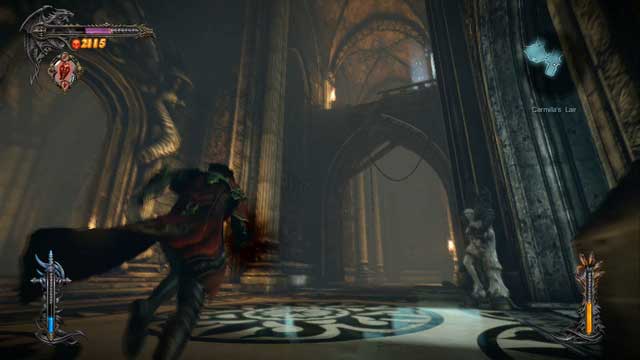
After opening the next door, go through them, collect the heart from the statue (which probably won't heal you much), and then turn to the left (from the statue) - climb up, where a Pile of Sacrifice, with a Kleidos' Nail, awaits. Collect it, jump down and go through a passage behind the statue.
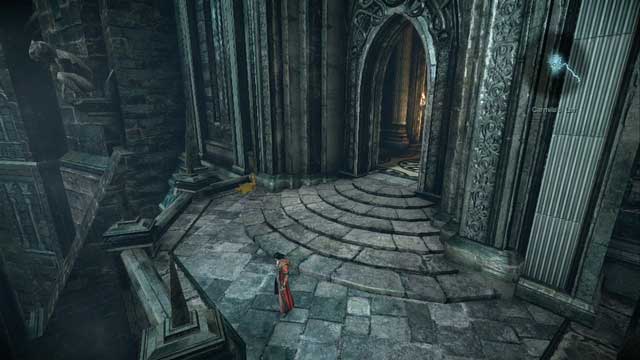
After going outside, turn the camera to the side - to the left of the passage you just went through, there's a Soldier Diary lying by the corpse. Collect it and go towards the marker on the map, where a cutscene will be initiated, after which you will have to make a choice (Marie standing on the right is the proper one). After that, the most difficult boss fight (at least to this moment) awaits you.
Boss - Carmilla
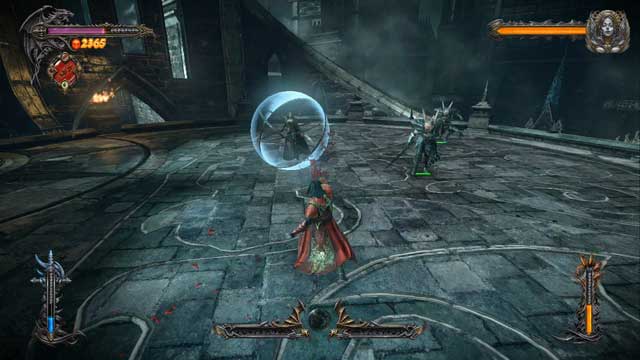
Carmilla is the toughest foe you have come across (and one of the most difficult battles in the game). There are several reasons to that - your life diminishes permanently each time you are hit and Carmilla is accompanied (almost all the time) by two Vampires. To make matters worse, she surrounded herself with a shield bubble - you can penetrate it only with the Chaos Magic. There's more - you must attack the shield all the time, because it will regenerate if left untouched for a brief moment. And you have to break the shield twice to get to her.
If you finally destroy her annoying bubble, the fight will become a hell lot easier. Carmilla is too fast for you and she will teleport away whenever you will try to close the distance to her - you have to use Void Projections to freeze her, which should allow you to hit her a few times. Rinse and repeat until her health drops to 2/3 - Carmilla will multiply herself, creating 8 identical copies and will surround you with a special, impassable to you, barrier. At this point you have two tasks: avoid her attacks (you have to jump over them) and attack her clones (a few strikes will destroy each one).
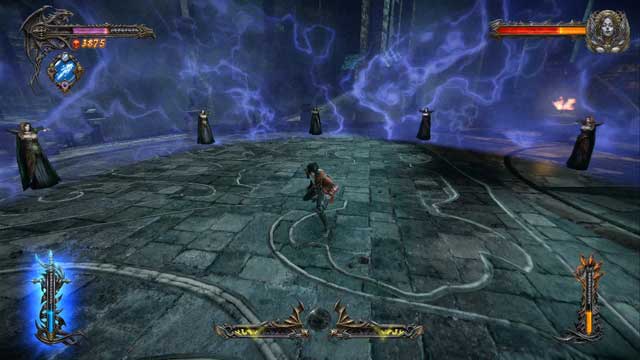
After destroying all her clones, Carmilla will summon a ghost, which will attack you each time you will try to get close to her - to prevent that from happening use Void Projections again to simply freeze her, which will allow you to freely attack her. You will soon discover that you have stolen Carmilla's power - Mist Form - which allows you to turn into mist. It helps a lot during some of the fights (for instance with Carmilla's ghost - if it grabs you, use your Mist power to get away) and is primarily used to pass through certain objects, like metal bars. During this fight, mist for can be used to something else - whenever your health drops below 50%, you will be told to get near Marie (you have to pass through the bars with Mist power) and feed on her, regenerating your health to full. At this point the fight is basically over, as you can do this infinite amount of times - the only limit is a short "cooldown" between feedings.
A few tips which may come in handy during the process of breaking through her shield bubble:
- Ignore the Vampires accompanying Carmilla - even if you kill them, another ones will come after a few seconds. The only reason to fight them is to fill your focus bar to replenish your Magic.
- If you start attacking her shield bubble (remember, only Chaos Magic works on it), don't stop the assault - attack relentlessly and try to avoid enemy attacks. The longer it takes to break through her shield bubble, the lower the chances of success are, because your Chaos Magic is limited, not mentioning your health bar.
- If you have an Ensnared Demon relic on you, use it - for 30 seconds you will have an unlimited supply of Chaos Magic, which should allow you to easily break through her shield.
By using the above tips you should soon be able to defeat Carmilla and finish the fight in a brutal style. After the fight, go all the way back to the device you activated after the stealth section with Carmilla - a cutscene will initiate and you will be transported back to the city.
- Castlevania: Lords of Shadow 2 Game Guide & Walkthrough
- Castlevania Lords of Shadow 2: Game Guide
- Castlevania Lords of Shadow 2: The Main Campaign - walkthrough
- Castlevania Lords of Shadow 2: Prologue - Castle Siege
- Castlevania Lords of Shadow 2: Mission 1 - Bioquimek Corporation
- Castlevania Lords of Shadow 2: Mission 2 - The Three Gorgons
- Castlevania Lords of Shadow 2: Mission 3 - The Antidote
- Mission 4 - Next Stop: Castlevania
- Castlevania Lords of Shadow 2: Mission 5 - The Blood Curse
- Castlevania Lords of Shadow 2: Mission 6 - The Antidote II
- Castlevania Lords of Shadow 2: Mission 7 - Pieces of a Mirror
- Castlevania Lords of Shadow 2: Mission 8 - The Hooded Man
- Castlevania Lords of Shadow 2: Mission 9 - The Second Acolyte
- Castlevania Lords of Shadow 2: Mission 10 - The Mirror of Fate
- Castlevania Lords of Shadow 2: Mission 11 - Revelations
- Castlevania Lords of Shadow 2: The Main Campaign - walkthrough
- Castlevania Lords of Shadow 2: Game Guide
You are not permitted to copy any image, text or info from this page. This site is not associated with and/or endorsed by the developers and the publishers. All logos and images are copyrighted by their respective owners.
Copyright © 2000 - 2026 Webedia Polska SA for gamepressure.com, unofficial game guides, walkthroughs, secrets, game tips, maps & strategies for top games.
