Castlevania Lords of Shadow 2: Mission 8 - The Hooded Man

The mission begins on a familiar street - be ready though, because as soon as you flinch you will be attacked by two Satan's Soldiers. After dealing with them, mist through the bars located opposite your starting location - in front of you, at the end of the room, you will find a keyhole for a Dungeon Key.

After collecting the experience points, go through the corridor on the left (from the keyhole) and go to the end of the street - you will find a Pain Box there. Collect the Chaos Gem from inside of it and go back to the place where you fought Satan's Soldiers.
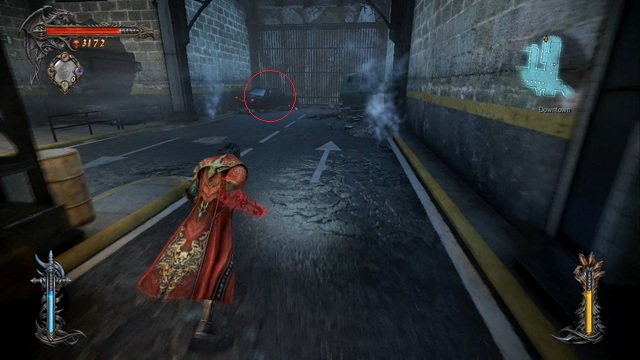
Afterwards, head towards the waypoint. Before you go through the hole in the wall, go to the end of the street - behind the bars, hidden by a car, you will find a Memorial. Collect it and go inside an elevator.
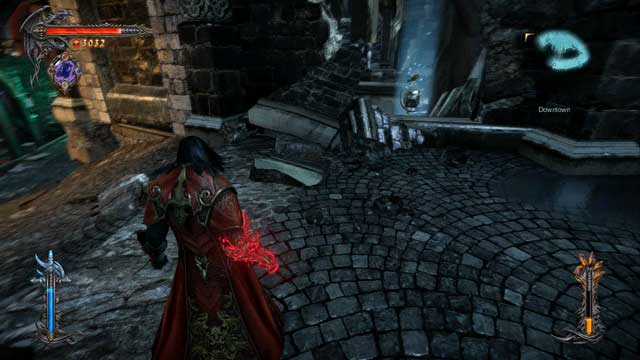
After emerging on the surface, take care of the enemies awaiting you and go forward, until you reach a bridge. From there, turn to the right (there's nothing in front of you and you can't do much by going to the left), go through the bars, and then collect a Void Gem from a Pain Box on the right side. After collecting the gem, go down towards the marker on the map (notice the tower on the left side - there's a Memorial there, but you can't get there yet).
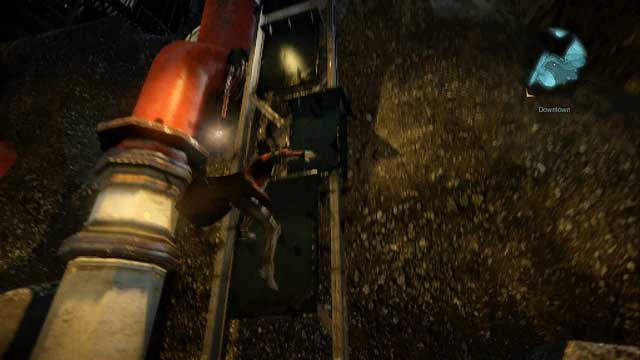
Continue until you get to the bottom, where a short encounter awaits you. Deal with the enemies and start climbing up on the other side (the place with the required handhold is located near a red pipe). Climb up a metal platform and turn to the right - you should be able to see a Pain Box there. Collect a Life Gem from inside it and go in the opposite direction, to the other side of the platform.
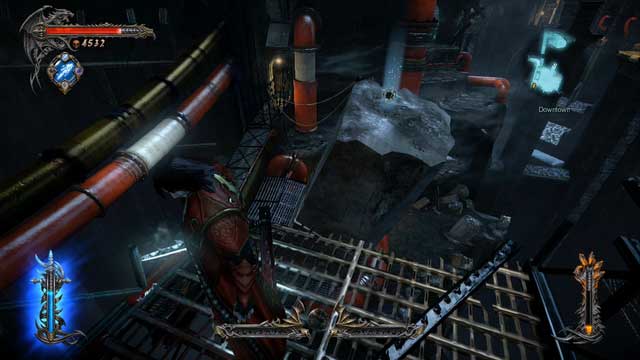
Use your Mist power so that the fan can carry you up and continue going upwards by using the ladders. At the top you will have to face a duo of Riot Police, which isn't really anything new for you. Get rid of them and get on a metal ledge extending from the building - from here you should be able to see a Pain Box in the distance, but, as usual, you lack a skill necessary to collect it. Get back into a damaged pipe and use your Mist power to get to the top. Open the hatch, jump down and climb up the ladder on the other side - tunnel on the left side leads to the roof on which you fought Riot Police a second ago.
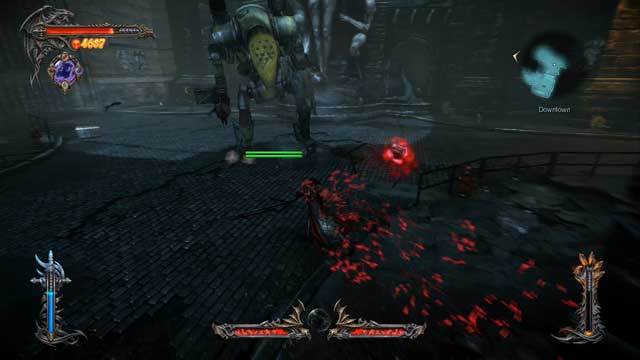
After emerging on the surface, jump to the other side of the wall. You will face a group of enemies, among which you will find a new face - Riot Mech. In short it's an upgraded, way more irritating version of Riot Police. Surely you noticed that the enemy has two health bars - the upper one represents his armor, which you must first destroy (with Chaos Magic, for instance) in order to deal any damage to him. The thing is, that after destroying his armor, the enemy can still regenerate it, if he won't be attacked for a couple of seconds. Mech uses melee attacks (some of which are unblockable), flamethrower and when you try to keep your distance he will resort into using his shotgun or a slow-loading rocket launcher. Try to keep close and prevent him from regenerating his armor and everything should be fine.
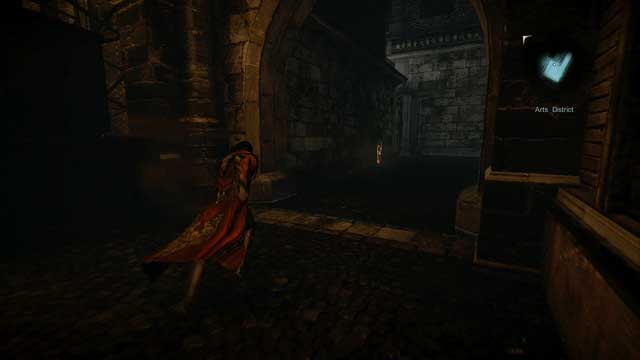
After the fight, head towards the marker on the map, climb up the remains of a building and jump on a ladder. Restore power to unlock the passage and go down the ladder to reach the streets. After touching the ground, enter to the tunnel on your left side - you will find a Memorial there. In the further part of the tunnel you will get to a small street, where there's a Pile of Sacrifice - it's on an elevation, inaccessible to you at the moment.
Get back to the ladder - to the right, by the wall, there's another Memorial to collect. If you will go to the left of the ladder, you will get to a Magic Font and altar to activate the White Wolf Medallion - go there if you need to restock in the Chupacabras' store. After collecting all the items, head towards the marker on the map to initiate a cutscene - you will meet a new, hooded character and a boss you will soon fight with.
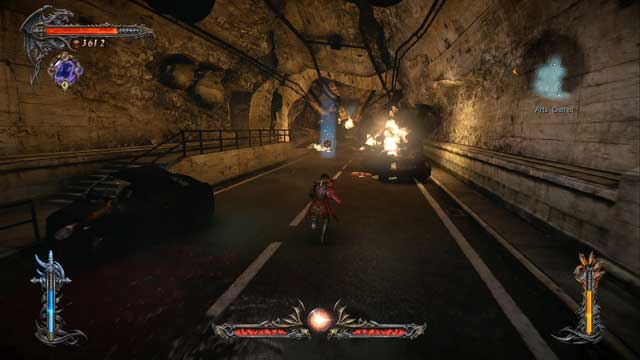
After regaining control over your character and fighting off a small group of enemies, head into the collapsed tunnel in front of you to collect a Pain Box, with a Chaos Gem inside. Turn around and collect a Memorial located in the gap on the left side. Afterwards, head towards the waypoint and enter the hatch. Restore power and get out on the other side of the street. Eliminate all the enemies and use a Chaos Bomb on a ladder (to your left, looking from the place you entered the street after emerging from the hatch - there's a purple trail nearby) to pull it down.
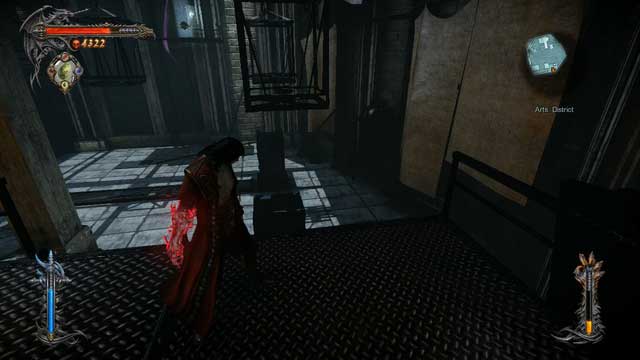
Climb the ladder, run up the stairs, grab a handhold near the window (above you there's a Pain Box - to get to it you need to jump off from the roof of the building) and continue all the way to the right, until you finally enter the building. The interior is one, big platforming section - before you start climbing up, jump down and deal with a small group of enemies awaiting you there. Afterwards, scan the area and grab a Memorial, and then go back to the top. Moving through the platforms in this building is done in the same way as with the chandeliers in Dracula's Castle you did a few missions back. Jump on the platform in front of you, swing it by moving forward and back and jump on the second one. Continue jumping along the platforms (ignore a Pain Box on the right - you will soon get to it) until you reach a fourth one, from which you must jump on a ladder, to get to the upper level.
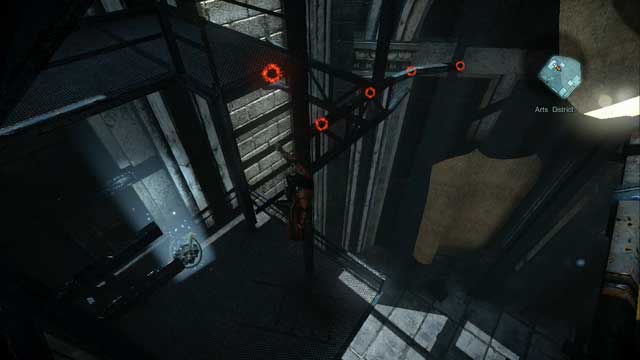
After reaching it, you will have to jump through two more platforms, after which you will land on a solid ground. Grab a handhold on a broken scaffolding and drop down to collect a Life Gem from a Pain Box you saw earlier. Grab the scaffolding again and continue climbing. Soon, you should reach the roof of the building, where a small group of enemies awaits your arrival.
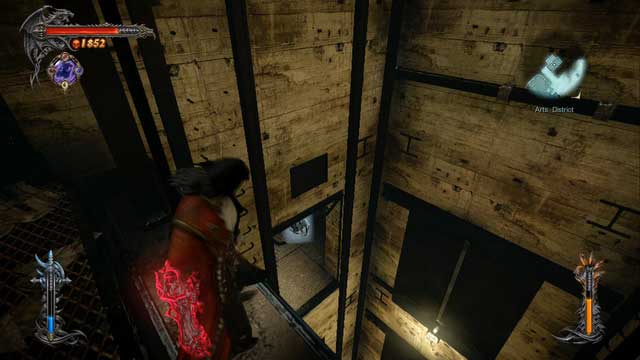
Finish them off and use a Chaos Bomb to knock down a metal footbridge (the place in which you must throw your Chaos Bomb is indicated by a red flame-like smoke, as always), but don't cross it just yet - go in the opposite direction, to enter a small room in the building, leading to a elevator shaft. Stand on the edge of the shaft, turn your camera to look down, and you should be able to see a Pain Box in a small gap in the wall - jump into the gap, collect a Void Gem from the box and jump at the bottom of the shaft, where you will find a keyhole for a Dungeon Key. Collect the experience (if you have the key) and get back to the roof.

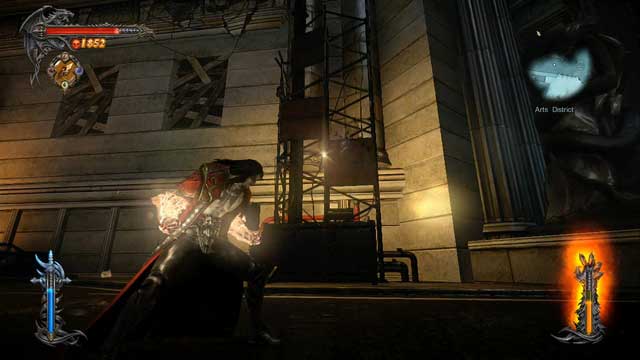
Stand on the edge of the building (the screen above shows the exact location) and jump down, to get to a Pain Box mentioned earlier. Collect a Chaos Gem from inside it and climb all the way back to the roof of the building. Afterwards, go through the footbridge you unlocked earlier with your Chaos Bomb to initiate a cutscene - pay attention to the waterfall before you, as you will climb it in a moment.
Eliminate the enemies and climb up the scaffolding opposite the building you just fell of - at the top you will find a Pile of Sacrifice, which will increase the amount of Stolas' Clock relics you can carry (from 3 to 4). Get back to the waterfall you saw during the cutscene, freeze it using your Void Projections and climb it up.
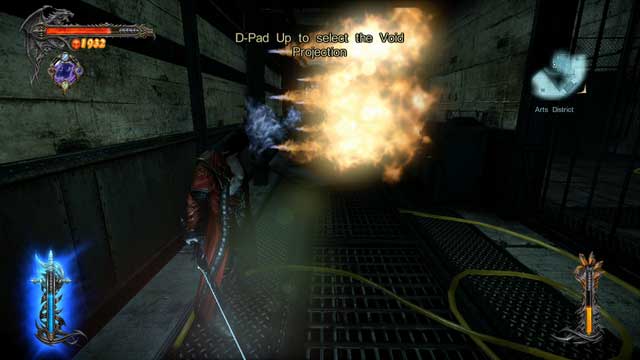
Deal with a group of enemies, and go through the bars, until you reach a passageway blocked by flames. Freeze them with Void Projections, restore power and get back to the room in which you fought the enemies a second ago. Activate the fan and use your Mist power to let the airflow carry to the upper level. Upon arrival, use your Chaos Bombs to ignite fuse on the "rocket" and observe as Dracula crashes it stylishly into another building.
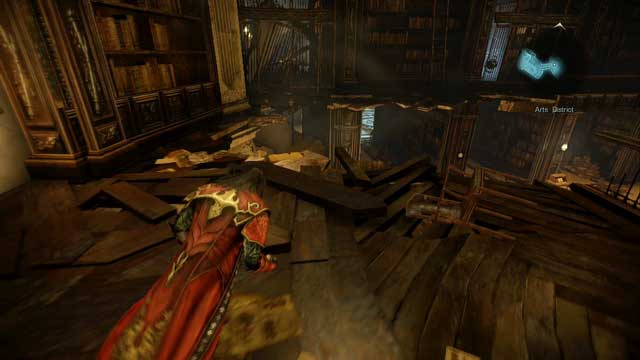
After regaining control, find a way down through a hole in the ground, descent to a lower level and turn the power back on. It will open a gate leading into a demolished library - ignore a Pain Box visible in the distance, as you can't get there yet. Get down on a lower floor of the library and deal with the enemies awaiting your arrival. There's nothing to collect here, so all you can do is to go in the direction of the marker on the map, to initiate another cutscene, which will begin a boss fight.
Boss - Abaddon
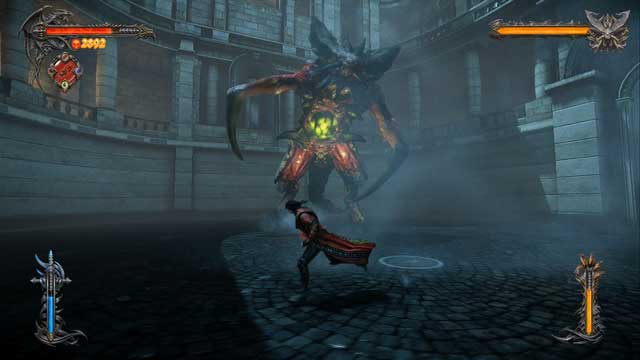
Like Agreus, this boss is pretty easy to handle - he doesn't have any hard to avoid attack, his strikes deal moderate damage, and to make matter worse (for him) there are dozens of small monsters next to him, whose only purpose is to be a supply of Magic and healing for you.
Each time his life goes down by 1/3, he enters a berserk-like state - he starts to attack with his claws in a rapid succession, following your trail all the time. To avoid this attack, try to get away from him as soon as his health bar goes down by 1/3 - he needs a few seconds to "charge" his attack and you should use that time to get as far away as possible. This attack is unblockable, so don't even try blocking it - dodging isn't really a good idea either, because even if you avoid getting hit by one of his attacks, he brandishes his claws so rapidly that it's almost certain that you will get hit soon after.
Besides his frenzy-like charge attack, he can use an artillery attack, shooting projectiles up in the air, for them to fall on you after a few seconds. This attack is very similar to that of Raisa (in her Satan's Daughter form), but it's way slower than hers. Due to its speed it's almost impossible to get hit by any of those projectiles - try to be mobile and you should be fine.
Every now and then, Abaddon will drive his claws to the ground. After a short while a spike will burst from the ground (in the place you are or were just now), impaling you (if it hits you) and doing some damage. To set yourself free from it, you have to complete a QTE sequence. Fortunately, this attack is more annoying than damaging, so you shouldn't really be worried about it. To avoid it try to be mobile, as always.
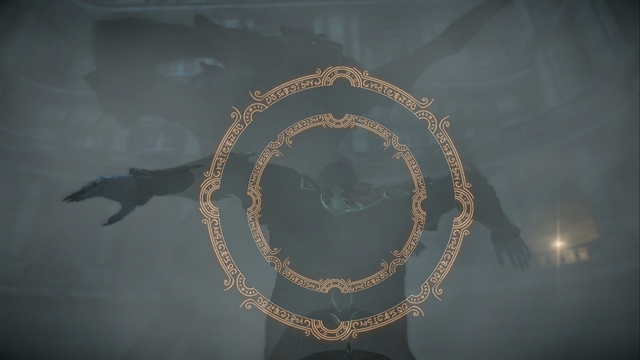
When his health reaches 1/3 value, there's another berserk charge awaiting you, and when you drop his life near zero, a QTE sequence will be initiated - if you fail it you will be killed and brought back to a checkpoint. After that QTE sequence the fight will end.
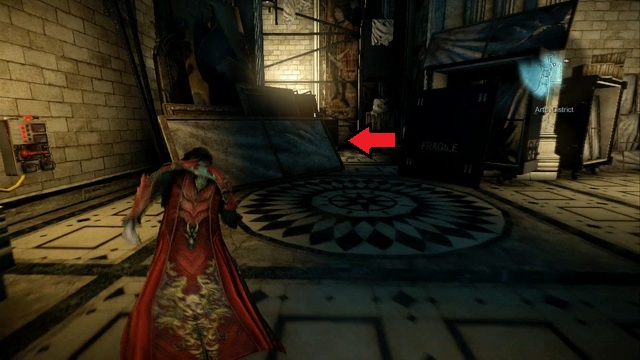
After the boss fight, go towards the waypoint, restore the power to open the next door, but don't go through them just yet - instead, go to the end of the room, where you will find a Memorial hidden behind a scaffolding. Collect it and go outside, where an incredibly annoying encounter awaits you - two Riot Mechs. Use one of the relics (Stolas' Clock to slow the enemies down or Ensnared Demon to have an unlimited supply of Magic) to make this fight a lot easier.
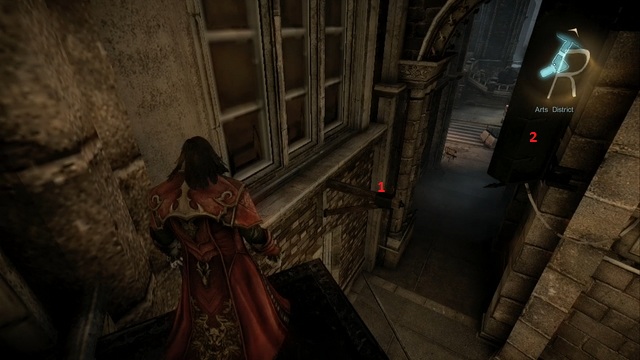
After eliminating both Mechs, run into a small alley (in the opposite direction to the marker on the map - there's a White Wolf Medallion altar nearby) and climb up, to where the wolf awaits you after activating the medallion. Jump on a bar extending from the building, next on a signboard and climb up to reach a Pain Box - there's a Life Gem hidden inside.
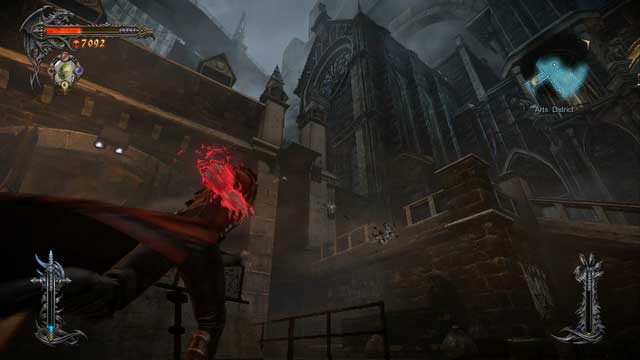
Get back to the main street and locate a clock tower - inside it you will find another Pain Box. Get through the wall to arrive at the base of the tower and climb it up. Collect a Chaos Gem from inside and get back on the main street once more.
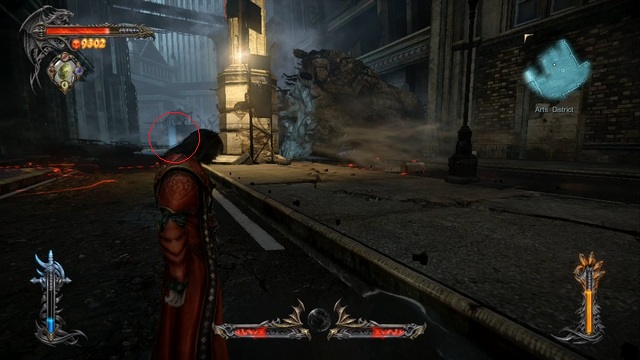
Locate the proximity mines, which are placed at the base of a white, tall tower - behind the tower, at the end of the street, there's a Pain Box. Get there by passing through the minefield (remember, you can "outsmart" the mines by using a dodge just before the mine activates) and defeat a Riot Mech protecting the collectible. Collect a Void Gem from the box and climb up the white tower you just passed.
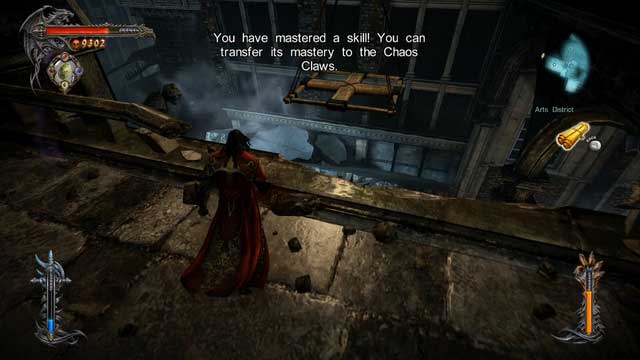
After climbing the tower and standing on a solid ground again, get close to the edge (in such a way that the hanging platform is in front of you) and jump down - you will land on a ledge, where a Memorial is hidden. Grab the treasure and climb up the tower again, jump on the platform, swing it and get inside the building indicated by a purple trail.
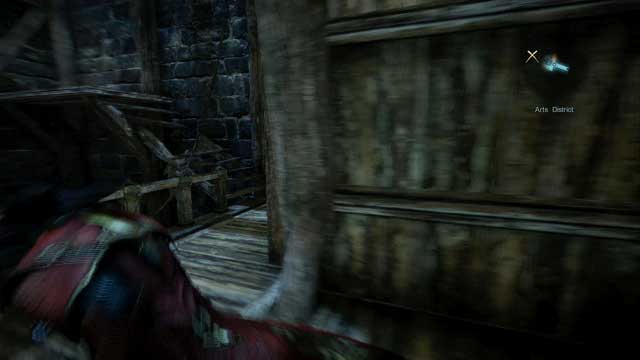
You will reach the stairs - directly above you there's a last collectible in the area, a Pain Box (with a Chaos Gem inside). Go upstairs, grab the gem and jump all the way to the bottom of the building. Mist through the bars to enter a boss fight.
Boss - Hooded Man
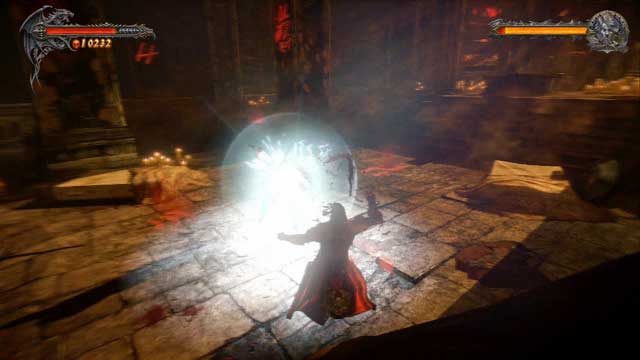
The encounter with the Hooded Man is one of the most unusual in the game, because his fighting style is very similar to yours. He uses a whip-like weapon, can throw daggers (which is an unblockable attack) and can dodge and block attacks (as well as use a synchronized block) in the same manner as you do. It can somehow seem that this fight will be a tough one - nothing could be further from the truth! The encounter is quite easy just because you know how the enemy will fight - there's just only one detail which makes this battle a little harder, which will be explained in a second.
The fight is divided into two stages - in the cathedral-like building in which you start and below it. In the first stage your powers (Void and Chaos Magic and relics) are unavailable to you, which means that your only weapon is the Shadow Whip and that you won't be able to heal yourself in any way - that is precisely why you need to be extra careful during this part and try to dodge attacks instead of blocking them.
When Hooded Man's health drops to 2/3 value, the fight will be moved underground. Here you again use all your powers, meaning that the fight itself is going to be a lot easier now. The enemy can use also use relics (like shield) or special attacks (like shockwave), but they don't affect the course of battle that much. The key rule to all the boss fights still holds true - avoid unblockable attacks and try to block normal ones to expose the enemy to your counterattack. Remember, that the enemy can also use synchronized block to parry your attacks.
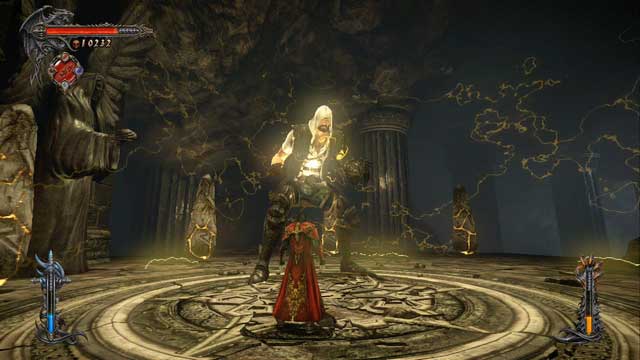
When his life reaches zero, he will use a special relic, summoning stone obelisks, which will float around the arena, preventing you from escaping it. The enemy will also be enlarged and you won't be able to harm him with direct attacks - you need to destroy all the obelisks, at the same time avoid the boss' attacks. After destroying all of them, a QTE sequence will be initiated and the boss fight will end.
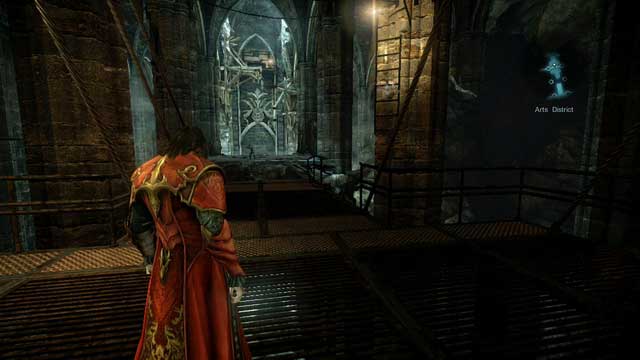
After the fight, your goal is to follow Victor - until the moment you two arrive on the streets, there's nothing to pick up here, so just concentrate on following his trail. Unfortunately, unlike Victor, you can't do a double jump, so your course will be a little different than his - you will climb more.
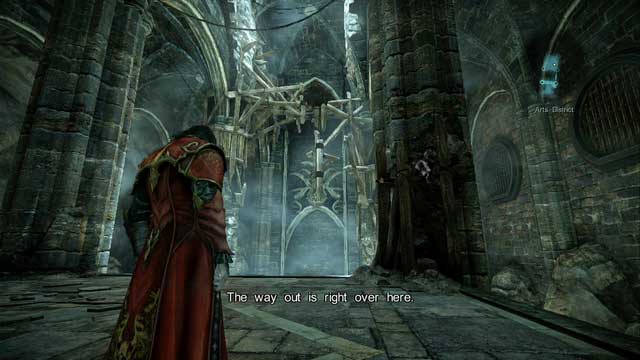
After turning the power on and entering the next room, jump on a ladder on the right side and climb up. Stand in the airflow and use your Mist power, to get to place where Victor awaits you. Climb up the pillar to the right and get to the other side by jumping through the wooden construction.
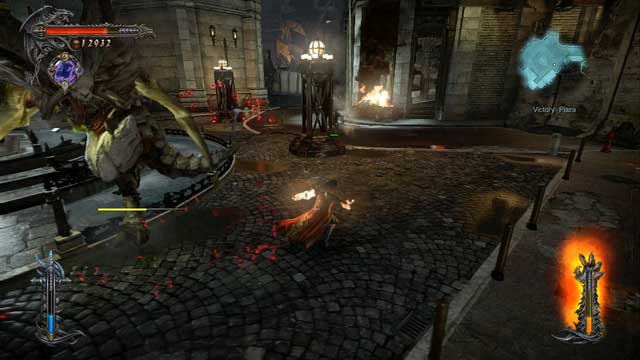
After emerging on the street, a cutscene will initiate and Zobek's Lieutenant will join you again. You will encounter a group of enemies with a new face among them - a Horned Demon. This foe greatly resembles the fight with one of the bosses, the Abaddon - he uses similar attacks, but he's less durable, but more mobile. He explodes upon death, just as Satan's Soldiers do. After the fight a series of cutscenes will initiate and another boss fight awaits you.
Boss - Inner Dracula
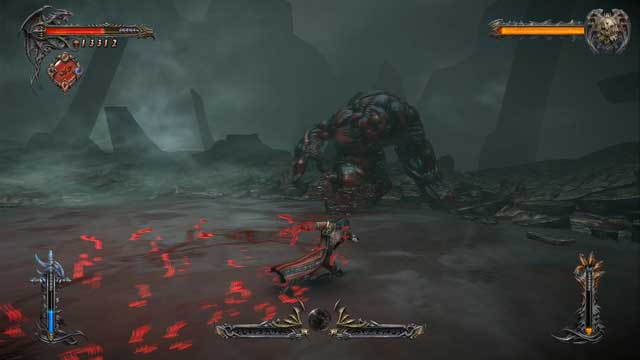
Yup, you are going to fight with your inner self. The fight is divided into two stages - against a blood golem and against a blood-vomiting snake-like creature.
Fighting against the golem is moderately difficult - his strikes are powerful, deal large amounts of damage and most of them cannot be blocked, but his movements are extremely slow and easy to predict, which makes them easy to avoid. At the beginning the golem with use melee attacks and a stomp-like attack - he will jump high into the air and crash down, generating a shockwave attack of blood, which you can avoid by jumping above it.
When the golem's life is almost empty, you will receive a prompt to get close to and grab him, initiating a QTE sequence. If you done everything correctly, Dracula will rip a part of golem's body and absorb it, giving you access to one of the most useful skills in the game - double jump (Demonic Wings). They allow you to jump a second time while being in mid-air, which probably isn't the best combat-oriented skill, but it's required to get to most of the hidden treasure in the game.
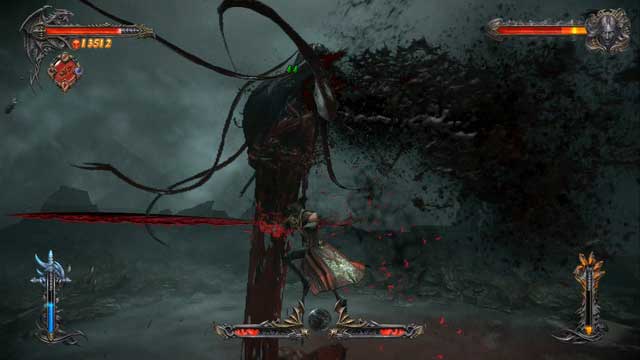
Back to the fight - every time you bring the golem's life to zero, the Inner Dracula's true form (that of a vomiting snake) will appear. Attacking him in this state is rather difficult, as the only place you can hit him is his head - aerial combat and usage of newly acquired double jump is the only way for you to harm him.
The snake-like creature has 2 attacks :
- Blood Vomit - it's an attack that you can't block, that is why you should attack him from the opposite side to his vomit attack (he will move his head from left to right / from right to left, so it's quite easy to avoid getting hit by it). If he starts vomiting from the right side, you must attack him from the left, hit him a few times and jump back to dodge the blood vomit.
- Power drain - just as he's going to return to his golem form, the enemy will start a suction-like move and will drain all your Void and Chaos Magic with that, leaving you with empty reserves of them. You can't avoid this attack in any way.
The enemy is in the snake-like form only for a short time, after which he will resummon the golem. Rinse and repeat until Inner Dracula's health drops to zero, ending the fight. After a series of cutscenes you will be transported to the city.
- Castlevania: Lords of Shadow 2 Game Guide & Walkthrough
- Castlevania Lords of Shadow 2: Game Guide
- Castlevania Lords of Shadow 2: The Main Campaign - walkthrough
- Castlevania Lords of Shadow 2: Prologue - Castle Siege
- Castlevania Lords of Shadow 2: Mission 1 - Bioquimek Corporation
- Castlevania Lords of Shadow 2: Mission 2 - The Three Gorgons
- Castlevania Lords of Shadow 2: Mission 3 - The Antidote
- Mission 4 - Next Stop: Castlevania
- Castlevania Lords of Shadow 2: Mission 5 - The Blood Curse
- Castlevania Lords of Shadow 2: Mission 6 - The Antidote II
- Castlevania Lords of Shadow 2: Mission 7 - Pieces of a Mirror
- Castlevania Lords of Shadow 2: Mission 8 - The Hooded Man
- Castlevania Lords of Shadow 2: Mission 9 - The Second Acolyte
- Castlevania Lords of Shadow 2: Mission 10 - The Mirror of Fate
- Castlevania Lords of Shadow 2: Mission 11 - Revelations
- Castlevania Lords of Shadow 2: The Main Campaign - walkthrough
- Castlevania Lords of Shadow 2: Game Guide
You are not permitted to copy any image, text or info from this page. This site is not associated with and/or endorsed by the developers and the publishers. All logos and images are copyrighted by their respective owners.
Copyright © 2000 - 2026 Webedia Polska SA for gamepressure.com, unofficial game guides, walkthroughs, secrets, game tips, maps & strategies for top games.
