Castlevania Lords of Shadow 2: Mission 7 - Pieces of a Mirror
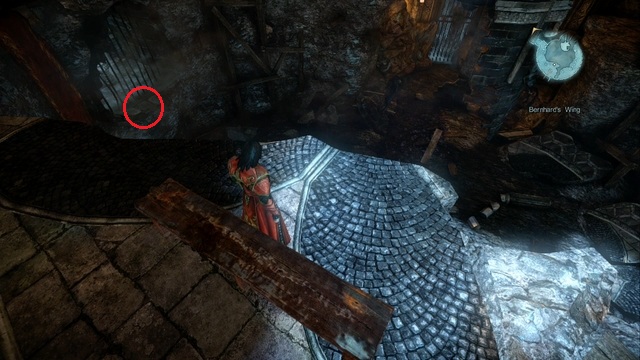
After regaining control, don't go towards the castle (ahead), but turn around and go to the device. Destroy the ice blocking the device with a Chaos Bomb, and then pull the lever. Pass through the bars blocking the way and go through a tunnel on the right side.
Stand on the edge and jump on a small stone ledge (the above screen shows the location you should stand in and the red market indicates the place you must jump to) - behind the bars you will find a Pile of Sacrifice, which will award you with another Kleidos' Nail. Ignore the further part of the tunnel (as you lack a skill necessary to get there), jump down from the ledge, and then get inside the tunnel on your right side.

After entering the tunnel, go to the right, where you will find two Pain Boxes (with a Void and Chaos Gem inside). After collecting both gems, go to the right part of the tunnel, where you will find a keyhole for a Dungeon Key (you were here during the Buiquimek Corporation mission, but you didn't have any keys on you at that moment - if you don't have one this time, remember this place and get back here later). After grabbing all the collectibles, go back to the place in which you ended up after the boss fight.

Get outside and move in such a way as to have the mountains on your right side (ignore the castle and the entrance on the left side). Jump down and enter a small room, to find a Pain Box with a Life Gem inside. Grab it and head towards the building. Hop on a wooden bar to start climbing - after getting to the crossing, move all the way up to reach a place with a keyhole for a Dungeon Key (again, you will receive 2,000 points of experience for unlocking it). Go back to the crossing and go right this time, in the direction of the marker on the map.
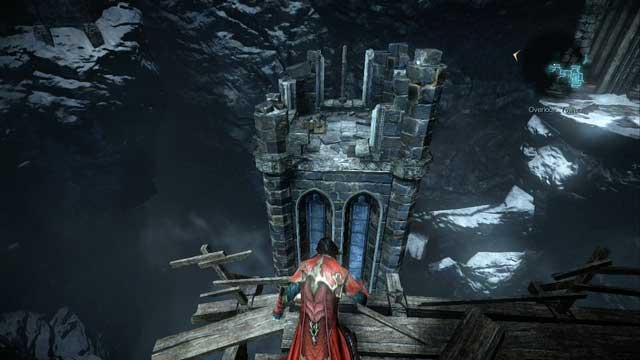
After jumping down the wooden bar, you can see a lone tower behind you - at the top there's a Soldier Diary, but you can't get there yet. Continue your journey, until you reach a high tower, which you must climb - one of the planks will break and you will drop down to encounter some new enemies.
Your old buddies - humans - are back. Besides cannon fodder in the form of regular soldiers, you will encounter a heavy version of a footman - Heavy Brotherhood Warrior. Those guys are nothing like their regular buddies - they are protected by a heavy armor, and because of that you will need to get rid of it (by using your Chaos Magic) before even thinking about injuring him. Watch out for his charge-like attack - maintaining a distance may not be sufficient, as he will probably still reach you. To avoid getting grabbed, all you have to do is to simply jump over him at the right moment. After dealing with this group of enemies, a foe will appear.
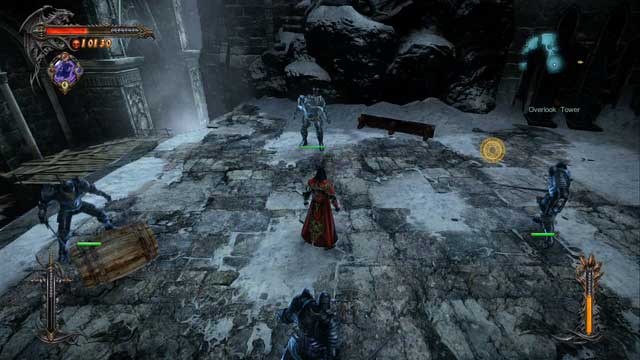
The Brotherhood Cleric isn't necessary a strong opponent, but fighting him may be insanely frustrating and time-consuming. Each time you reach him, you can be sure, that he will teleport away on the other side of the arena. Additionally, he can summon regular soldiers to his aid - it's his main weakness at the same time. After summoning them, he will start casting an enchantment - the incantation takes a lot of time and you can easily land a few easy hits and break the preparation of the spell. Unfortunately, unlike other mobile bosses (Raisa, Carmilla) you can't freeze (or slow) him with Void Projections.
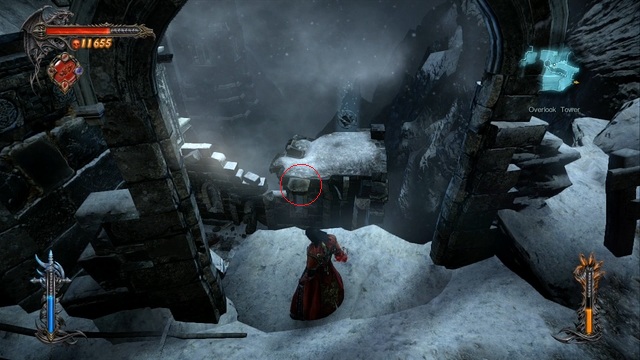
After the fight ends, activate the nearby device to collapse the fence above, revealing a handhold. Don't go inside the building in front of you - instead, turn to your left until you reach an edge where you should see a Pain Box, a little below you. Jump onto a marked ledge to get near it and collect a Chaos Gem from inside of it.
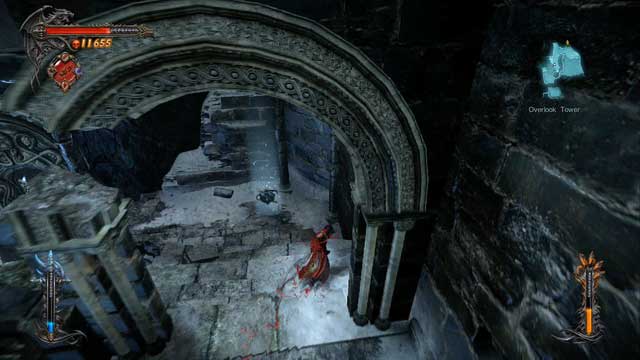
Jump down and go down the stairs, to bump into another Pain Box - inside you fill find a Void Gem. You can travel downwards, to get to a Map Room (in order to get to the Chupacabras' shop, for instance). Either way, climb the high tower from which you have fallen a while ago, jump down and head towards the marker on the map, climbing up the wooden bars, until you enter a building resembling a cathedral.
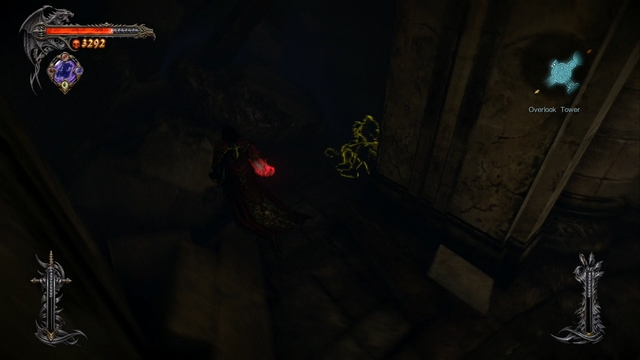
Go into the next room and activate the device (sculpture) controlling the door. A cutscene will initiate, informing you of your current mission - finding pieces of Mirror of Fate for Trevor. After the scene is over and you have the marker on the right side of the map, turn around and go forward - in a small gap in the wall there will be a Soldier Diary to pick up. After collecting it, head towards the marker on the map.
After leaving the canyon, turn around to the left (to the opposite to the marker on the map) - right in front of you will notice a Pain Box, but you can't reach it yet. Ignore the box at this moment and head towards the marker - collect a Soldier Diary from a corpse lying on your course and enter the bridge, to initiate a fight with another Heavy Brotherhood Warrior and a group of cannon fodder. After the fight go through the bridge, enter the room and activate the device on the right side, to open the next door.
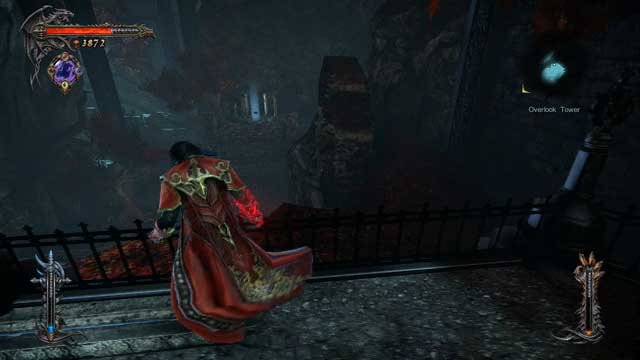
After entering the gardens, stand by the metal fence on the right side - in the distance there's a Pain Box. Run down to activate a cutscene, after which you will encounter yet another stealth section.
This stage is probably one of the most annoying and difficult parts of the game - just like the stealth section with Carmilla, you have to go to a certain place (marked by a giant X on the map) unseen. The difference is that when Agreus sees you, he will run over to you extremely fast, which will transport you back to the waypoint, all the way back to the beginning of the stealth section. It basically means that you cannot let Agreus see you even once, if you want to get through this stage - a waypoint is situated at the place you need to go to.
There are few things worth noting, to make this part of the game a little easier:
- Don't step on the leaves - just one step won't turn out badly, but if you run across them for a split second, you can be sure that Agreus is on his way to you.
- Throw some Shadow Daggers at the bells on the walls if you need to get him off of you.
- You can go through the leaves by using the Mist form - yes, the power of Mist allows you to freely move around leaves unnoticed. Also, while being in the mist form, you are invisible to Agreus (and he will lose track of you if he located you and started his charge), which will make this encounter a bit easier.
- Don't waste your time thinking about how to get to the collectibles - Soldier Diary and a Pain Box are beyond your reach, because you lack a necessary skill to get there.
- Paradoxically, going slowly through this section is a really bad idea - Agreus knows your position all the time, and he will close onto you in a matter of few dozens of seconds. Be swift to outrun him.
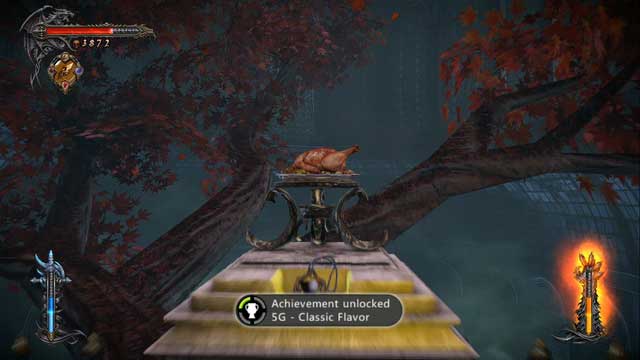
After reaching the indicated spot, activate the device and go through the now open door to reach an elevator leading to the top. After emerging on the upper level, go to the right to feed upon a statue's heart, to the left to replenish your Magic, and then go forward. The camera will focus on the bird which stole the fragment of the mirror - use a Chaos Bomb on it to kill it with one shot and earn a Classic Flavor achievement. Collect the mirror piece, which will initiate a boss battle.
Boss - Agreus
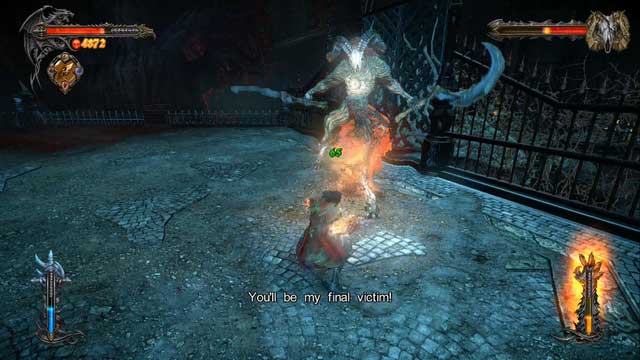
Agreus is probably one of the easiest bosses in the game - he doesn't have any special attack (besides one, which is covered below), nor he can fight from afar (besides the one mentioned exception). His arsenal of attacks is limited to melee fight - unfortunately, most of his melee attacks are unblockable (again, look for a red flash just before those kind of attacks), which is why this time you will rely more on dodging than blocking attacks.
Every now and then Agreus will swap his weapon (from a 2-handed to two 1-handed swords), which adds some mobility to his attacks - luckily, it's a dream come true for you, because most of those attacks are blockable or trivial to dodge, in comparison to his normal attacks performed with 2-hander. The one special attack that was mention before is:
- Spear Throw - if you are hit with it, a QTE sequence will be initiated. If you fail to complete it, Agreus will deal a significant amount of damage to you - on the other hand, if you do it correctly, you won't be receiving any damage at all. You can avoid the whole QTE sequence if you just dodge and won't let him hit you with the spear, but even if you got hit try to press the button in the right moment and you will be safe and sound.
Try to "sit on him" as much as you can, trying to avoid getting hit by his unblockable attacks and the fight shouldn't take long. When his health drops to zero, a final QTE sequence will be initiated and after that the fight will be over.
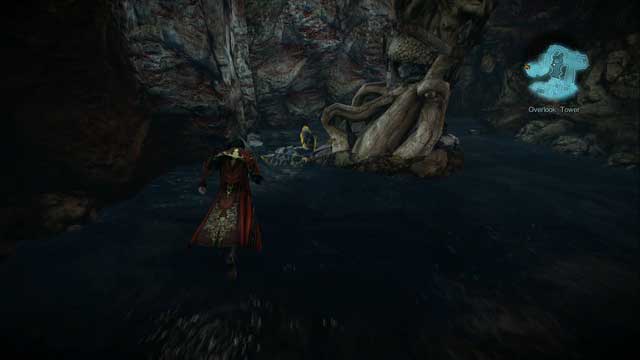
After the fight, head towards the marker on the map, but before going up to the top, turn to the left side and enter a small lake - you will find a Soldier Diary there. Collect it, go up, and then head to the waypoint. On the bridge where you fought Brotherhood soldiers you will encounter a group of Harpies - but they aren't any real threat for you. Defeat them and head back to Trevor, in the direction of the marker on the map.
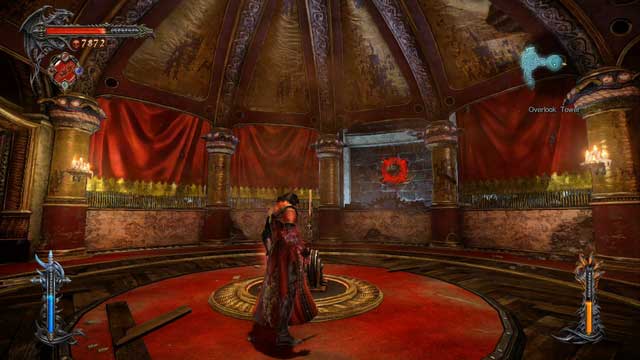
After giving Trevor the mirror piece, go to the newly opened room, indicated by the marker on the map. After using the lever you will encounter a mini-game, in which you have to throw your Shadow Daggers at the emerging targets. If you will do this fast enough, you will be awarded with some experience points.
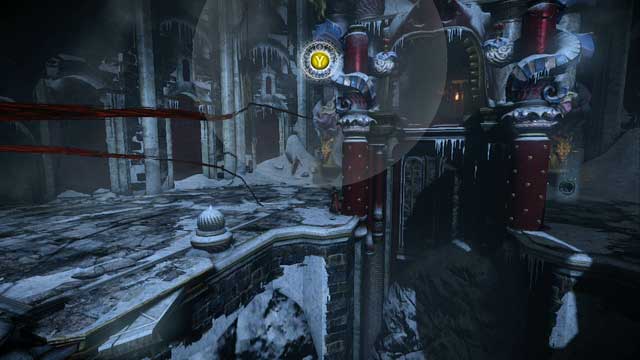
When you have enough of the mini-game, get outside through the new passage, where you will encounter a small group of Brotherhood of Light soldiers. After dealing with them, get close to the device (resembling a pillar) and activate it - after a short QTE sequence a new footbridge will extend, allowing you to get to the top. Instead of going towards the waypoint, jump down on the other side - you will find a Pain Box with a Life Gem inside there.
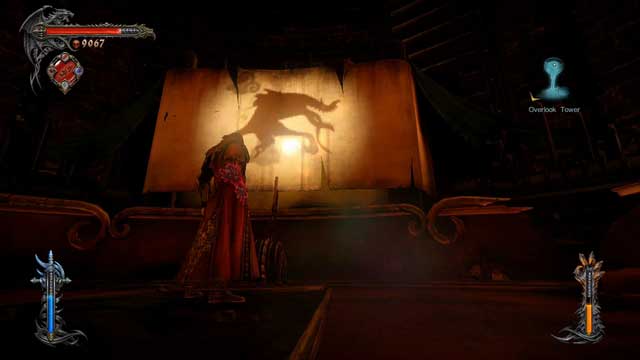
After collecting the treasure, go inside a small room located nearby - it's an elevator which will lead you near the Chupacabras' store. Use this opportunity and go to the shop - buy all the Dungeon Keys, Dodo Eggs and, if you have enough experience, one (or more) of the gems. Get back using the elevator, activate the pillar-like device again and go towards the marker on the map.
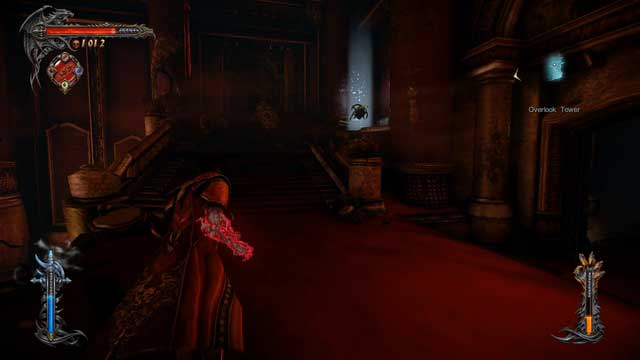
Wait for the door to open, go through them and after entering the new room turn to the stairs on the right - you will find a Pain Box with a Chaos Gem inside there. Collect it, jump down and deal with all the enemies. After the fight is finished, turn around into the direction that you came from - you should be able to see a corpse with a Soldier Diary, lying by the wall.
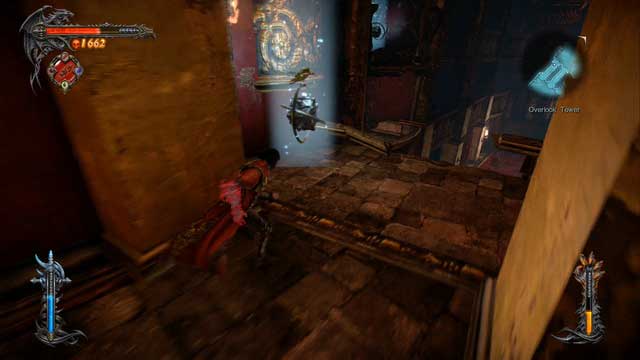
After collecting the diary, climb up the wall - you have two possible routes here, leading through the middle and left tunnel (you can't access the right one at the moment - there's a Pain Box there). Go into the left tunnel, collect a Void Gem from a Pain Box and look ahead - you should be able to see another Pain Box in the distance, but you can't reach it yet, so just jump down.

Along the left wall (while looking at the theater) you will find another pillar-like device, which you saw earlier - activate it to reveal a hidden Magic Font. To the right from the stairs leading to the stage there's a lever, but it won't work at the moment, as there's no power. Directly above the lever you should see a bat swarm, indicating a handhold - go there, climb up the wall and get on the balcony. Look around and collect a Soldier Diary.
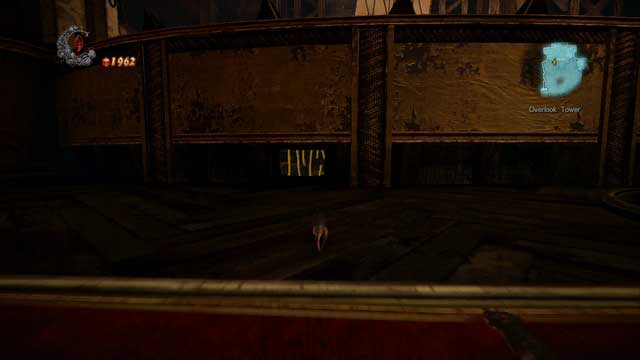
After collecting the diary, go deeper into the balcony. Jump down, where you will find a Pain Box (Void Gem inside), and a Shadow Portal. Collect the gem, turn yourself into a rat and go through the grid to get back to the room with the stage. To the left of the stairs leading on the stage is another grid, which you must go through. You will arrive in a room with a Shadow Portal, Magic Font and a generator, which you must restart by using a Chaos Bomb on it.
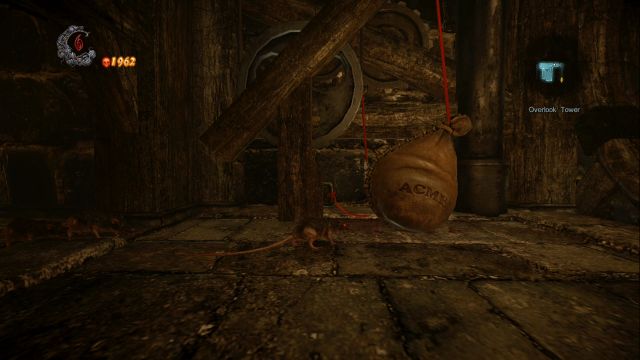
Turn yourself back into Dracula, restart the generator, turn yourself back into a rat, and then get out by using a small lane on the right side. You will have to cross a series of easy traps - stop by before each of them and analyze their movement schematics. After getting through the drill-like traps, bite through the rope on the left side, to open up the rest of the path - continue the journey until you reach the theater room again.
Go back to the place in which you found the first Shadow Portal (after getting there through a balcony), to restore yourself into Dracula form. Afterwards, climb up the wall (leading to the mentioned balcony) to get back near the stage. Switch the lever and, after the cutscene ends, get close to the "computer" which emerged before the stage and activate it.
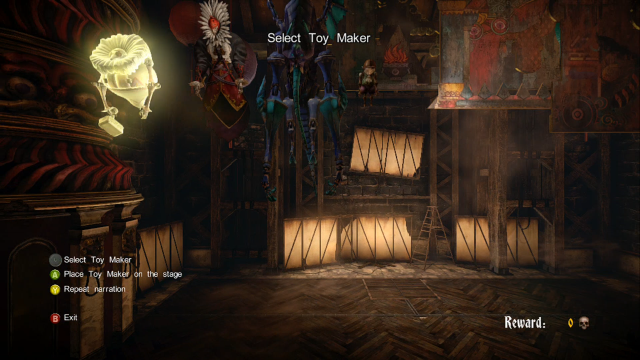
You will hear a story told by a puppet and you will have to set the proper backgrounds and characters during its narration. The stages of the story are as follows (you much accept each step after placing the right props) :
- I part - put: Toy Maker and Workshop
- II part - put: Walter Bernhard
- III part - put: Castle
- IV part - put: Demon
- V part - put: Kid and Theater
After this the show will be over- you will find a boy on the stage, holding Toy Maker's heart in his hands. Get close to him and take the heart, to initiate a cutscene, after which you will face a boss.
Boss - Toy Maker
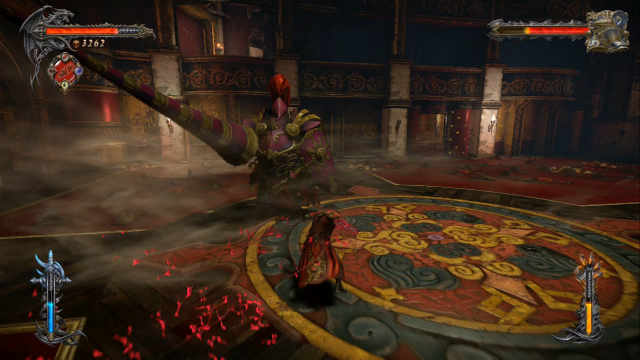
This boss fight is unlike any other, as you will spend more time fighting with Toy Maker's summons than the boss himself. The fight starts with an encounter with a knight wielding a shield (which is purely cosmetic, as he doesn't seem to use it at all) and a long lance. This fight is fairly easy, but most of knight's attacks are impossible to block - you have to either jump sideways or up in the air, depending on the type of his attack. When his health reaches zero, the proper boss will emerge.
Toy Maker is easy to defeat, if you follow a simple scheme - run up to him, hit him a few times (remember that you need to hit him in the head, as other places are invulnerable) and after that jump back. A simple hit & run tactic is necessary for him, as the boss frequently uses a grab attack, which cannot be blocked and which deals a decent amount of damage, before you can free yourself.
Besides the grab, Toy Maker uses both his long arms to attack - those attacks are easy to block, but there is still a risk that instead of simply smacking you with them, he will try his grab attack, which is why you should concentrate on hit & run tactics, instead of going all in. Every now and then the boss will smash the ground with his arms, creating giant shockwaves - you've seen this type of attack before, so you know how to countermeasure it (jump over them).
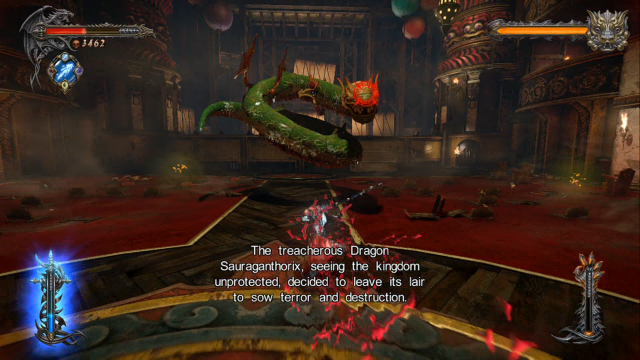
When his health reaches 2/3 value, Toy Maker will summon another helper, this time resembling a giant snake-like dragon. Its typical attacks are:
- Throwing shuriken-like projectiles - you have to jump over them to avoid getting hit.
- Spinning attack with his tail - you cannot block this attack, so just get away from it.
- Fire breath - again, you cannot block this one. The attack itself is preceded by a whistle-like sound and waves of sparks coming out of its mouth - this should give you enough time to get back and avoid any damage.
Aside from the above mentioned, the dragon uses "normal" attacks by using its tail, but they are easy to block. When its health drops to zero, you have to finish it with a Chaos Bomb, which should lure out Toy Maker.
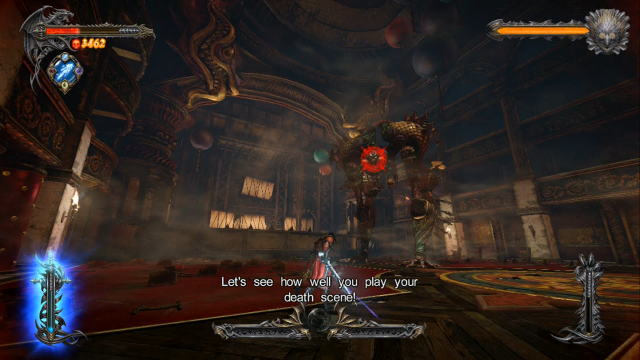
Compared to you earlier experience with him, he gained one additional attack. It allows him to ignite a selected fragment of the arena - if you find yourself in the ring of fire, try to carefully jump out of it to avoid taking damage. When his health goes down to 1/2 value (he will lose one whole health bar), he will "transform" - he will now be standing on his arms, as if they were legs.
At this moment, the fight is basically over - all you need to do is to hit him with Void Projections. It will make him go down on the ground, stunning him for a few seconds in the process and allowing you to freely attack him during that time. After he gets up repeat the whole process until the fight ends. You will receive a piece of Mirror of Fate.
The only thing left for you to do now is to get back to where Trevor awaits you (head towards the marker on the map) - there's nothing you can do or collect at the moment, so just concentrate on getting back to Trevor. After reaching him, a series of cutscenes will initiate.
- Castlevania: Lords of Shadow 2 Game Guide & Walkthrough
- Castlevania Lords of Shadow 2: Game Guide
- Castlevania Lords of Shadow 2: The Main Campaign - walkthrough
- Castlevania Lords of Shadow 2: Prologue - Castle Siege
- Castlevania Lords of Shadow 2: Mission 1 - Bioquimek Corporation
- Castlevania Lords of Shadow 2: Mission 2 - The Three Gorgons
- Castlevania Lords of Shadow 2: Mission 3 - The Antidote
- Mission 4 - Next Stop: Castlevania
- Castlevania Lords of Shadow 2: Mission 5 - The Blood Curse
- Castlevania Lords of Shadow 2: Mission 6 - The Antidote II
- Castlevania Lords of Shadow 2: Mission 7 - Pieces of a Mirror
- Castlevania Lords of Shadow 2: Mission 8 - The Hooded Man
- Castlevania Lords of Shadow 2: Mission 9 - The Second Acolyte
- Castlevania Lords of Shadow 2: Mission 10 - The Mirror of Fate
- Castlevania Lords of Shadow 2: Mission 11 - Revelations
- Castlevania Lords of Shadow 2: The Main Campaign - walkthrough
- Castlevania Lords of Shadow 2: Game Guide
You are not permitted to copy any image, text or info from this page. This site is not associated with and/or endorsed by the developers and the publishers. All logos and images are copyrighted by their respective owners.
Copyright © 2000 - 2026 Webedia Polska SA for gamepressure.com, unofficial game guides, walkthroughs, secrets, game tips, maps & strategies for top games.
