StarCraft Remastered: Mission 8 - The Big Push
Last update:
Mission objectives:
- Eliminate the Confederate forces;
- Duke must survive.
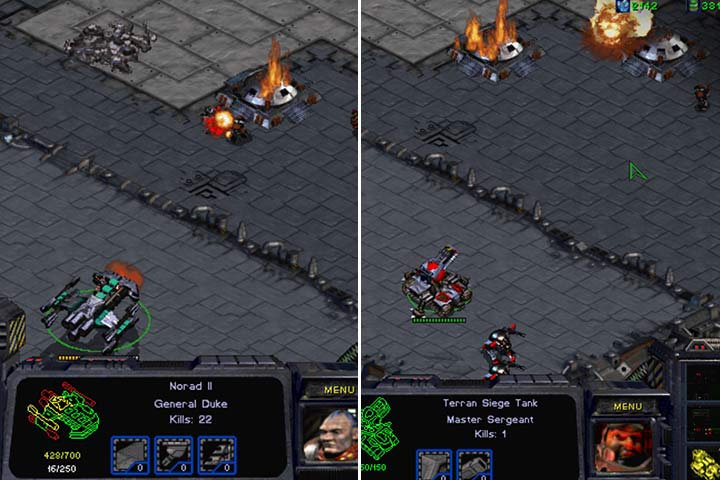
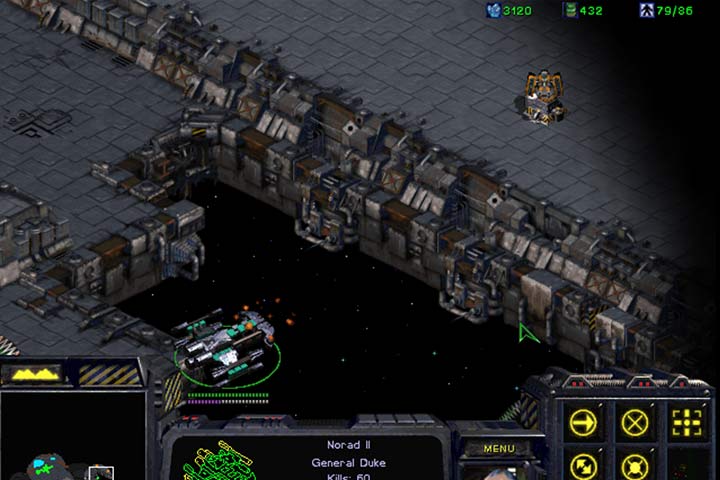
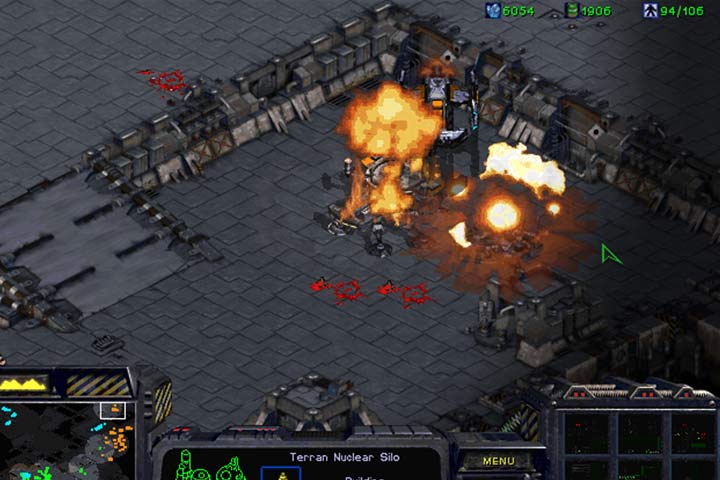
Your task is to neutralize the defensive platform at Tarsonis. It is defended by two terran armies - Delta Squadron and Omega Squadron. You have to destroy all Confederate units and buildings. Duke will personally lead the attack from his Norad II Battlecruiser. It is an enhanced version of this type of vessel. It has very strong armaments. The rapid-firing laser deals 50 points of damage both to air and land units - a Marine is killed with a single shot. It also has a special ability: the Yamato Cannon. It is capable of destroying a hostile Turret while staying out of its range. Don't be afraid to use the Battlecruiser against small enemy groups because it can take a lot of damage and deal even more. Remember to always send it back for repairs when its durability drops below half of the maximum hit points. In this mission, you will gain access to Ghosts and Nuclear Missiles. The former are powerful troops in the like of Kerrigan that can call a fire mission from special Command Center extensions.

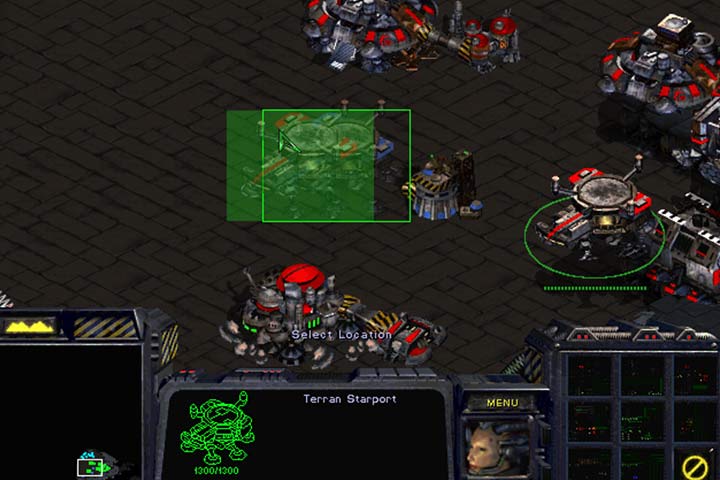
You start out with a small group of troops and buildings in the moving mode. Fly to the next platform and attach the buildings to their extensions. Start producing workers and build extra Supply Depots. There is only one way leading to your base but you are in the lower part of the platform. Build Bunkers right above the ramp to eliminate this inconvenience. Invest in infantry, tanks, and several fighters. Then, develop all technologies for Ghosts and build Nuclear Missiles in the Command Center's extensions. The brown enemy will be sending groups of Marines and Goliaths to your ramp or land somewhere in the left part of the ramp. The orange will also attack you from time to time, mostly from the east and with the use of fighters.

The first terran base (brown) is quite difficult to destroy. It has a powerful line of Bunkers, Turrets, and tanks around it. Behind the defensive line are production buildings of the enemy. You can create a big group of tanks and Marines and then slowly advance to the enemy base. Alternatively, you can send cloaked Ghosts and bombard the Bunkers before you sent your troops in. Ghost can shoot a missile while cloaked so you don't have to worry about being detected until the enemy brings a detecting unit nearby. You can assemble a Wraith squad or even Duke himself and fly to the left side of the map. Destroy the antiaircraft Turrets with the Yamato Cannon, then eliminate hostile fighters and get rid of the airport on the plateau. Now, you can deploy your tanks on this plateau and initiate artillery fire or fly to the rear of the brown base and destroy the enemy economic infrastructure. All that remains then is to attack the Bunkers from both sides. Now, send a single team to clear out the rich material deposits in the top left corner of the map.

The orange opponent is more difficult to destroy. The enemy has more troops and uses tanks more often than infantry. The base has natural walls so it's hard to access it. They also use Scanners frequently if you attack with cloaked units. The southern part of the base is defended by a line of turrets but Duke can systematically eliminate this threat.

Before you attack the base, it is a good idea to destroy the Starport in the upper part of the base. It's a secluded place, although there are three Battlecruisers docked nearby. Assemble a squadron of Wraiths and fly in from the left side, sticking to the upper edge of the map. Start to attack the Starport and then pull back immediately. You can also send two Ghosts and access the place through the hills. Shoot two rockets to be sure that the Starport is destroyed. Optionally, use a transporter to deploy the aforementioned Ghosts near the mineral deposit and the enemy Command Center. Launch two more missiles. Thanks to this, you'll cut off the enemy funds inflow. Also, before you attack the base, shell it from this hill. Bring a squad of tanks and a support infantry team and start firing. On your way, you will encounter footmen and tanks on special platforms but your air force should solve this problem. Remember that you have to destroy all enemy buildings and units. Start from Turrets, then move on to production buildings. If you haven't completed the mission successfully yet, check the map carefully and send units to undiscovered places.
- StarCraft: Remastered Game Guide
- StarCraft Remastered: Game Guide
- StarCraft Remastered: Campaign Walkthrough
- StarCraft Remastered: Terrans
- StarCraft Remastered: Mission 1 - Wasteland
- StarCraft Remastered: Mission 2 - Backwater Station
- StarCraft Remastered: Mission 3 - Desperate Alliance
- StarCraft Remastered: Mission 4 - The Jacobs Installation
- StarCraft Remastered: Mission 5 - Revolution
- StarCraft Remastered: Mission 6 - Norad II
- StarCraft Remastered: Mission 7 - The Trump Card
- StarCraft Remastered: Mission 8 - The Big Push
- StarCraft Remastered: Mission 9 - New Gettysburg
- StarCraft Remastered: Mission 10 - The Hammer Falls
- StarCraft Remastered: Terrans
- StarCraft Remastered: Campaign Walkthrough
- StarCraft Remastered: Game Guide
You are not permitted to copy any image, text or info from this page. This site is not associated with and/or endorsed by the developers and the publishers. All logos and images are copyrighted by their respective owners.
Copyright © 2000 - 2026 Webedia Polska SA for gamepressure.com, unofficial game guides, walkthroughs, secrets, game tips, maps & strategies for top games.
