StarCraft Remastered: Mission 3 - Higher Ground
Last update:
Mission objectives:
- Destroy the Zerg colonies
Overmind's powers are certainly impressive, because it was able to resurrect the defeated Cerebrate. The Conclave decides to change tactics and launches a full-scale assault on Zerg forces in the Scion province. You'll be dealing with a whole lot of Zerg this time, and things won't be going as easy from now on.

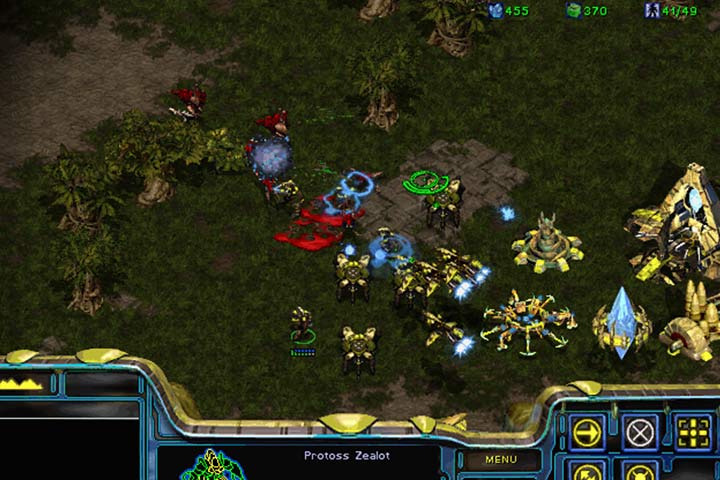
You'll have to take down two large Zerg bases. The red base is located to the left, in a valley, protected by a high concentration of ground forces and Sunken Colonies. This base has got only two AA turrets and a few Mutalisks. The white base is in the upper right corner, among the ruins. Its defenses are more balanced, including more Mutalisks, Scourges, as well as Hydralisks and AA turrets. Both enemies will regularly send their troops to your base, so you should take down one of them as soon as you can. Expand your base and focus on gas excavation (1). In this mission you'll be given access to Scout fighters, equipped with excellent anti-air missiles. On the left, near the lower edge of the map you'll find a poorly defended site, which can be used for expansion. If you want to speed up resource acquisition, you should consider building a second base.

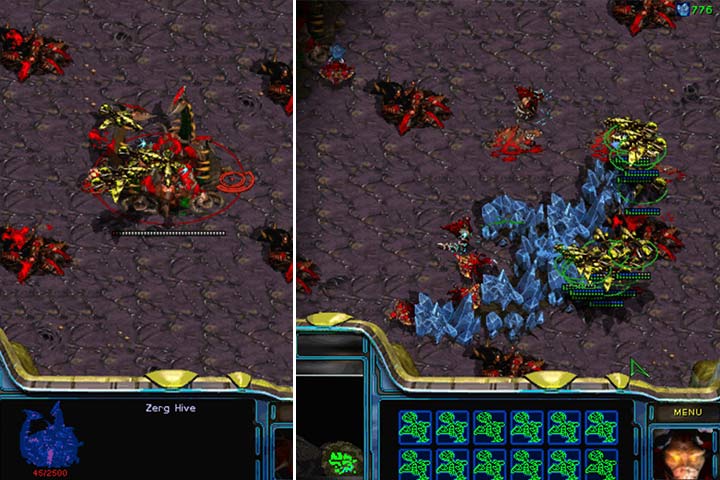
Attack on the red Zerg base. Cost-wise, he's the tougher opponent, but having dealt with him will help you take down the white base. Once you attack the red base, the AI will start gathering its forces from across the entire map. Your plan is to build a full team of Scout fighters. In the valley you'll encounter only a few anti-air units and just two Spore Colony turrets (2). Take out those structures and any enemy air units you may encounter, then proceed to destroy Hatchery/Lair/Hive. Have some of the fighters hunt for enemy units, such as Drones, that may begin rebuilding the base. Once the operation is complete, have the fighters fall back and regain full strength. Then, proceed with a reconnaissance flight to check whether the enemy isn't trying to rebuild. Only then can you give the move and attack order to have the fighters wipe out the rest of the buildings on their own.

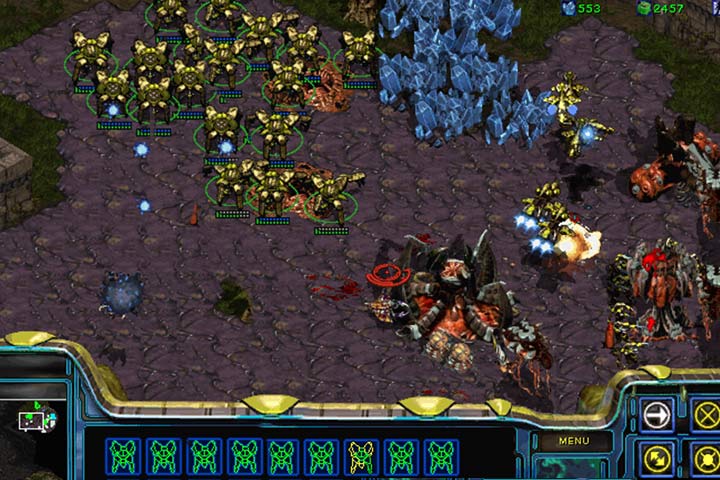
Attack on the white Zerg base. It won't be simple, but it may be easier if you use a certain trick. Prepare a full team of Zealots and Dragoons. Then, head north, towards the ruins. Avoid the first entrance (3) and proceed northwest, along the walls. You may try going for the hill, but there will be numerous hidden forces of both swarms waiting for you there. On the north, there is a second entrance, and it's virtually defenseless. Now you can enter the enemy base, but keep to its northern pside (4). Begin killing Drones and order the Dragoons to shoot at the enemy HQ. This will keep him from getting reinforcements. Subsequently, proceed to take out enemy ground forces and Sunken Colonies. Then, take out the enemy air forces and rest of the buildings. You may bring in your own air forces for this last stage, but be aware that there may be heavy losses. If you prefer, however, you can begin with this base to gain the resources for an army that will easily steamroll through the red base.
- StarCraft: Remastered Game Guide
- StarCraft Remastered: Game Guide
- StarCraft Remastered: Campaign Walkthrough
- StarCraft Remastered: Protoss
- StarCraft Remastered: Mission 1 - First Strike
- StarCraft Remastered: Mission 2 - Into the Flames
- StarCraft Remastered: Mission 3 - Higher Ground
- StarCraft Remastered: Mission 4 - The Hunt for Tassadar
- StarCraft Remastered: Mission 5 - Choosing Sides
- StarCraft Remastered: Mission 6 - Into the Darkness
- StarCraft Remastered: Mission 7 - Homeland
- StarCraft Remastered: Mission 8 - The Trial of Tassadar
- StarCraft Remastered: Mission 9 - Shadow Hunters
- StarCraft Remastered: Mission 10 - Eye of the Storm
- StarCraft Remastered: Protoss
- StarCraft Remastered: Campaign Walkthrough
- StarCraft Remastered: Game Guide
You are not permitted to copy any image, text or info from this page. This site is not associated with and/or endorsed by the developers and the publishers. All logos and images are copyrighted by their respective owners.
Copyright © 2000 - 2026 Webedia Polska SA for gamepressure.com, unofficial game guides, walkthroughs, secrets, game tips, maps & strategies for top games.
