
StarCraft Remastered: Mission 5 - The Amerigo
Last update:
Mission objectives:
- Bring Kerrigan to the supercomputer;
- Kerrigan must survive.
Kerrigan is very grateful to you for taking care of her on Char. Now, she wants to empower her psionic abilities. To do so, she infiltrates a terran Science Vessel. Your task is to help her in her search.
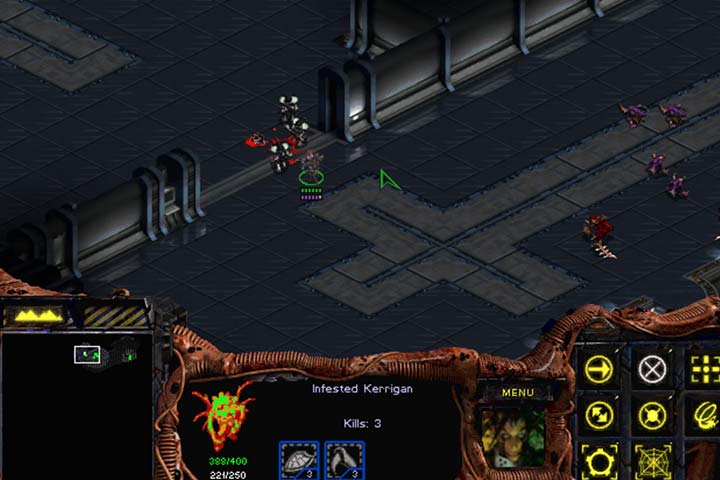
It is another mission within a facility, similar to the terran one. You are given control over Kerrigan and a small group of Zerglings and Elite Hydralisks. Assign each kind of unit to a separate hotkey. Most of the time, you will be attacking enemies only using Kerrigan. Although she is a zerg now, she can still use the Cloak ability. In this way, you can get rid of almost all enemies. However, you have to watch out for hidden Turrets and defense systems that can detect you. The units you command are essential in the final battle. The last line of defense consists of Turrets and a small group of Ghosts. Without the support of other zerg, it's incredibly difficult to break through it. But let's start from the beginning.
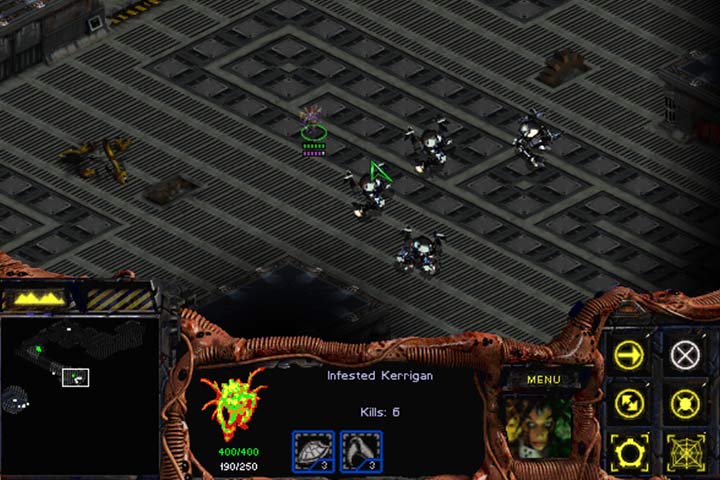
Move through the first door using cloaked Kerrigan and kill all Marines (1). Move through the rest of the doors, and once you're before the way to the lower level (2), select Kerrigan only and stick to the northern wall until you reach a door. There are 6 Goliaths in the next room, and you have to destroy them using the invisible Kerrigan (3). Now, bring the rest of your forces, also sticking to the northern wall. Later, you will encounter a small group of soldiers and a sniper on an elevation (4). Kill them with Kerrigan. Now, gather everyone at the stairs. When you're going through the narrow corridor, a defense system will activate several Turrets hidden in the floor (5). Issue the Attack Move order, thanks to which you'll deal with this threat quickly.
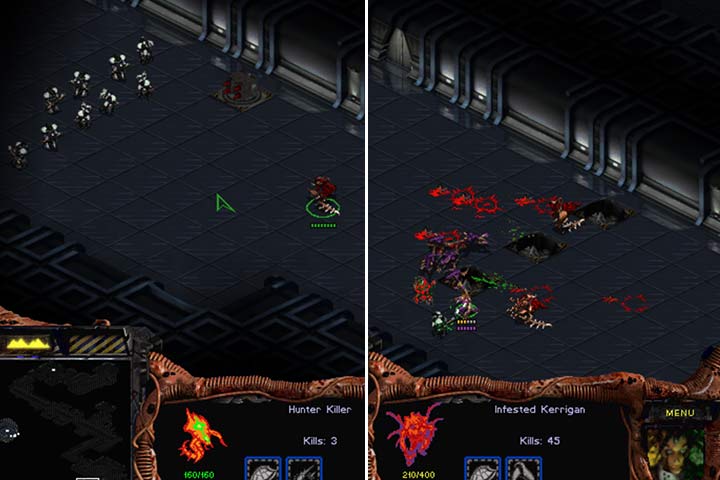
Now, you'll arrive at a prison hall where several Zerglings are being attacked by Marines. If you hurry, you can save most of them (6). Approach the nearby beacon to open the gate for your friends. Right behind the corner, a group of Marines and three Turrets are lying in wait for you (7). This time around, Kerrigan can't handle the task alone. You have to attack with the entire group because the Turrets have the Detect ability. You can also close in with the Hydralisks until the Turret starts to reveal itself, fire a few shots, and then withdraw. Sometimes, some Marines will attack you. In this way, you can get rid of most of them quickly.
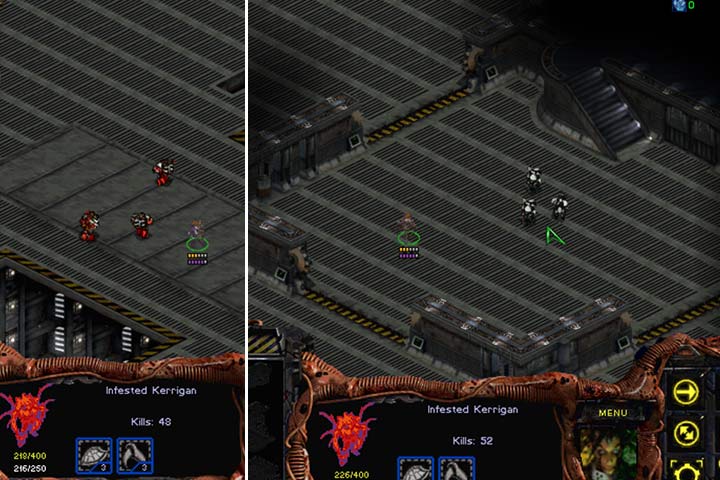
Gather your army at the gate and send Kerrigan first. You'll pass a closed door and encounter several terrans. There are two groups of Firebats in this place. It's safer for your troops if you eliminate the threat with cloaked Kerrigan (8). In the north, there is a room with three Marines inside and three open doors (9). It's an ambush that you have to walk into. Gather all your forces at the door and enter the room as quickly as possible and then go to the upper ledge. In total, there are over a dozen terrans here. Activate both beacons. Go back to the previously closed door. Now, select Hydralisks and approach the stairs (10). Wait until Firebats go down to you and eliminate them one by one. Then, destroy the Turret and use the teleport.
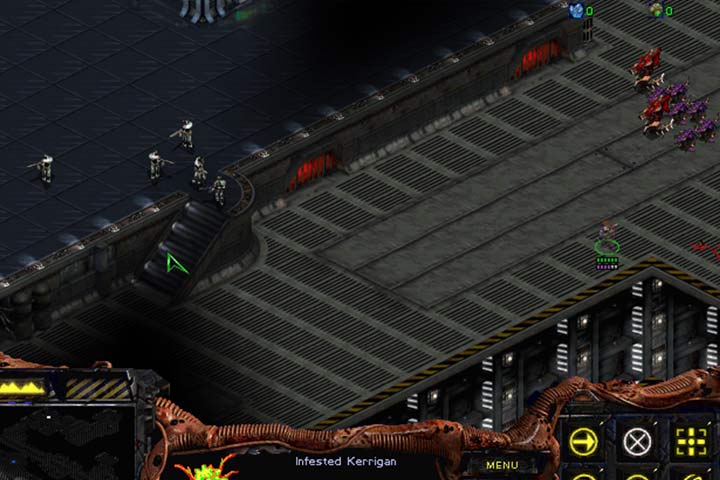
In the new location, start from clearing out the elevation with Kerrigan (11). Do the same on the lower level but don't get close to the stairs that lead to the supercomputer just yet (12). Gather your forces and save the game. Now, send Zerglings in first and then Hydralisks and Kerrigan right after them. Destroy the Turret first. Thanks to this, dealing with Ghosts will be easier. What if you have only Kerrigan at your disposal? You can approach the stairs and lure individual footmen out. Once Kerrigan has few hit points, withdraw from the stairs and let her regenerate (speed up the gameplay). You can also try to destroy the Turret and activate Cloak. However, hostile units will often block the stairs for you. In the end, move to the beacon and end the mission.
- StarCraft: Remastered Game Guide
- StarCraft Remastered: Game Guide
- StarCraft Remastered: Campaign Walkthrough
- StarCraft Remastered: Zerg
- StarCraft Remastered: Mission 1 - Among the Ruins
- StarCraft Remastered: Mission 2 - Egression
- StarCraft Remastered: Mission 3 - The New Dominion
- StarCraft Remastered: Mission 4 - Agent of the Swarm
- StarCraft Remastered: Mission 5 - The Amerigo
- StarCraft Remastered: Mission 6 - The Dark Templar
- StarCraft Remastered: Mission 7 - The Culling
- StarCraft Remastered: Mission 8 - Eye for an Eye
- StarCraft Remastered: Misja 9 - The Invasion of Aiur
- StarCraft Remastered: Mission 10 - Full Circle
- StarCraft Remastered: Zerg
- StarCraft Remastered: Campaign Walkthrough
- StarCraft Remastered: Game Guide
You are not permitted to copy any image, text or info from this page. This site is not associated with and/or endorsed by the developers and the publishers. All logos and images are copyrighted by their respective owners.
Copyright © 2000 - 2026 Webedia Polska SA for gamepressure.com, unofficial game guides, walkthroughs, secrets, game tips, maps & strategies for top games.
