StarCraft Remastered: Mission 6 - Into the Darkness
Last update:
Mission objectives:
- Save Zeratul
- Tassadar has to survive
Tassadar and Zelots entered the Terran facility, which is overrun by the Zerg. The party has to find Zeratul and his Dark Templars. You will help Tassadar breakthrough the dangerous labyrinth.

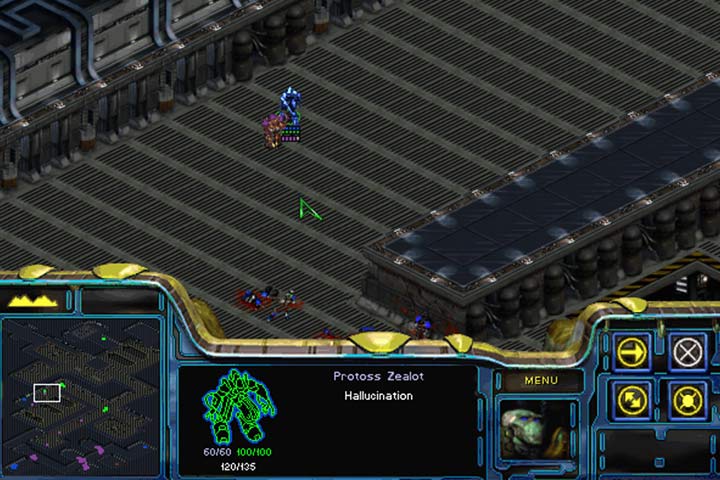
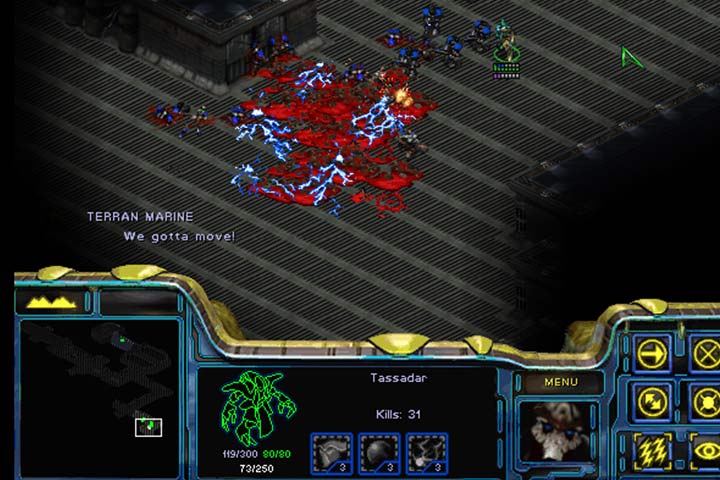
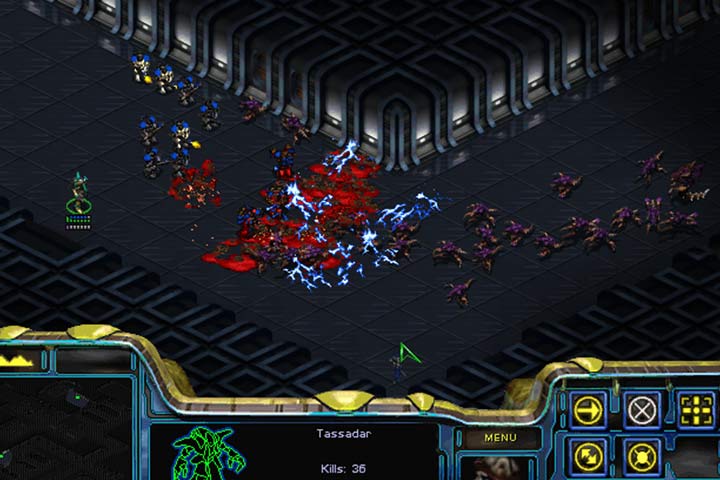
The main enemy here will be Infected Terrans, who can blow up your whole squad. The best way to counteract this is to use illusion on your soldier and to send a solitary copy against the mutated people. The use of Psionic Storm will be useful for many Zergling groups, especially in the last part of the mission. Sometimes it is worth to spend a moment on regenerating Tassadar's shields and Energy and speed up the game time only in order to do so. Tassadar himself has a very large number of shields with a decent distance attack power. Keep it close to your soldiers.

Assemble all three and go along the hallway (1). You will encounter small groups of Zerglings. Enter the first door. A team of Marines will join your team (2). You can get another team if you turn into the closed room west from here (3). Now, assemble everyone in front of the next door. There are Zerg and an Infected Terran inside (4). Either focus the Marines' fire on him, send one Marine on a suicide mission, or create an illusion that will approach him. The way will fork after this room. Go through the double door and go to the left. A group of dug-in Zerglings will be there (5). The Psionic Storm should take care of the problem. Then go to the bridge and destroy the Hydralisk there. Send one unit to the west of the stairs and approach the marker (6). You will get reinforcements (Protoss). Enter the double door and proceed further.

Once you reach the intersection, you have two choices. You can help a group of Marines by going east (7). Keep Tassadar at the front when the Zergling attack, use Psionic Storm on the biggest cluster of the Zerg. Then take all Marines position them at the intersection. Then, get to the marker that will open the door in the next part of the hallway (8). Take only the Protoss go to the northwest. You'll meet another Infected Terran. Create an illusion of your soldier to easily defeat him, and then get to the marker defended by the Hydralisk. Now go back to the intersection and combine your forces. In front of you are turrets and 3 Infected Terrans (9). You can either sacrifice one marine or wait and use illusion again. After reaching the stairs, you will encounter open door. There are more Zergs inside, and another Infected Terran. Use the Psionic Storm and the Marines to eliminate him first. Behind the door, will be more reinforcements, including a Ghost (10). Save your game now!

Behind the corner waits a superior group of Zerg and at least one Infected Terran (11). If even a single soldier approaches this force, they will all start to attack. Set your troops in front of the door. Zelots and Firebats at the front, and Marines with Tassadar behind them. Send in a cloaked Ghost to the front and start targeting the Infected Terran. Then engage at will. This is the toughest fight. Now just approach the marker at the end of the hallway(12). Be careful, for six turrets defend it. Go back to the room with the closed door and approach another marker (13).
- StarCraft: Remastered Game Guide
- StarCraft Remastered: Game Guide
- StarCraft Remastered: Campaign Walkthrough
- StarCraft Remastered: Protoss
- StarCraft Remastered: Mission 1 - First Strike
- StarCraft Remastered: Mission 2 - Into the Flames
- StarCraft Remastered: Mission 3 - Higher Ground
- StarCraft Remastered: Mission 4 - The Hunt for Tassadar
- StarCraft Remastered: Mission 5 - Choosing Sides
- StarCraft Remastered: Mission 6 - Into the Darkness
- StarCraft Remastered: Mission 7 - Homeland
- StarCraft Remastered: Mission 8 - The Trial of Tassadar
- StarCraft Remastered: Mission 9 - Shadow Hunters
- StarCraft Remastered: Mission 10 - Eye of the Storm
- StarCraft Remastered: Protoss
- StarCraft Remastered: Campaign Walkthrough
- StarCraft Remastered: Game Guide
You are not permitted to copy any image, text or info from this page. This site is not associated with and/or endorsed by the developers and the publishers. All logos and images are copyrighted by their respective owners.
Copyright © 2000 - 2026 Webedia Polska SA for gamepressure.com, unofficial game guides, walkthroughs, secrets, game tips, maps & strategies for top games.
