StarCraft Remastered: Mission 4 - The Jacobs Installation
Last update:
Mission objectives:
- Retrieve data discs from the Confederate network;
- Raynor must survive.
Both the Confederation and the colonists are in the middle of evacuation. Among the chaos, Arcturus Mengsk considered the situation a perfect opportunity to steal data from one of the Confederate facilities. Together with Raynor, you decide to lead a small team to raid such a place.
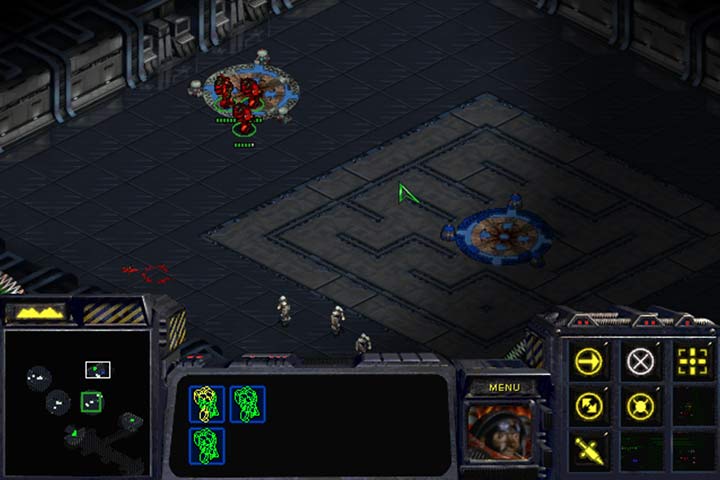
You start the mission in the right bottom corner. You have Raynor (as a Marine), 4 Firebats, and 7 soldiers at your disposal. Assign the flamethrower infantry to group one, and the rest to group two. In this way, you'll have full control over your troops. If you lead them together, Firebats will often be left behind and thus become useless. They have to be in the front at all times if you want to take advantage of their strengths.
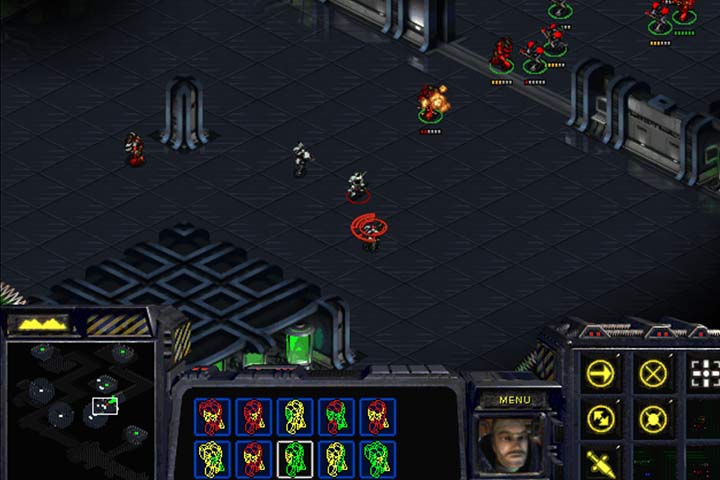
In this mission, you'll encounter individual enemies or small groups of them. Sometimes, you'll run into hidden defense systems such as wall-mounted flamethrowers or rocket launchers or antipersonnel Turrets hidden in the floor. You can disable some of them. The trick is to keep your troops together, and you will overcome all difficulties with no problem.

First, go through the first door and go past the room on the left. Before you enter the room with a double door, go right until you reach a teleport. You will find yourself in a room with little guards. You can activate a special beacon that lets you access security cameras. Then, go back to the double door. Inside, you must fight the toughest battle of this mission against a large group of Marines and a Goliath battle machine. Next, move on until you pass the door and see an intersection. Go to the small room on the right where you can disable security systems. From now on, most of the hidden turrets won't work.

Next, go up the corridor on the left. Having activated the beacon, a door with the zerg behind it will open. You can go through the second corridor that leads up. When you enter the big room on the lower level, don't approach the door on the left. Thanks to this, you can avoid a fight with two more enemy squads. At the end, there is a teleport that leads to the headquarters. Here, you will have to face security systems and Marines. Attack the Turrets right away - you can destroy them even during the activation animation. There is a sniper in the last room. He attacks at a greater distance then your troops. Kill him first, and then clear out the room from remaining hostiles and then move to the last beacon.
- StarCraft: Remastered Game Guide
- StarCraft Remastered: Game Guide
- StarCraft Remastered: Campaign Walkthrough
- StarCraft Remastered: Terrans
- StarCraft Remastered: Mission 1 - Wasteland
- StarCraft Remastered: Mission 2 - Backwater Station
- StarCraft Remastered: Mission 3 - Desperate Alliance
- StarCraft Remastered: Mission 4 - The Jacobs Installation
- StarCraft Remastered: Mission 5 - Revolution
- StarCraft Remastered: Mission 6 - Norad II
- StarCraft Remastered: Mission 7 - The Trump Card
- StarCraft Remastered: Mission 8 - The Big Push
- StarCraft Remastered: Mission 9 - New Gettysburg
- StarCraft Remastered: Mission 10 - The Hammer Falls
- StarCraft Remastered: Terrans
- StarCraft Remastered: Campaign Walkthrough
- StarCraft Remastered: Game Guide
You are not permitted to copy any image, text or info from this page. This site is not associated with and/or endorsed by the developers and the publishers. All logos and images are copyrighted by their respective owners.
Copyright © 2000 - 2026 Webedia Polska SA for gamepressure.com, unofficial game guides, walkthroughs, secrets, game tips, maps & strategies for top games.
