Metro Last Light: Reach the rangers' lighthouse
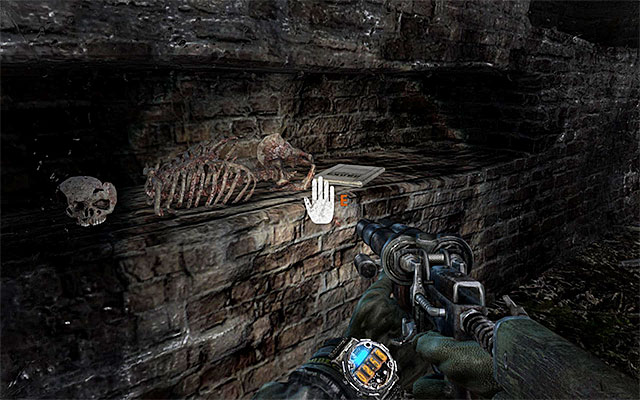
Right after you start this chapter, examine the wall to the left, because one of the skeletons has an Artyom's diary page on it (the above screenshot). Collect it and go on.
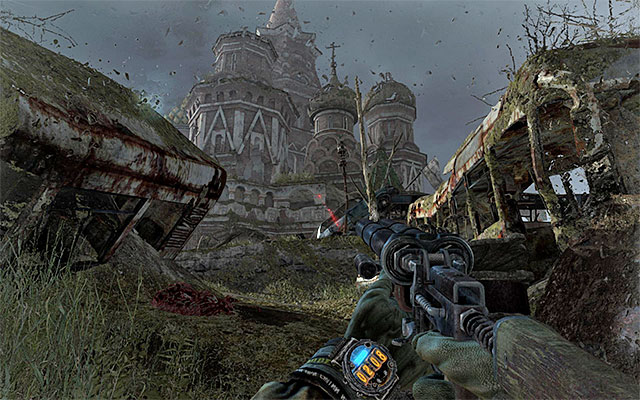
Once you are back on the surface, you are up for a linear path ahead, but it is worthwhile to make frequent stops to examine the corpses and gather supplies.
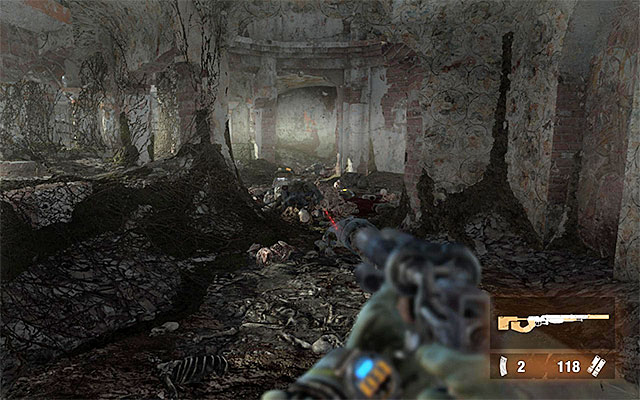
Ignore the mutants staying in the destroyed cathedral, as they are, in no way, a threat to you. It is a good idea to go towards the stairs that lead to the large building mentioned before. This way, you will reach a corridor with two heaps of corpses in it, and quite a few supplies at each.
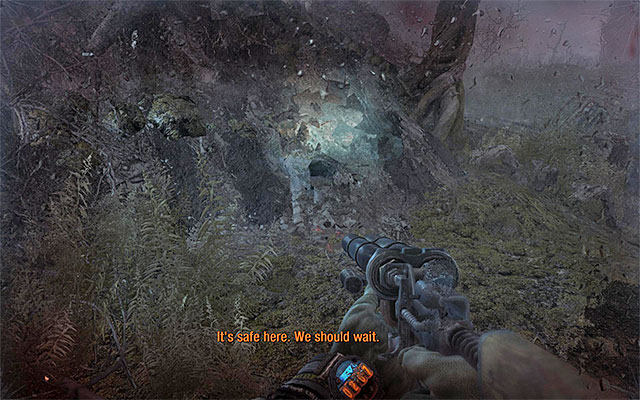
Having conducted a sufficient exploration of the area, resume your march and follow the Dark One. According to the Dark One, you need to find some shelter really quickly because there is a storm brewing and otherwise, you would start taking damage due to radiation. Stop next to the friend of yours.
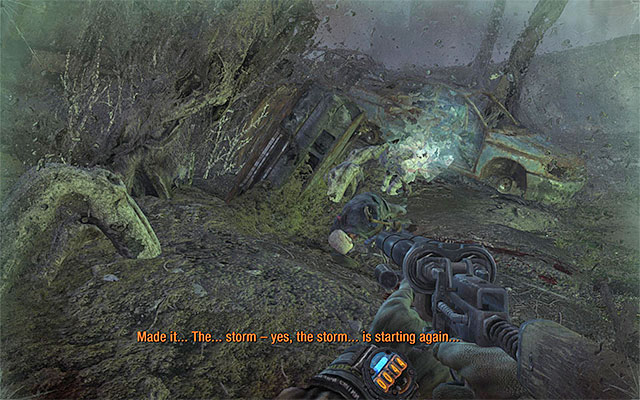
The next part of the journey is similar to the activities described above. You need to listen carefully to what the Dark One has to say, and follow it as soon as it decides it is safe to go. You also need to make stops whenever the Dark One does. . Do not try to stray too much from the main path and examine only the corpses that are right on the path.
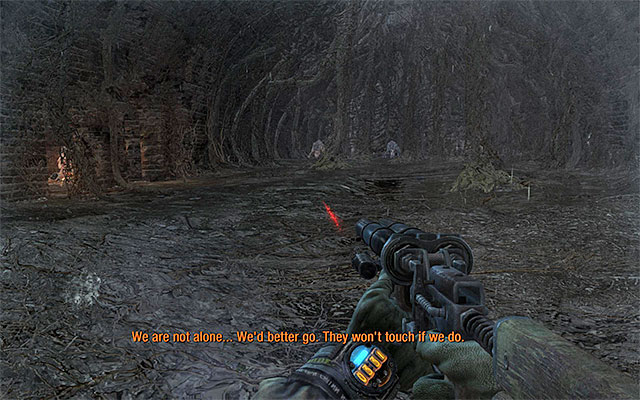
The single mutant that you encounter can be well ignored because, due to the storm, the beast will not attack you (if you really have to, approach the monster and search through the corpse next to it). Do not expect any hostile behavior on the part of the mutants staying in the nearby den although, in this particular case, an attempt to search the corpse may provoke an attack.
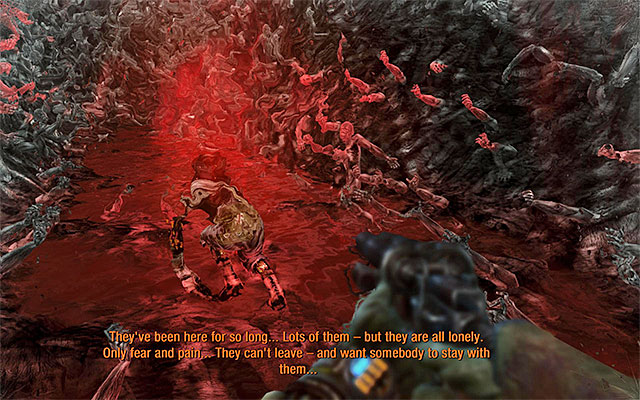
Keep following the Dark One and make sure that you do not lose the ground under your feet. Soon, you will experience an unique vision. After you regain control over Artyom, follow the Dark One. You really need to stay as close as possible (sprint if you have to) because, it is the only way to avoid taking damage.
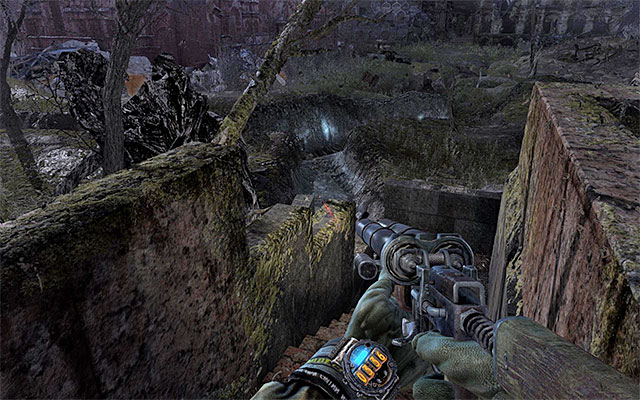
After you are back to the reality, go ahead. Explore the closest building in search of a sniper rifle (it is not necessary to collect this weapon, but you will make use with a long distance weapon towards the end of this chapter) and locate the demolished stairs leading to a narrow passage. Take this passage to reach a mausoleum.
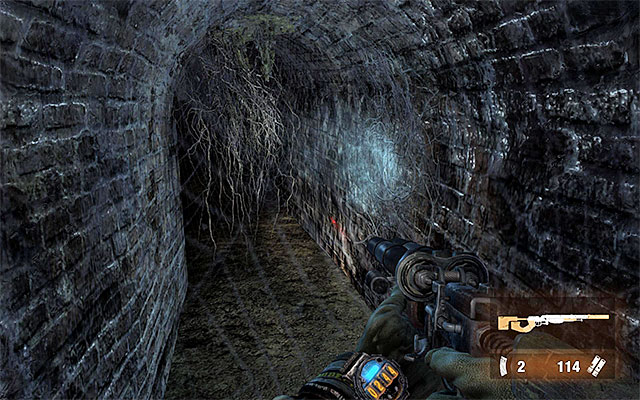
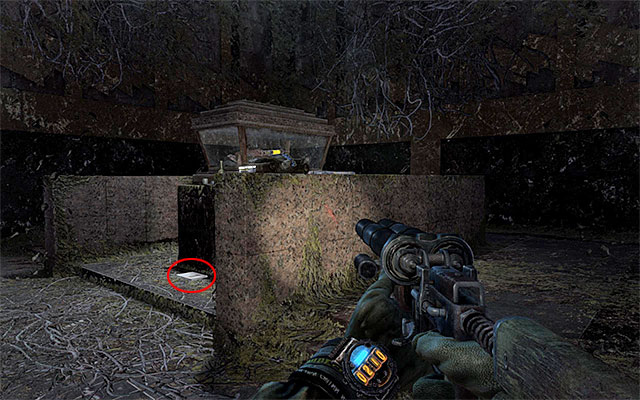
BEFORE go proceed any further, turn left and take the long corridors shown in screenshot 1, that leads inside the mausoleum. After you enter the area shown in screenshot 2, approach the sarcophagus in the centre and collect the Artyom's diary page lying at its feet. If you want to, you can keep exploring this area (two backpacks with supplies), or leave.
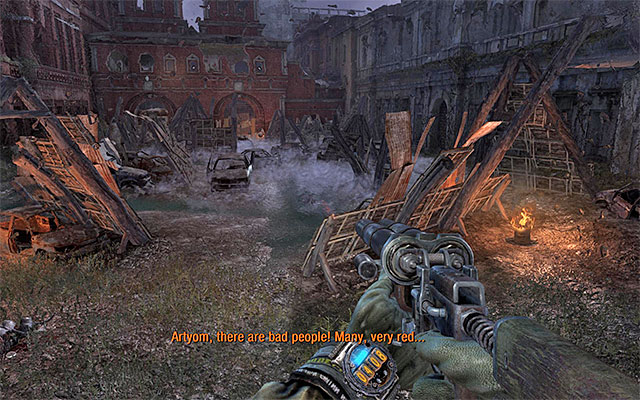
Go straight ahead and take the path going left, right behind the nearby hill. Your current destination is the square shown in the above screenshot. Before you jump down, however, reload your weapons and get ready for the forthcoming (and quite difficult) battle.
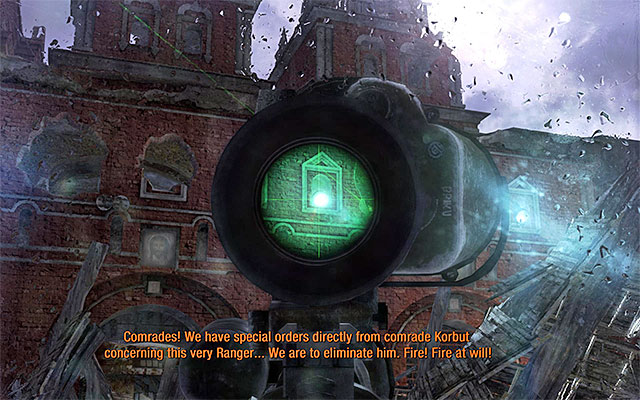
Start by examining the nearby corpses. Approaching the building that you can see in the distance, will cause shutters to spring open and snipers to appear. Quickly, destroy the two spotlights lighting the square.
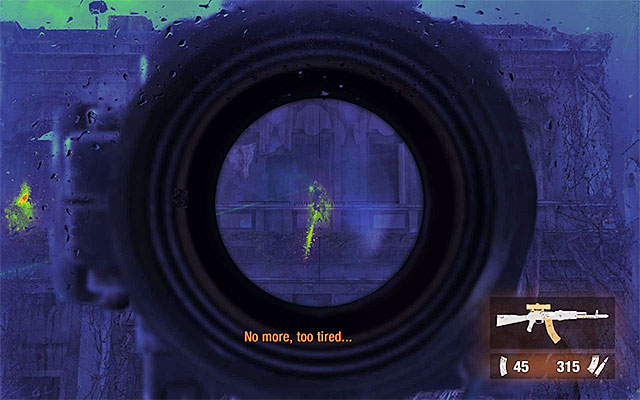
The best action to take here is to eliminate all the Reds, of course. Wait for the temporary change in the mode of seeing and then start shooting at the enemies. This is especially a good idea, because the change in mode is connected with a temporary time slow-down. After the effect wears off, take cover and continue attacking the enemies.
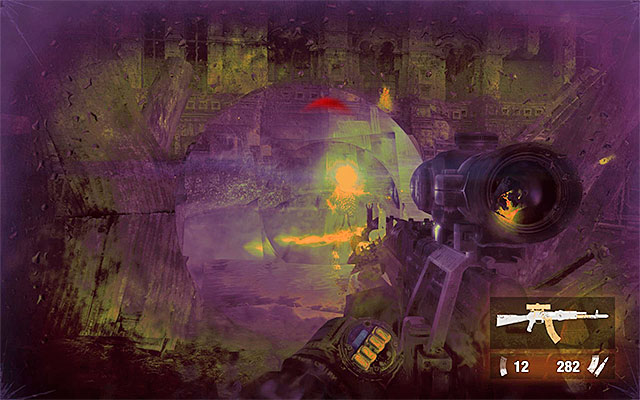
You have to take into account that some of the enemies will soon go downstairs and rush at you. Use the seeing mode "gifted" to you by the Dark One again. This will help you locate the enemies easily, and let you avoid being caught off guard. It is crucial that you do not let the enemy surround Artyom, or otherwise he will die quickly. You can also prepare yourself well in advance and deploy all of the mines you have.
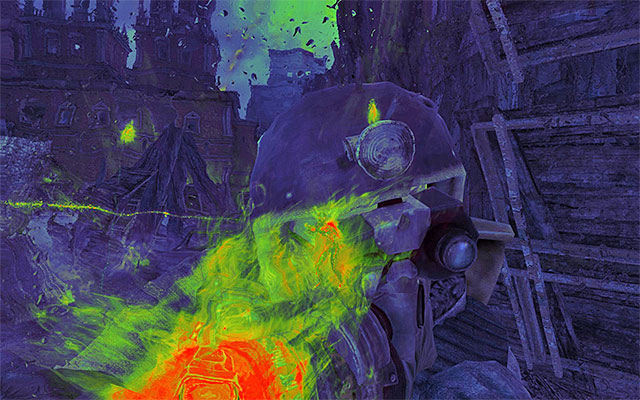
Note - if you want to unlock the achievement connected with beating the game without any kills, you are up for a DIFFICULT task here because, you cannot kill any of the enemies here. You would have to avoid taking damage from snipers first, and then, once the enemies appear down in the square, you would have to take from behind each and every one of them and knock them out. In this situation, I recommend that you play the lowest difficulty level, and make a frequent use of the first aid kit.
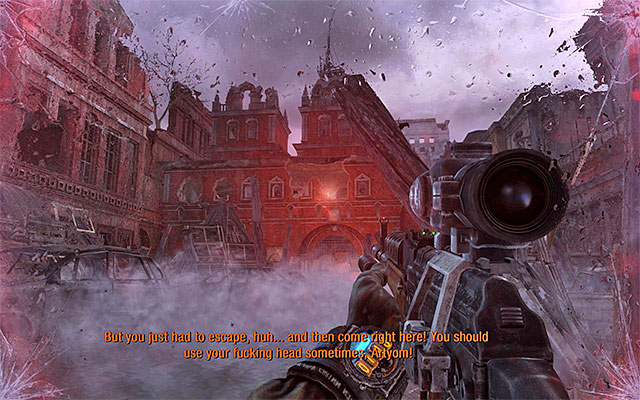
Regardless of how you are going to play it, you need to keep defending yourself until there is only Pavel upstairs (you can tell it by the red beam of the laser sight). Start shooting at him, while making extensive use of the covers. Keep fighting until the moment in which Pavel takes enough damage (do not worry about the achievement mentioned earlier, because you won't be able to kill Pavel for several good minutes).
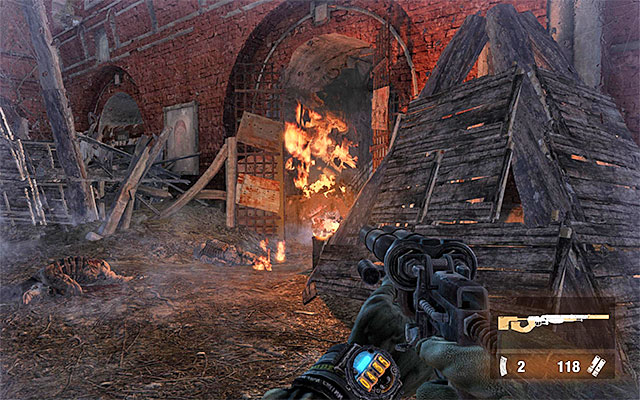
There is another battle with the "regular" soldiers ahead of you. They will appear near the gate at the to the starting point. Just like before, start killing the enemies, or wait for them to come close enough to be knocked out. In the case of the former, it is a good idea to make use of the grenades, especially if the enemies are deployed close to each other.
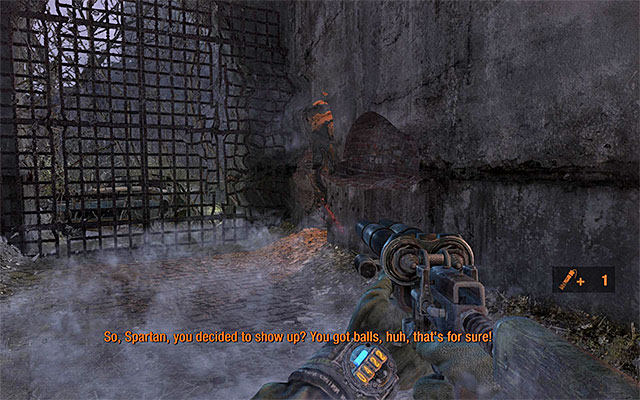
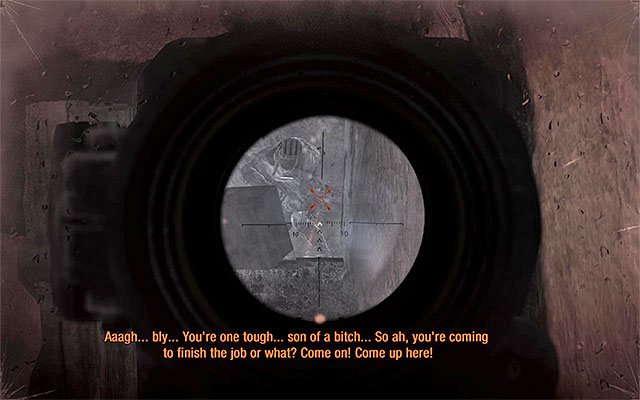
After you are done, go towards the gate that the enemies appeared next to and position yourself next to the passage to the right (screenshot 1). You need to keep leaning here from behind the wall to get Pavel, who is standing on the landing (screenshot 2). If you do not want to take too much risk, you can throw several grenades at Pavel.
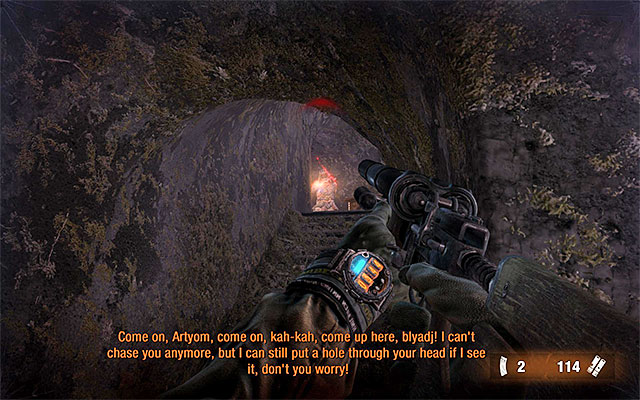
After Pavel retreats to the higher level, go to the landing. Just like before, lean from behind the wall and use a good machine gun to inflict damage to Pavel. At the same time, remember to heal Artyom or you will have to start over in the case of taking terminal damage.
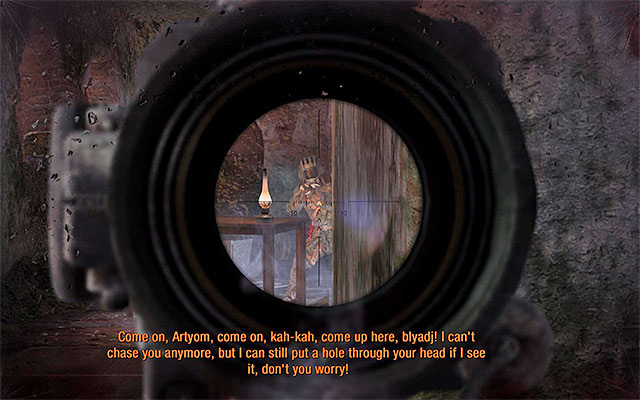
Soon, Pavel will retreat again. Climb the stairs to the very top, turn left and then right. Throw several grenades in Pavel's direction or inflict enough damage with your firearm.
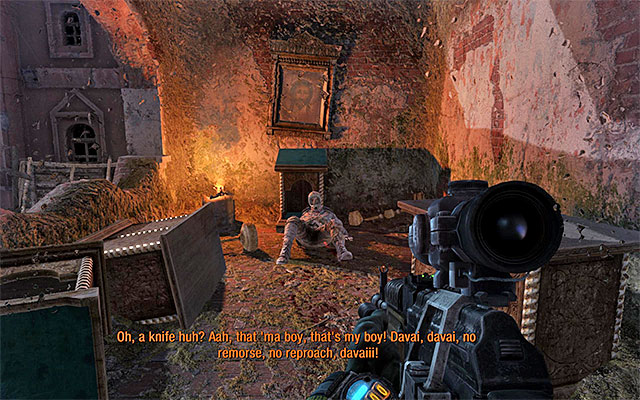
After Pavel manages to escape for the last time, you can move right after him because you do not have to fear any attacks from him. Approach the severely wounded enemy who is hiding in the last room. This will result in the last retrospection being displayed.
You are not permitted to copy any image, text or info from this page. This site is not associated with and/or endorsed by the developers and the publishers. All logos and images are copyrighted by their respective owners.
Copyright © 2000 - 2026 Webedia Polska SA for gamepressure.com, unofficial game guides, walkthroughs, secrets, game tips, maps & strategies for top games.
