Metro Last Light: Follow the catacombs towards Oktyabrskaya - part 1
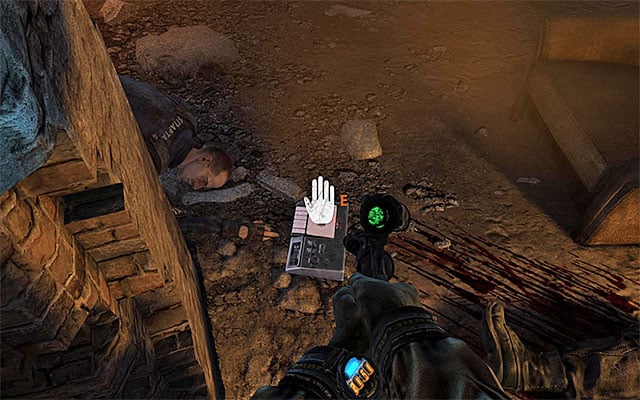
Take the only possible passage and follow the linear path. It is a good idea to interact with the tape recorder in one of the following rooms, which will result in a recording of the attack being played. In the same room, you will also find a double barreled shotgun and two different machine guns.
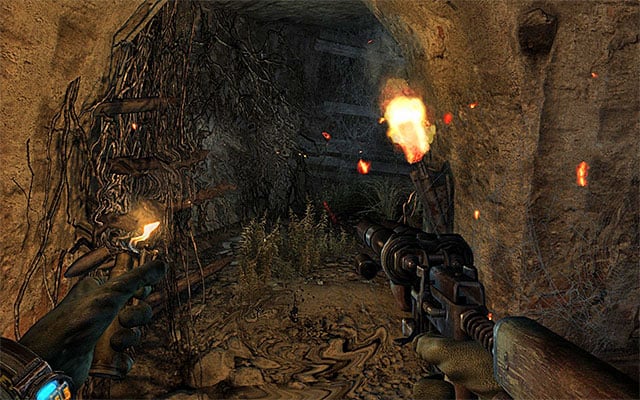
Resume your walk. From the moment in which you experience display distortions, you will not be able to use neither the torchlight nor the night vision goggles (temporarily, though). You can, of course, move around without any additional lighting but, it is good to know, that the game does not disable the lighter.
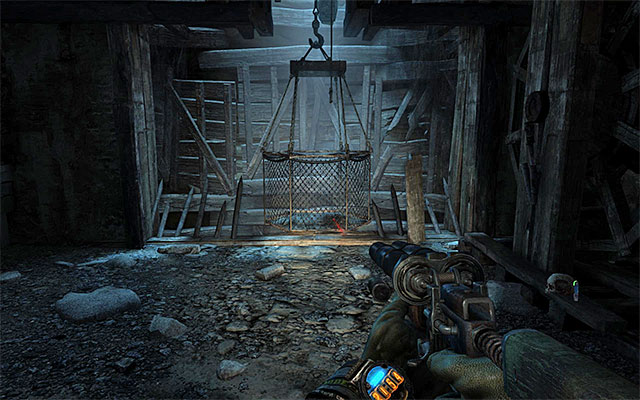
Follow the linear corridors and find Claymore mines, throwing knives, a supply box and a skeleton that you can search. Ultimately, you need to reach the small elevator shown in the above screenshot and enter it.
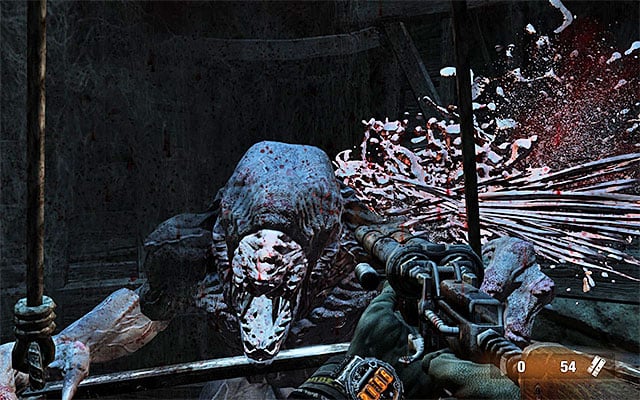
Get prepared because, during your ride, you will be attacked by several waves of mutants. The best solution here is to discharge the double-barreled shotgun right after they catch onto the elevator, i.e. as soon as you make sure that you do not miss. A single attack with the double-barreled shotgun (or any other, good shotgun) should be enough to kill one individual.
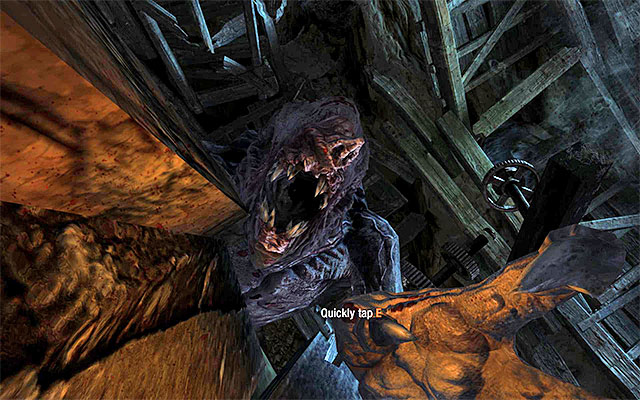
In the final phase of your ride, be ready for the rhythmical tapping of the correct key indicated by the game, thanks to which you will handle the last one of the mutants.
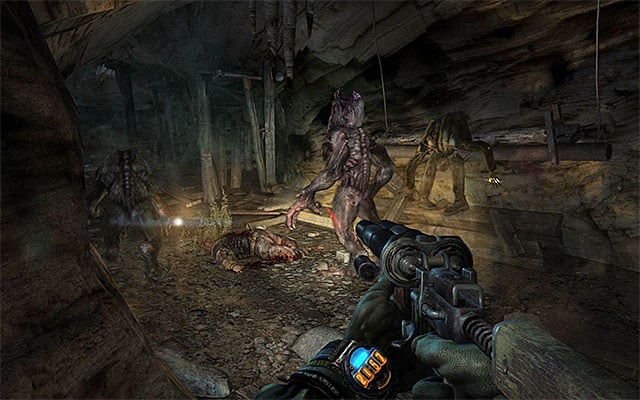
Turn back and start another linear march (you can use your torchlight and the night vision here, fortunately). Expect another wave of mutants to attack, as soon as you enter one of the corridors. First, start shooting at the monsters in the distance, then deal with the one at the short distance. Do not forget, also, to search all of the corpses you find on the way, thanks to which you will be able to replenish the much needed supplies (and weapons as well).
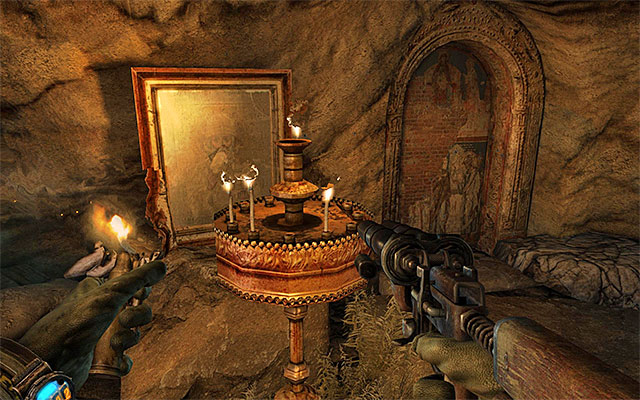
After a while, you will reach a fork. It is optional to explore the area to the right, and you would also have to use the lighter instead of the torchlight and the goggles. What you would find there is three altars that can be lit.
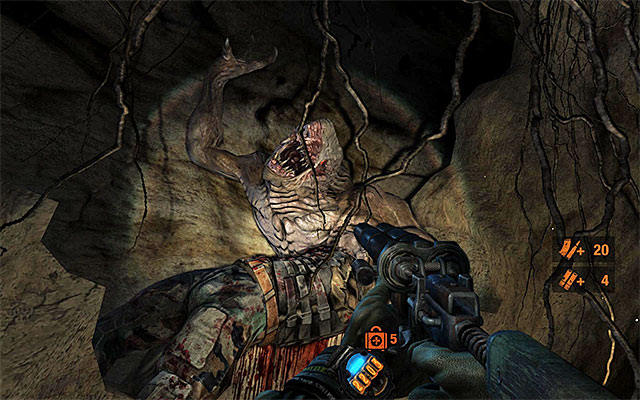
Regardless of whether you have decided to explore the abovementioned area, or not. Follow the corridors and pay attention to mutants. Be careful, as the examination of one of the corpses on the rocks to the right results in an attack by a monster, which needs to be handled.
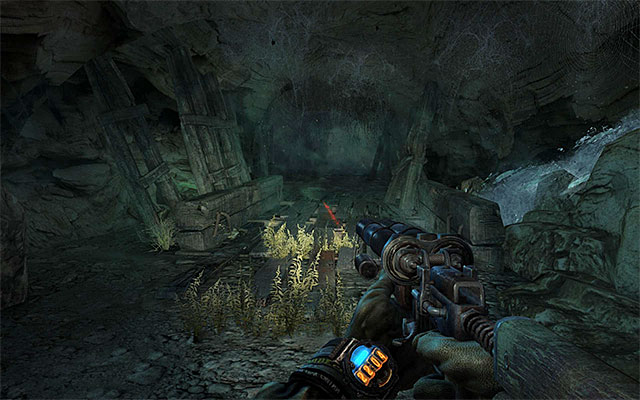
After you reach the bridge shown in the screenshot above, consider deploying several Claymores there. This is because soon a wave of monsters will appear here. Enter now the larges cave and approach the blocked passage.
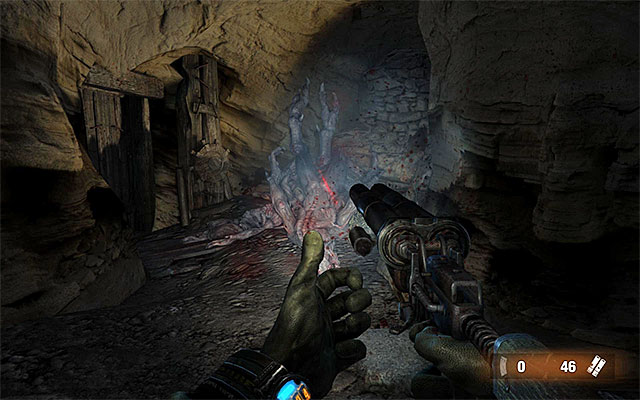
Turn around and get ready to repel a large wave of mutants. If, according to my suggestion, you have deployed Claymores on the bridge, some of the monsters will die on the spot. Regardless of how many mutants survive the blast, remember that you should be moving at all times to prevent yourself from being surrounded or cornered. Try to use your shotgun or the double barreled shotgun, and also make sure that Artyom's health does not drop too low, by using first-aid kits once he sustains heavy damage.
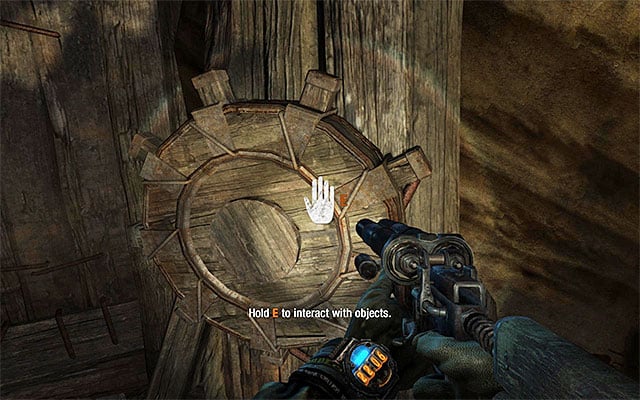
Once the battle is over, look around for corpses with supplies and approach the blocked passage again. You need to interact with the rotary mechanism shown in the above screenshot. You couldn't do it before the mutant attack, as opening it requires holding the correct key for a longer period of time. Do not release the key until the gate opens completely.
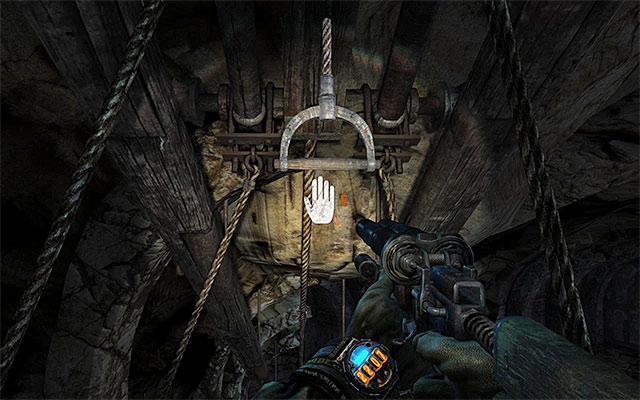
Start the exploration of this part of the catacombs. After you reach the void, turn left position yourself on a small wooden platform and pull the handle to make it start. Wait to be transported into a new location, climb down the stairs and explore the area for Claymore mines as well as supply crates.
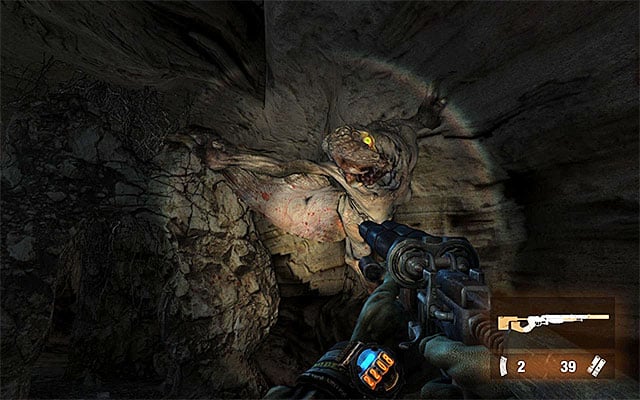
Carefully, enter the cave, which will start another battle. Apart from the kind of mutants that you have already seen, there will be different ones that walk along walls and attack you at a distance. To the extent to which it is possible, try to run up to this kind of the monsters and eliminate them with your shotgun, or any other short-range weapon, as they are not very tough.
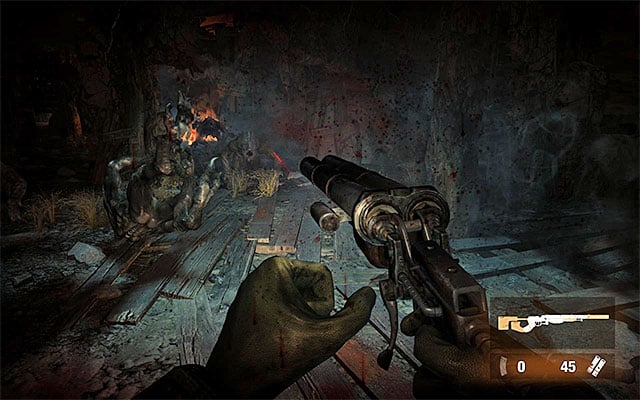
After you succeed, explore the area to find, among others a double-barreled shotgun with four barrels instead of two (a similar modification can be purchased from dealers so, it is not an absolute novelty). Find a spot in which you can jump down to a lower level and get rid of yet one more group of monsters. It is a good idea to put up fight in the place where you landed after the jump and help yourself with grenades, because there is only one narrow path that leads to this spot.
You are not permitted to copy any image, text or info from this page. This site is not associated with and/or endorsed by the developers and the publishers. All logos and images are copyrighted by their respective owners.
Copyright © 2000 - 2026 Webedia Polska SA for gamepressure.com, unofficial game guides, walkthroughs, secrets, game tips, maps & strategies for top games.
