Metro Last Light: Find a way through the armory
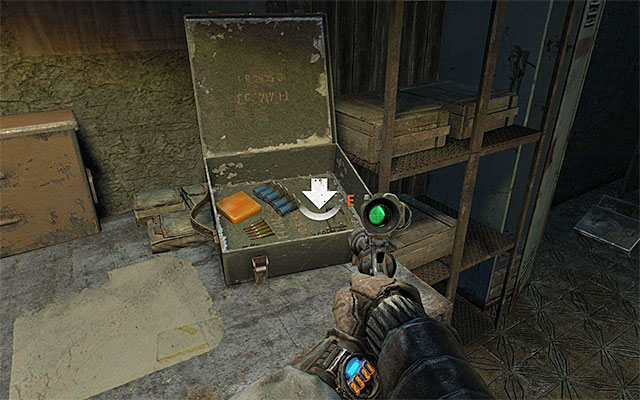
Wait for Artyom to retrieve all the gear that has been taken away from him earlier,. Remain in the starting room for a moment, because there are also crates with supplies and also a new kind of weaponry, an incendiary grenade and a gasmask (it is a good idea to swap masks if your current one has been damaged on your way to the Bolshoi theatre). Having taken care of all your business here, open the door.
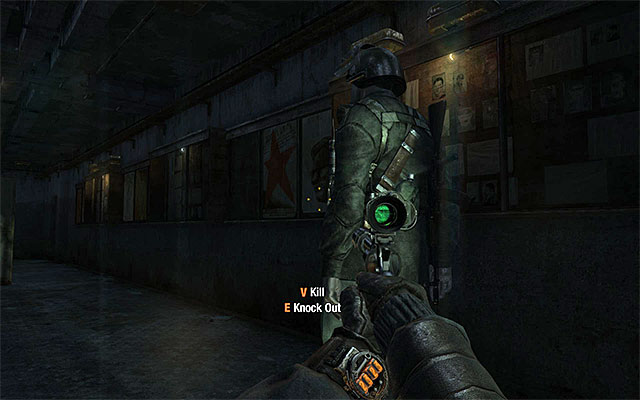
Turn right and approach, carefully, the gate metal detector. Take your time here, and wait for the guards to finish their conversation. One of them should start going your way. Wait for him to walk past you and then kill or knock him unconscious.
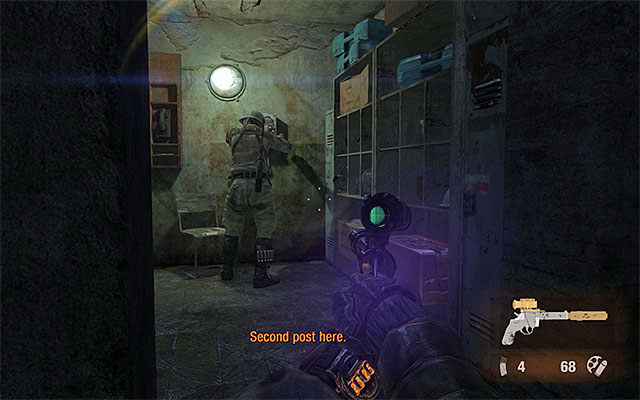
I definitely recommend walking around the gate by taking the narrow passageway shown in the above screenshot, which is located at the wall to the right. Approach the next opponent carefully and eliminate him in the manner of your choice. Go down now and smash the lamps on the staircase on your way. After you reach the room on the ground floor, you can attack the last remaining one of the guards, or wait until he finishes his conversation over the intercom.
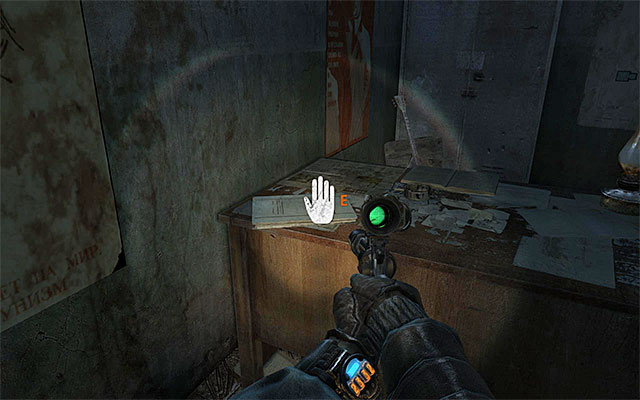
It is a good idea to peek into the nearby lockers (there is a filter in one of them) and examine the radio. Go now into the room with the intercom in it, to find a guitar on the desk, and an
Artyom's diary page. Only after you collect it, take the door to the first larger hall in the armory, because you won't be able to come back here once you progress in the story.
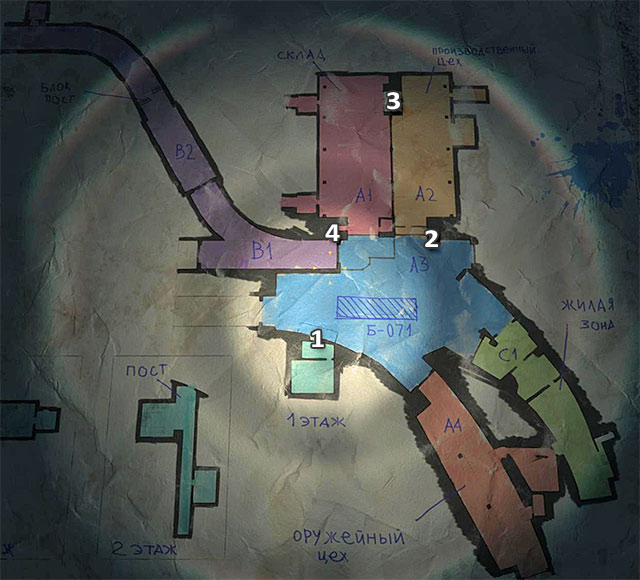
Legend:
- The starting point for the exploration of the first part of the armory
- Passage to the second part of the armory
- The fan between the first and the second part of the armory
- Armory exit
Note - Maps similar to the one presented above can be found in all main areas of this chapter. Each map is marked for your current position, which should additionally help you navigate around the compound.
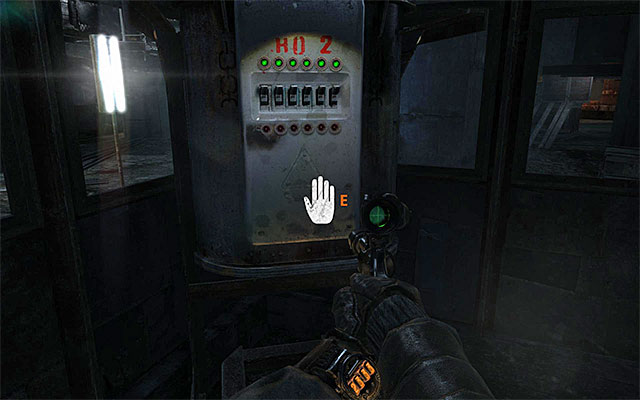
The exploration of the first part of the armory starts in A3,and your aim will be to reach the passage in A2 (see: the attached map). Starting with this point, there is a large number of ceiling lamps which cannot, unfortunately, be smashed with your firearms. This means that in some places you will have to attach more attention to remaining in shadows. The good news, though, is that to the right of the starting point, there is a crate with a switch for shutting down some of the nearby "standard" lamps.
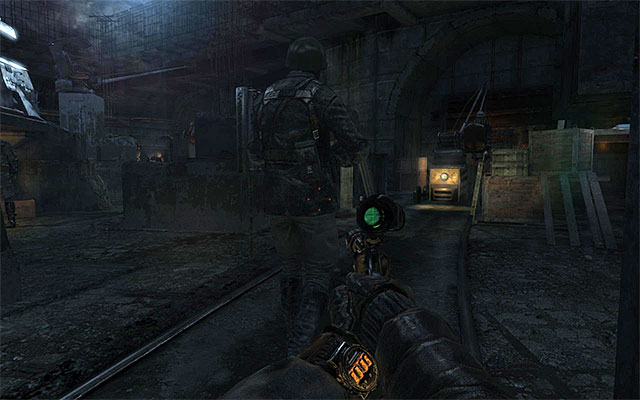
Start by going east and walk around the railway engine from the southern side. The guards you encounter can be eliminated or avoided, the choice is yours. In the case of the former, always make sure that the guard you intend to eliminate, always leaves into the shadows, thanks to which the chances of it being found by the others will drop. Do not forget to search each of the eliminated soldiers (most of them use machine guns and have a filter) and about opening all the interactive containers.
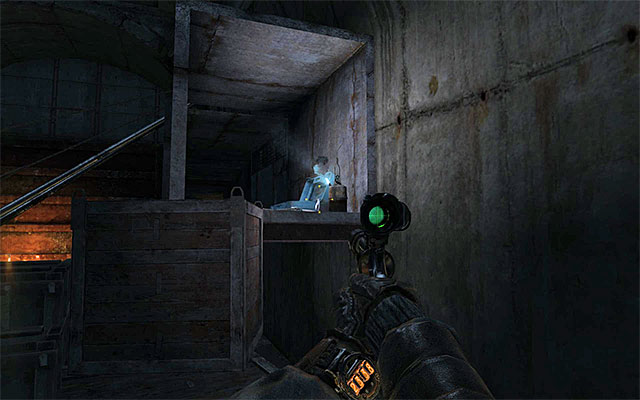
To the south-east of the starting point in A3, there are two other locations- A4 and C1 (see: the attached map). It is optional to explore them although it is a good idea to check them out, because you can find some easy loot there. The easiest way to reach A4 is through the venting shaft. The entrance to the shaft is located in the southern part of A3 and you will be able to recognize it be the lit oil lamp.
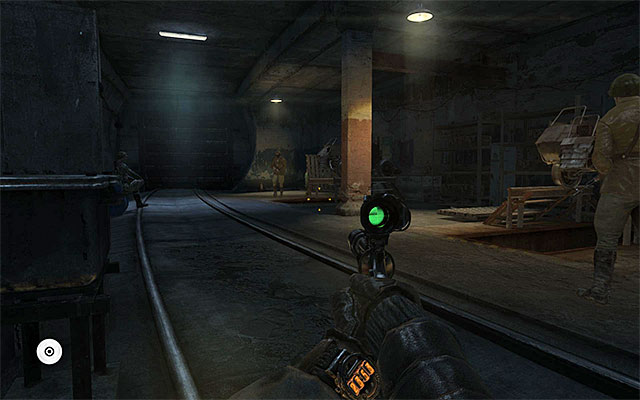
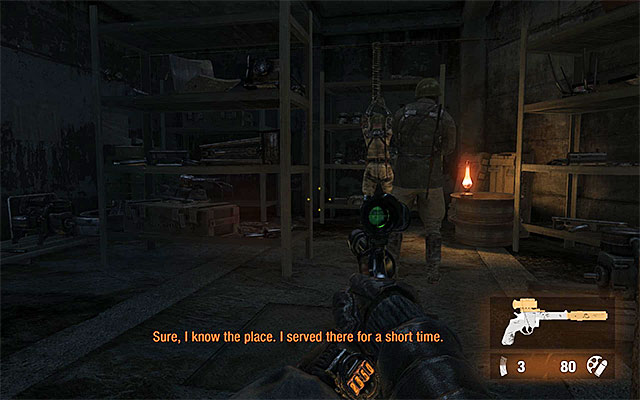
The main part of A4 is patrolled by, at least, three guards. You can make it easier to eliminate them by smashing ceiling lamps (if this alerts a guard, simply wait for a moment in hiding until he returns to his duties).It is also a good idea to take a peek into a small area between areas A4 and C1. Knock out the two people there and explore the area. In general, if you decide to explore the entire A4 area, you can count on finding ammo, the first aid kit, military-grade rounds and some new weaponry.
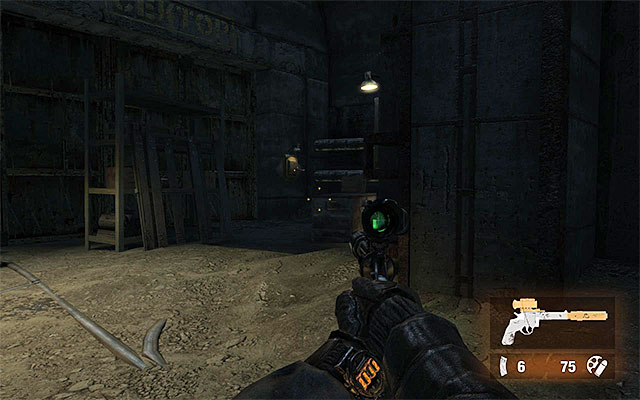
When it comes to area C1 you can access it from A4 or A3. If you want to start in area A3 to you need to reach its eastern part very carefully, and more precisely, the large gate. Start by locating the wire box and cut power off. Only after that, you should approach the lever that opens the gate.
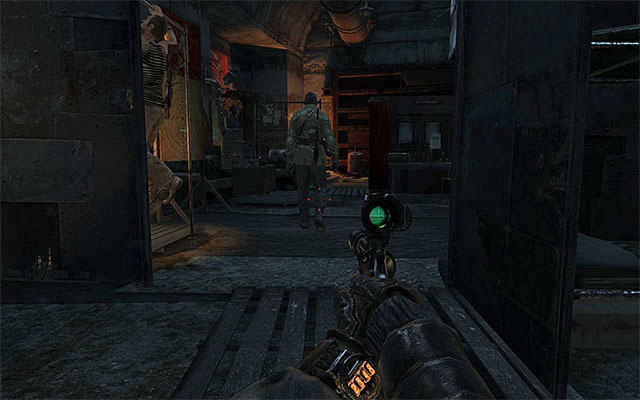
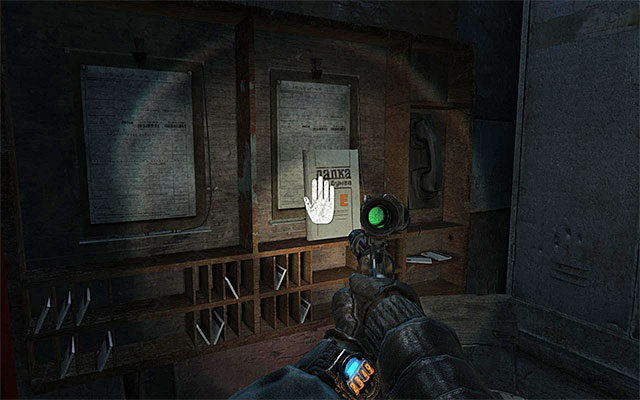
Area C1 is barracks, where there should be four enemies in total. The fact that only one of them keeps patrolling the area, whereas the others remain on their positions, should make things easier. Start searching for possible loot only after you have secured the entire area. Traditionally, you can find ammo, first aid kits, throwing knives , military-grade rounds and new types of weaponry. Apart from that, find out the interactive piano and the Artyom's hidden diary page shown in the second screenshot.
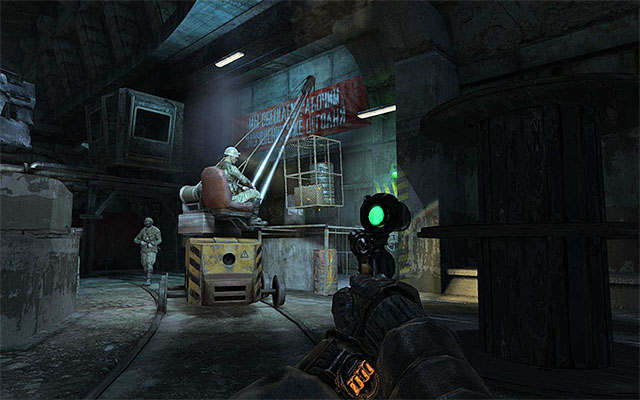
Regardless of whether you have decided to explore the areas described above, sooner or later you will reach the passageway to area A2. Walk around the enemies in the central part of A3, best by keeping to the eastern walls of this area. After you go around the largest group, take a turn to the north-east. This will take you to the crane shown in the screenshot.
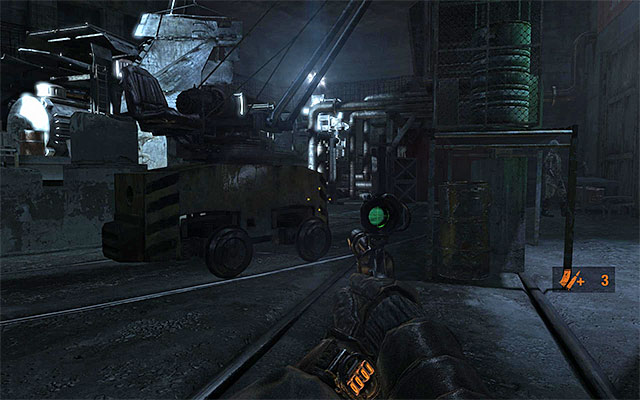
You do not really have to rack your brain for possible strategy, because the operator will soon climb down the crane and go to the toilet. It would be good if you managed to get rid of this one as soon as possible. The other guard should in the meantime, turn all of the lamps off, which will allow you to approach him easily.
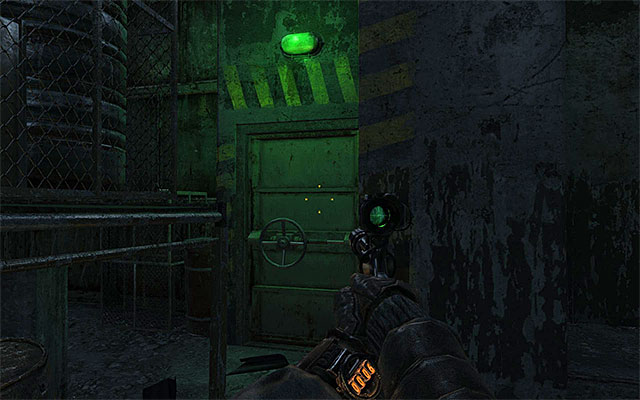
Right before you leave area A3, make sure that you have searched it thoroughly, because you won't be able to return here later on. Take the door shown in the above screenshot, which will take you to area A2.
You are not permitted to copy any image, text or info from this page. This site is not associated with and/or endorsed by the developers and the publishers. All logos and images are copyrighted by their respective owners.
Copyright © 2000 - 2025 Webedia Polska SA for gamepressure.com, unofficial game guides, walkthroughs, secrets, game tips, maps & strategies for top games.
