Metro Last Light: Find and save Pavel (1)
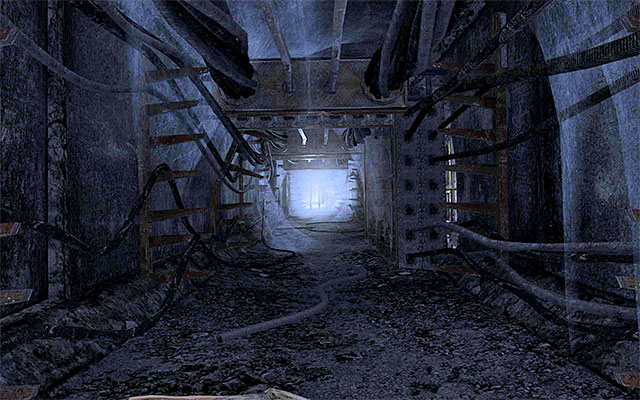
Wait for the end of conversation with imprisoned Pavel and resume the crawling through a narrow tunnel, reaching the exit after few moments. Open two crates with ammo, throwing knives and medkits and then move straight ahead, putting off the oil lamp along your way.
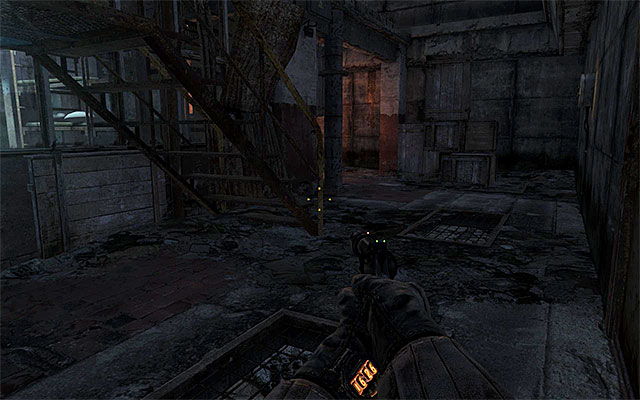
Carefully approach larger two-level area with new guards. Turn right here, stopping by the stairs shown on the screen. You might consider putting off another oil lamp.
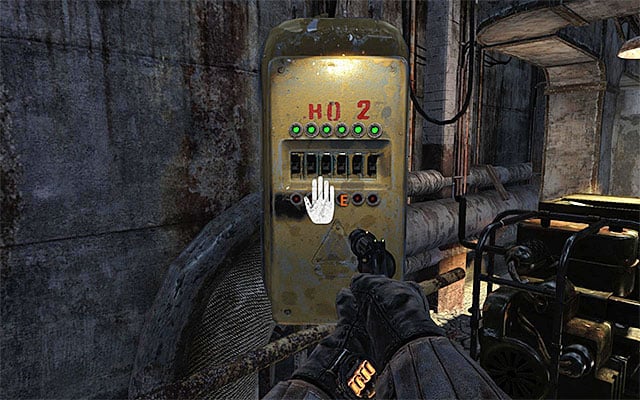
Your task is to get to the exit located on the ground floor on the other side of this area. It is easier to get there over the upper level (use the stairs). When you get to the floor, wait until guards goes away and approach to the fuse box shown on the screen, in order to switch off all nearby lamps.
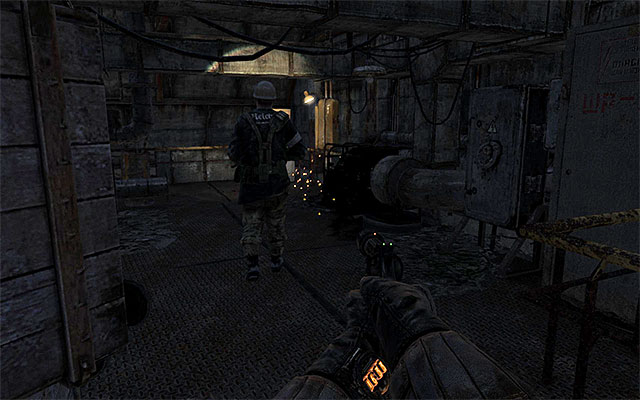
It would be good to deal now with previously mentioned guards - try to get them from behind to kill them or to knock them out. Note - Do not attack guards when they're patrolling narrow catwalks because bodies might fall down and alarm guards on the ground floor.
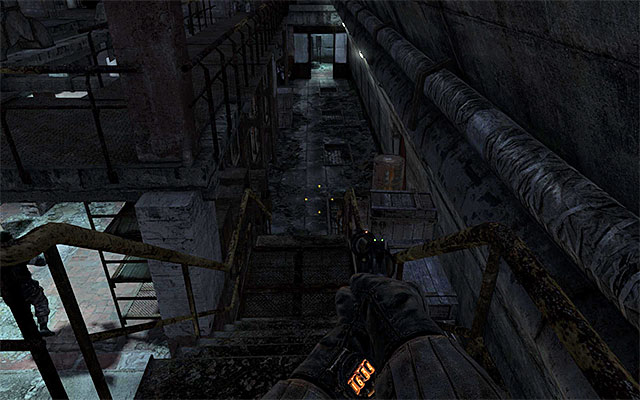
Eventually you have to get to the new stairs leading to the ground floor. Head forwards, avoiding both a guard who is in the right toilet (sound of destroyed lamps can alarm him!), as well as a person who stops near the exit from this location from time to time.
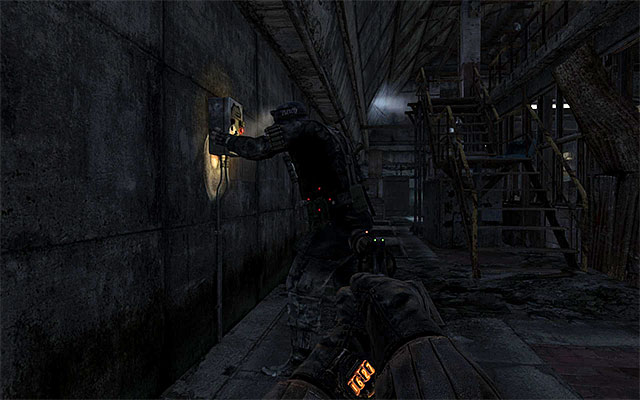
It is harder to get to the exit if you decide to move over the ground floor. In this case it would be good to hide behind crates at the beginning and wait until one of guards approach the intercom on the wall.
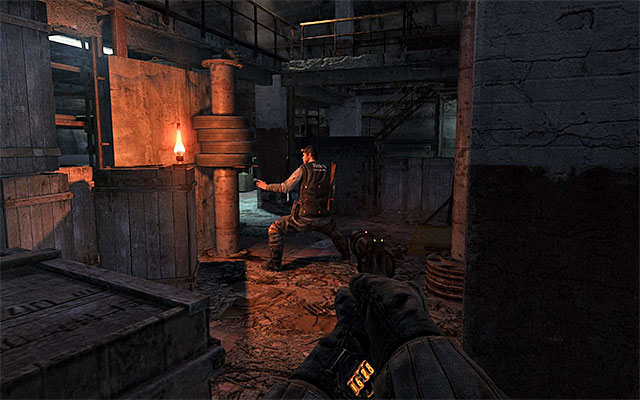
Another guard is training at the lit oil lamp. You can try to quickly approach the lamp and put it out or get the mentioned guard from the flank and kill him or knock him out. In both cases make sure to neutralize nearby light sources, so the body of eliminated enemy will remain unnoticed.
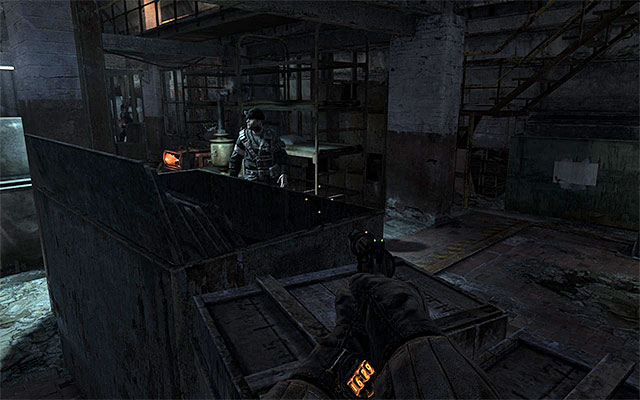
There are three enemies in the main room on the ground floor. The easiest one to be eliminated is the guard who from time to time stops at the right elevator. Wait until he gets away from his colleagues (destroy two nearby lamps) and quickly attack him from behind.
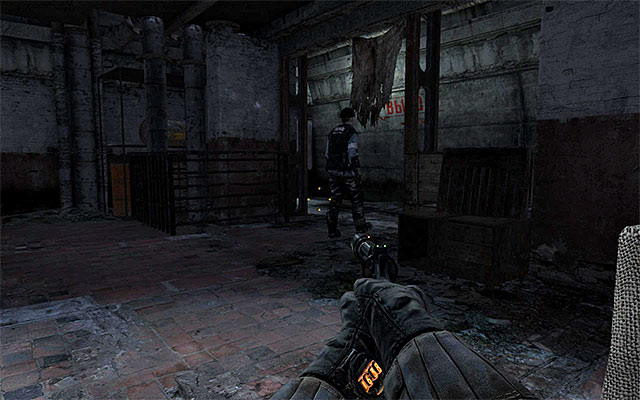
Before heading towards two more guards, make sure to destroy all local light sources because otherwise you might be seen by enemies occupying balconies on the floor. You do not have to attack an enemy on the left because he won't leave his post. So deal with the guard who walks between the room on the ground floor and the right corridor (screen above).
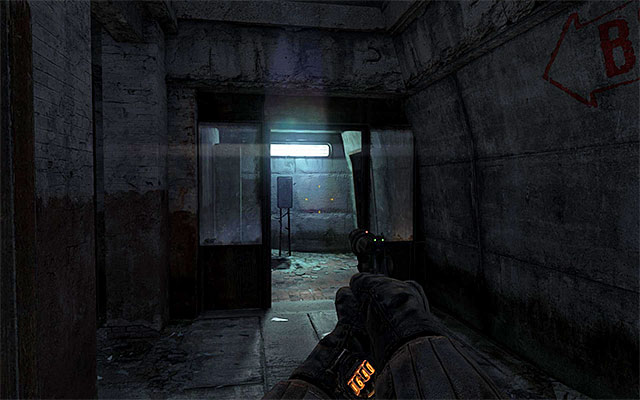
BOTH paths described above are leading to the same place - the exit from the first part of the facility, shown on the above screen. Before you use it, I would suggest exploring carefully the area (one floor or both, depending on your actions). In addition to valuable supplies (ammo, medkits, throwing knives and new weapons), you'll find a new interactive instrument on the ground floor (accordion).
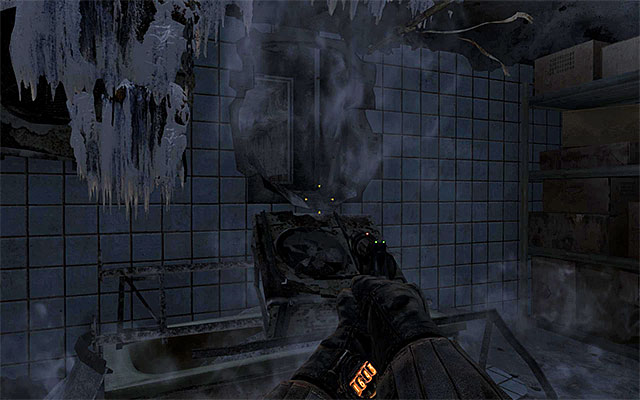
Continue your march, reaching new door leading to the cooler room. You'll come across a single opponent here, who will surrender seeing you. I do not advise killing him. On the other hand you might steal from him a machine gun with night vision and a silencer. Get to the end part of the cooler room and go through a hole in the left wall, reaching a large location.
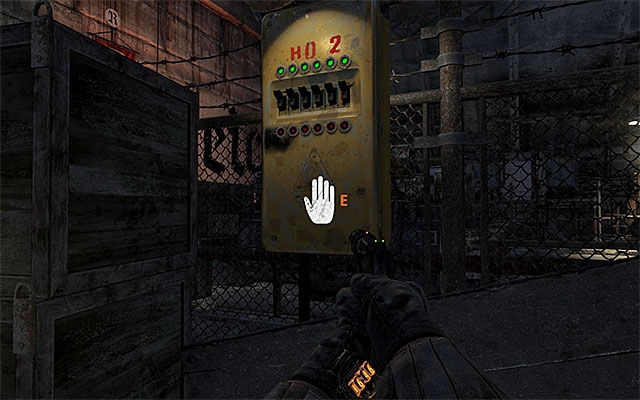
Head to the exit from the room with plants, finding a supply crate on your way. Carefully walk into a lit area with new enemies and start with approaching the fuse box located on the left (screen above) in order to cut off the power in the area.
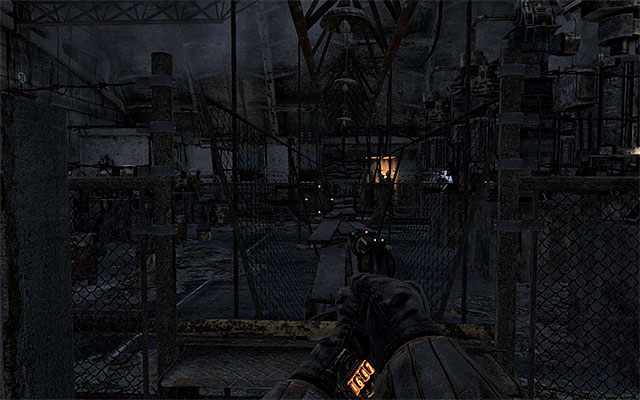
Return for a moment to the previous room and wait until one of guards approaches the fuse box. Eliminate him before he manages to restore the power. Now you can choose the catwalk located in front of the starting point, the one which was used previously by one of guards.
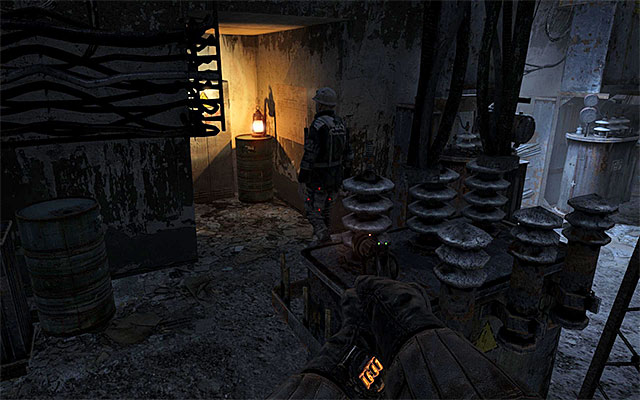
Carefully approach a single guard. It would be best to attack him when he walks towards the lit oil lamp. After successful action examine his body and neutralize nearby light sources.
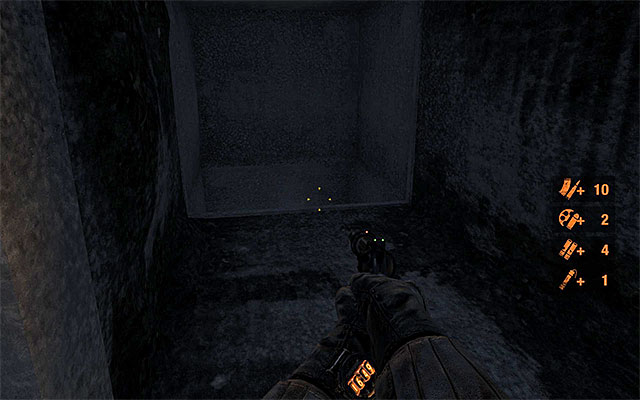
Go to the right. If you want to leave that location as fast as possible, then use the entrance to the ventilation shaft shown on the above screen, jumping down to the lower level and reaching yet another supply crate.
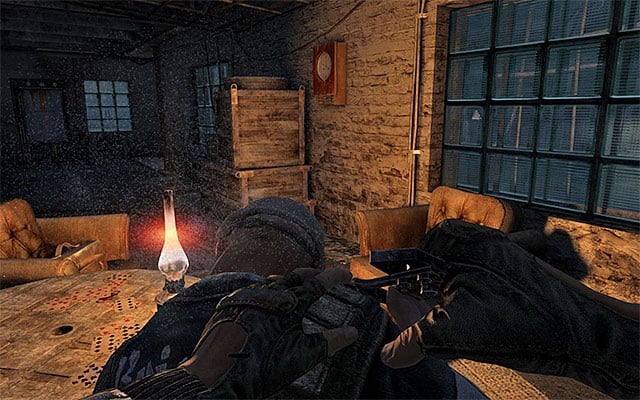
If you do not mind careful exploration of this area, take the corridor located right from the entrance to the ventilation shaft. Start with eliminating enemy sitting on the armchair, but do it when none of his colleagues is looking in this direction (do not forget about putting out the oil lamp).
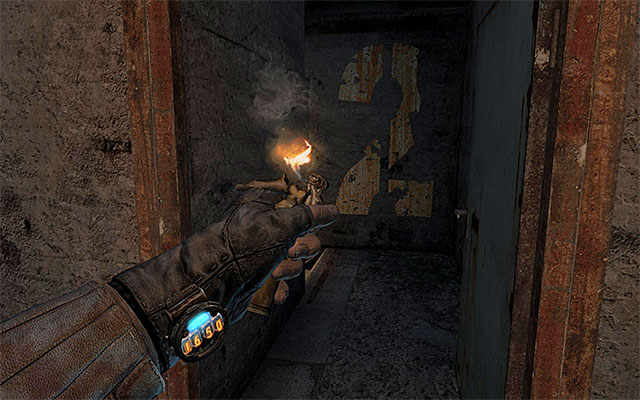
Finally approach two guards guarding a corridor near the place, where you've starting exploration of this area and make sure to kill or knock out one of the guards when he is away from his colleague. Now you can explore the area with no problem (bodies, interactive containers, etc.). After that choose the stair shown on the screen.
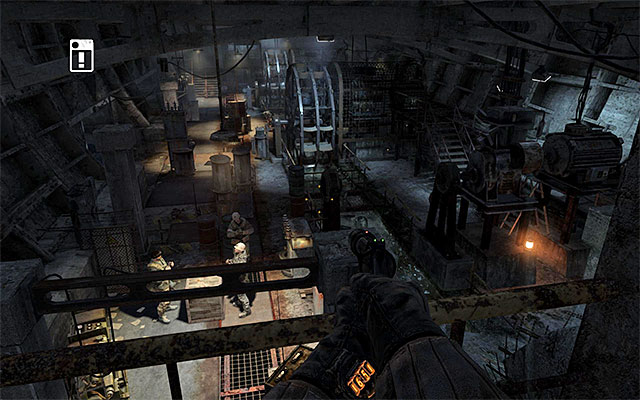
Both path described above lead to the same place - the third, last location of this chapter, shown on the screen. You'll receive here updated objectives.
You are not permitted to copy any image, text or info from this page. This site is not associated with and/or endorsed by the developers and the publishers. All logos and images are copyrighted by their respective owners.
Copyright © 2000 - 2025 Webedia Polska SA for gamepressure.com, unofficial game guides, walkthroughs, secrets, game tips, maps & strategies for top games.
