Metro Last Light: Explore the Dead City and find a way into Red Square
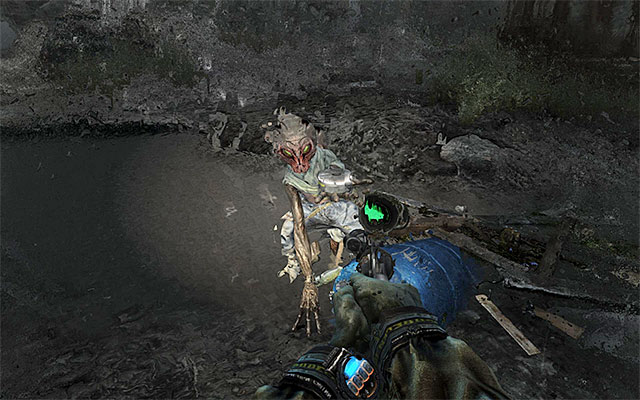
Go straight ahead. While exploring the Dead City, you should take your time, because often there are valuable collectibles, or interesting visions to have, inside the buildings. Also, do not ignore the Dark One accompanying you. First of all, it is a good idea to respond to all requests, directed to you, and concerning the supply transfers from the dark one (including filters, ammo and military-grade rounds).
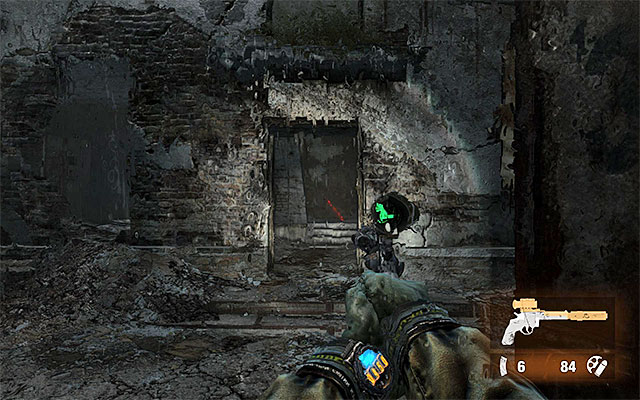
Start by exploring the building to the right. First of all, explore the first floor (jump onto the destroyed part of the stairs and jump onto the landing). Watch out for the nearby tripwire and find two supply crates and a tape recorder on this level. After you exit the building, walk over the debris to find one more supply crate.
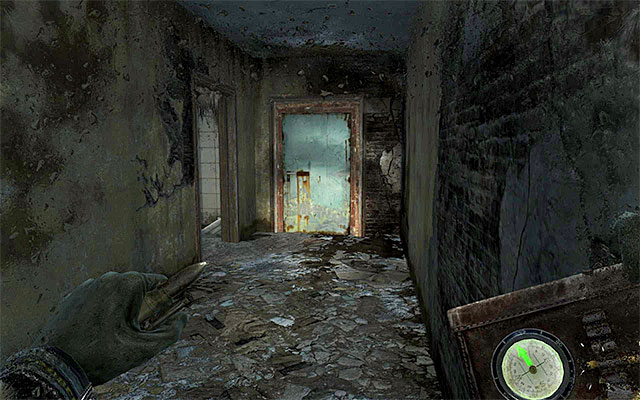
Enter now the building to the left. Do not enter to the basement to the left, as it is irradiated. Instead, go for the main entrance into the building straight away. Ultimately, you need to reach the blue door located on the first floor, which will take you to the next portion of the Dead City.

Stop soon after opening the door, and more precisely, right after you enter a small area with the table with red tablecloth on it. On the shelf shown in the above screenshot, there is an Artyom's diary page. You can now go to the exit, and collect a filter on your way out.
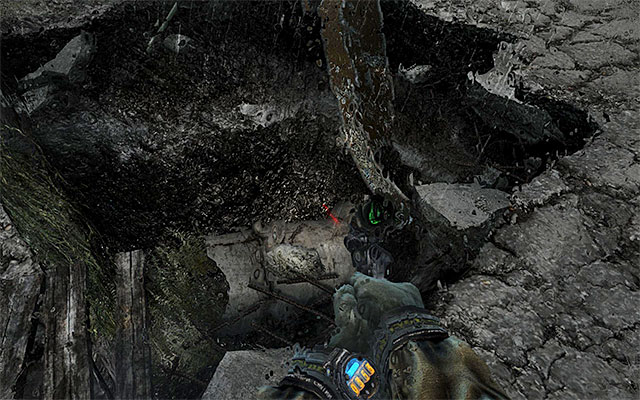
After you get to a destroyed playground, you will experience the first one of the several visions. Because there are no items or additional passages around, locate a hole in the ground and jump into it.
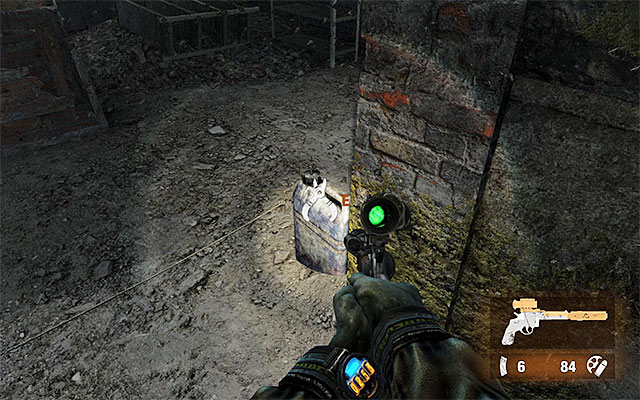
Once you get into the tunnels, turn your attention to exploring a narrow passage to the left that will take you to a room with a tripwire in it. Inside, there is a supply crate. Return to the location where you have started and go straight ahead. I recommend that you also explore the next optional room located at the end of this corridor. Inside, there are supplies and a weapon.
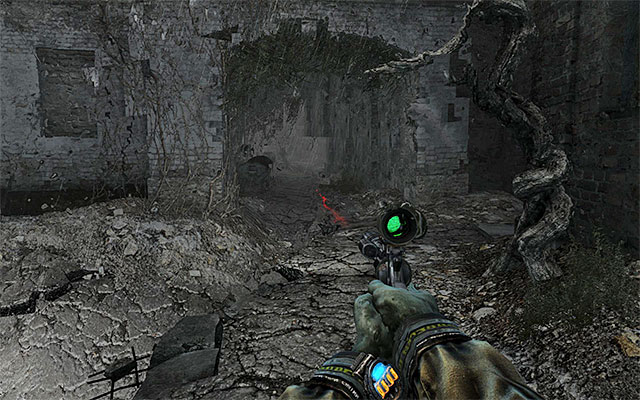
Return now to the main corridor and locate the exit to the surface. It is worthwhile to explore the building to the left, first. Reach the room on the first floor and experience another vision. There is also an interactive piano here. You can now return downstairs and take the tunnel shown in the above screenshot, which will take you to a much larger yard.
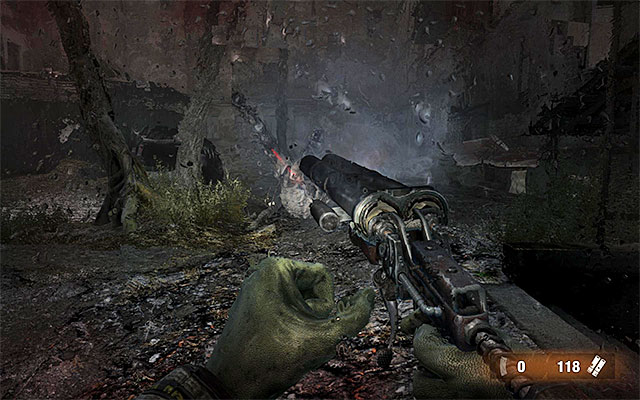
Open the nearby supply crate, jump down to a lower level and approach the main part of the yard. Keep vigilant, because you will be attacked by a single mutant right after you experience a vision with an approaching car. What is even more, while exploring the further parts of the yard, you should be prepared to deal with several additional monsters (you can deploy mines here by way of preparation).
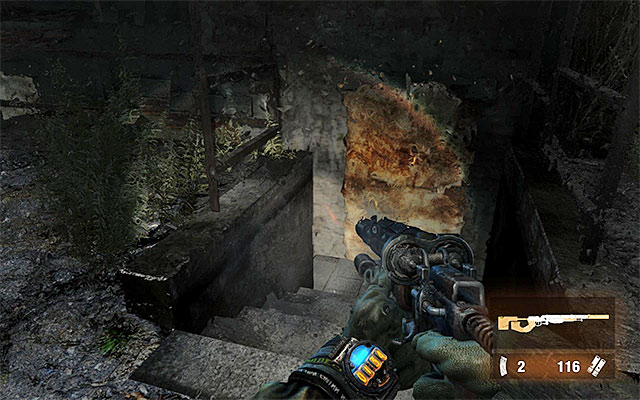
It would be a good idea to devote some time, now, to a thorough exploration of the area. You should especially pay attention to the stairs located to the right. It will take you to the basement of one of the buildings. Turn on the light and explore it thoroughly to find supplies and another tape recorder.
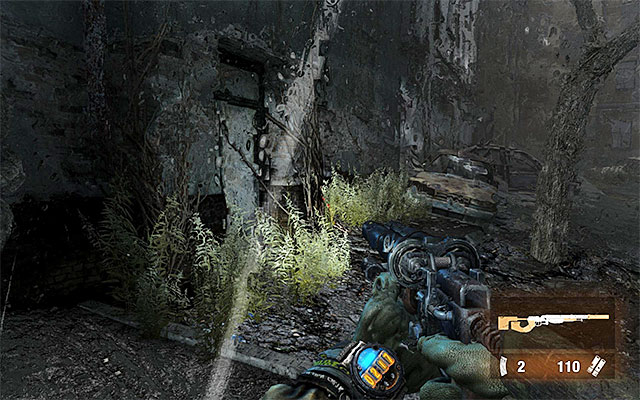
On the left side of the yard, there is another, optional, entrance to a building, which can be explored. After you reach the room upstairs, you will experience another vision and find a filter. In the toilet there is a corpse with a machine gun on it.
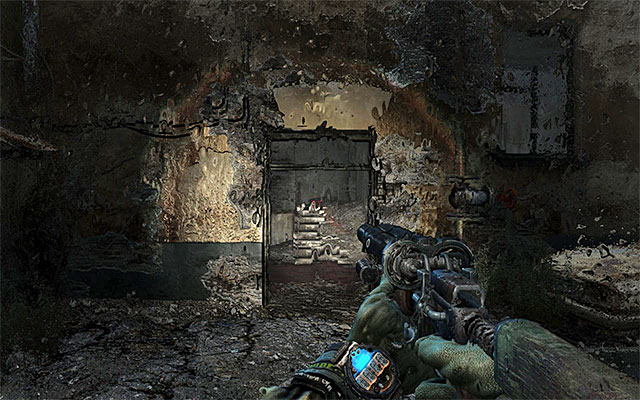
Finally, go through the passage to reach the parts of the building that are further away (the above screenshot). Also in this case, you need to reach the room upstairs and see a vision. Collect the filter, listen to what the Dark One has to say and climb through the window to the left to get to another large location within the Dead City.
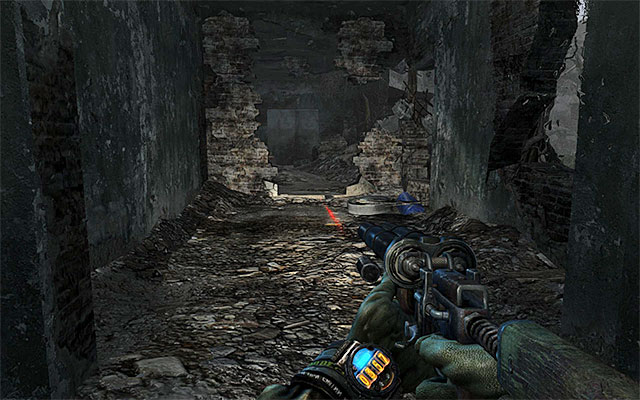
Go straight ahead and consider exploring the building to the left that you will soon approach. In one of the rooms upstairs there is a tape recorder. Before you reach it, though, you will have to disarm a tripwire.
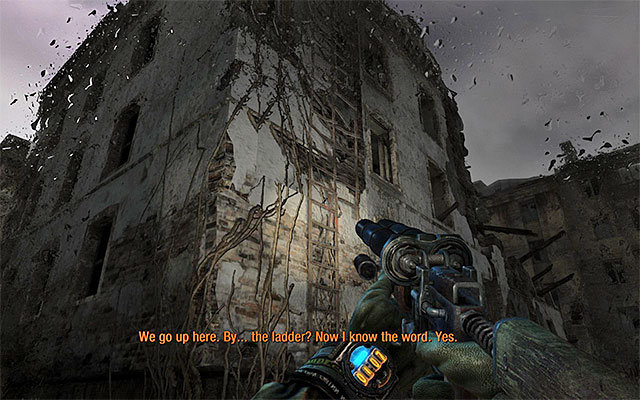
Leave the building and resume your march. I recommend that you check out the truck that you pass on your way, to find an ammo box. After you have explored the area, take the ladder shown in the above screenshot to get to the rooftops.
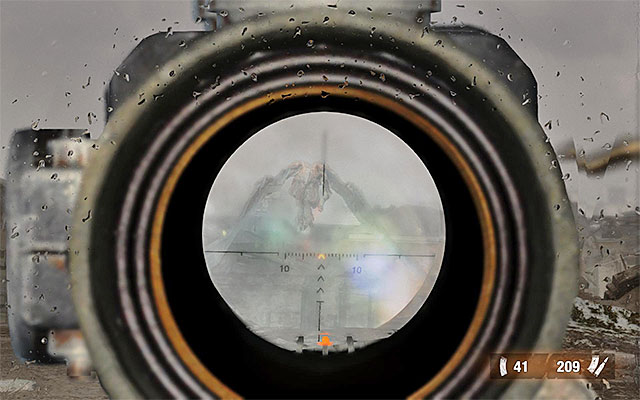
Carefully, approach the demon's nest, which will be equivalent to entering a fight with the beast. The Dark One will suggest that you do not need to kill the creature that is only protecting its nest, but you are not required to take the suggestion, and you can just as well eliminate it. If that is what you decide on, I recommend that you position yourself at the entrance to the staircase, thus avoiding being caught by the demon. Keep firing at the demon from a weapon effective at longer range.
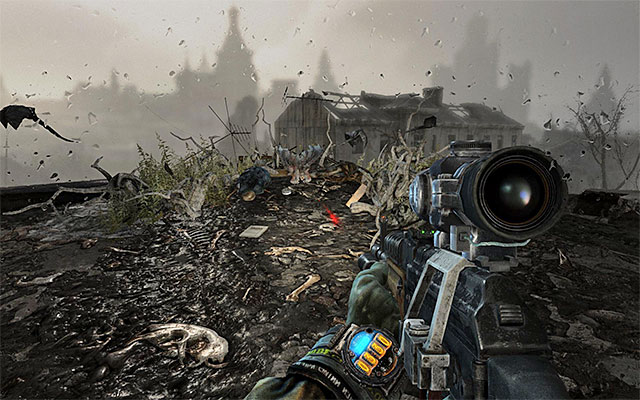
Regardless of whether you have decided to kill the demon or not, approach the creature's nest (the above screenshot). Ignore the smaller demon and search through the nest to find, among others, a filter, ammo, an assault rifle and an Artyom's diary page (of course, plundering the nest will be way easier if you do not have to fear attacks from the "grown up" demon).
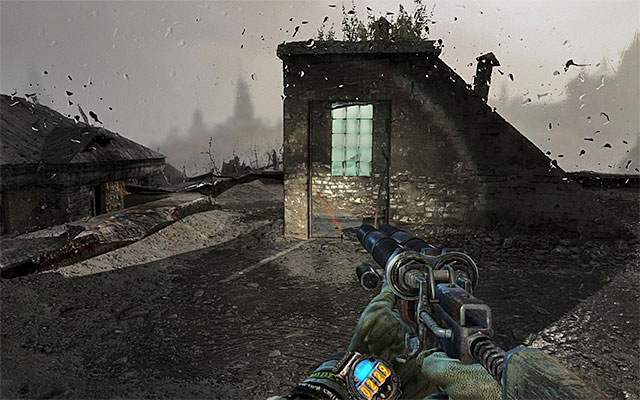
After you have explored the rooftop, locate the passage to the staircase. Walk through several rooms and watch another vision. After it ends, keep climbing down by jumping into the holes. This way you will reach the sewers.
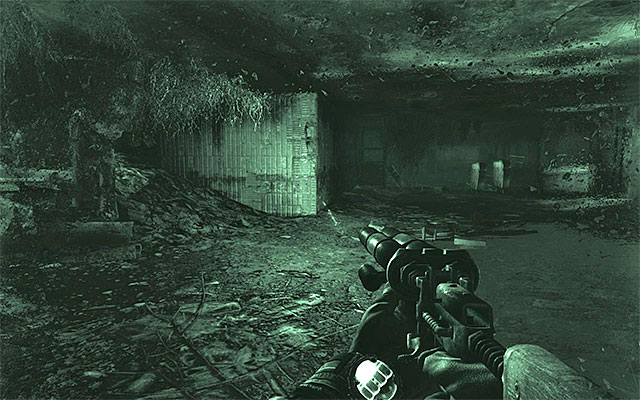
Start exploring the sewers and watch the last, and a bit more interactive, vision. Do not forget to look around frequently because, to find, there are, among others a gas mask and a supply crate. .
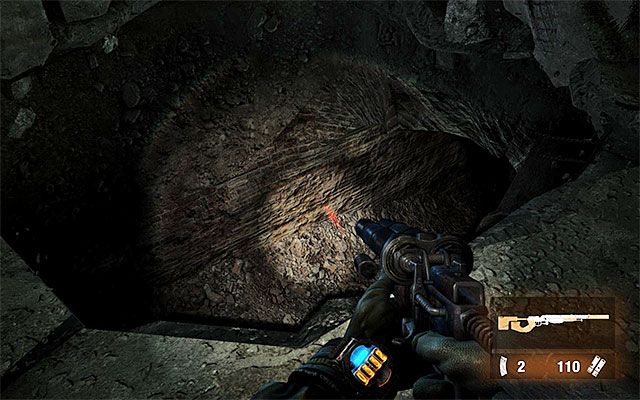
Do not worry too much if your torch and night vision goggles go down for a moment. There are no monsters in this part of the sewers. After you reach the final part of the corridor, jump into the hole and turn right, which will take you to the final part of this chapter.
You are not permitted to copy any image, text or info from this page. This site is not associated with and/or endorsed by the developers and the publishers. All logos and images are copyrighted by their respective owners.
Copyright © 2000 - 2026 Webedia Polska SA for gamepressure.com, unofficial game guides, walkthroughs, secrets, game tips, maps & strategies for top games.
