Metro Last Light: Find and save Anna
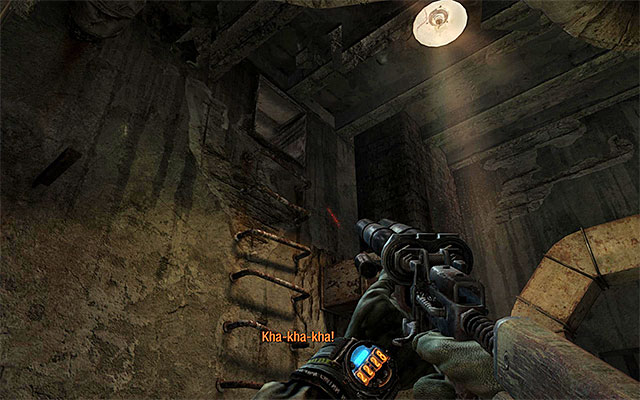
Go straight ahead and look around for a corpse with a backpack on it, which you should examine for supplies. Take the ladder leading to the venting shaft. On your way through, it is worthwhile to make two stops and eavesdrop on the conversations. This will let you figure out a bit about Anna's current situation.
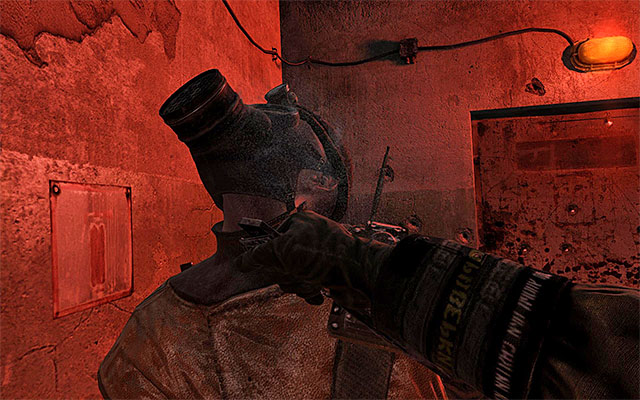
After you exit the shaft, you will start in a small room. Turn the tipped lamp off and wait for one of the guards to come. Knock him down or kill him and then approach his colleague carefully and strike from hiding.
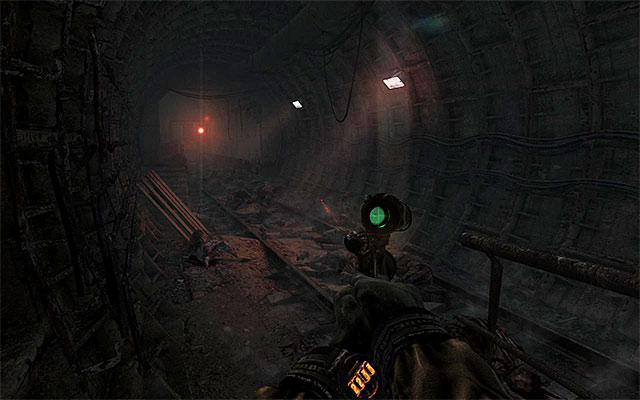
Examine both rooms for supplies and search the bodies of the neutralized guards. After you have performed all of these activities, take the passage and reach the metro tunnel. Find a corpse and go left. Carefully, approach the railway station occupied by enemy forces, while at the same time, destroying sources of light.
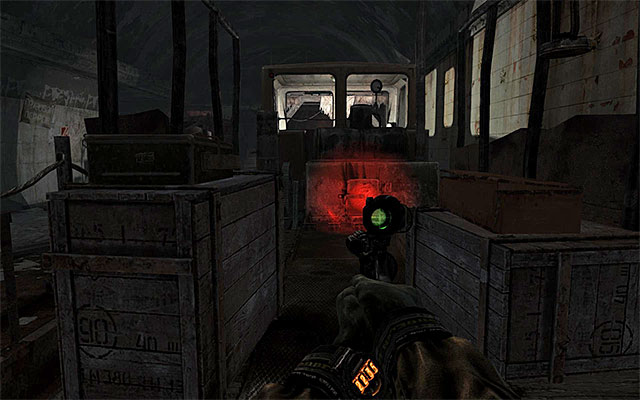
As you have probably noticed, one of the guards stopped next to the staircase to the left. It is not a serious problem though, because you can approach the railway engine located on the track and, thanks to it, make your way through to the platform. If you want to, you can, of course return to the guard and kill him or knock him down, just in case.
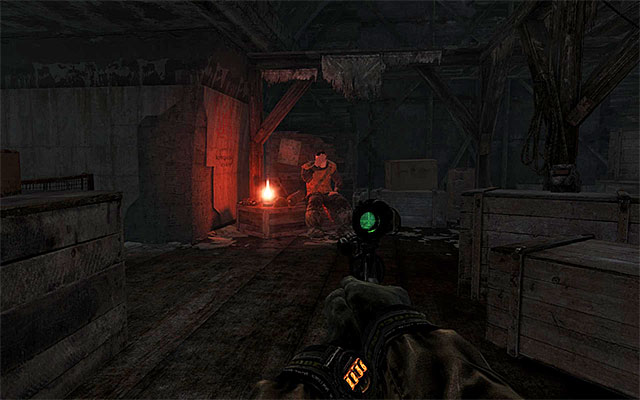
In the nearest proximity there are two other enemies. One of the guards is taking a stroll between the railway engine and the side room, while the other one is sitting at the oil lamp. Remember, at all times, to eliminate the existing light sources, thanks to which you will remain unnoticed. Also, examine the platform for a radio, military-grade rounds and filters.
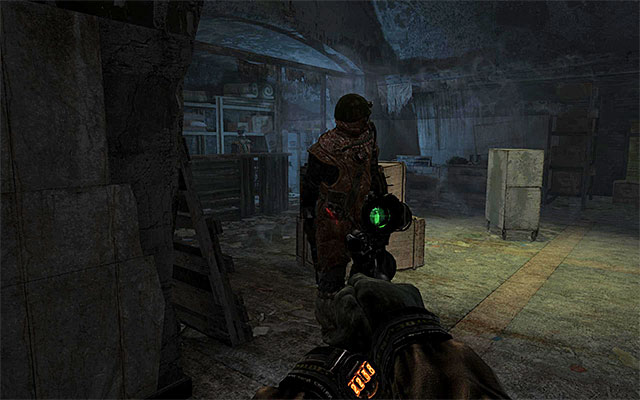
There are two rooms adjacent to the platform and it is a good idea to take a peek into the one to the left, first. There are two enemies in this one and eliminating them should not be a problem.
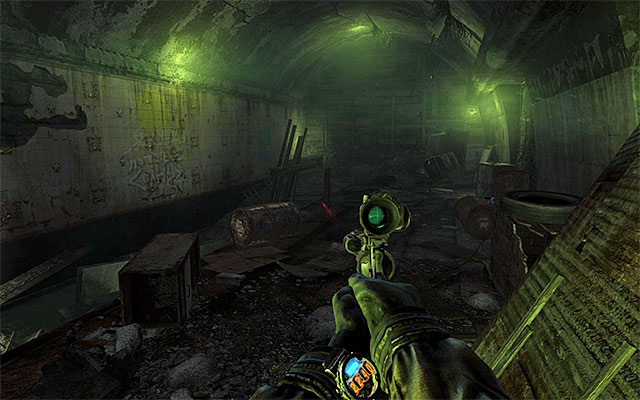
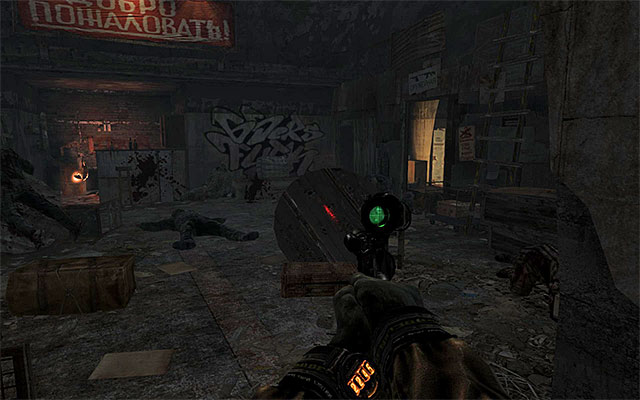
The next are in this location can be accessed in two different ways. Variant one assumes that you take the narrow passage leading from the room to the left to the unguarded tunnel shown in screenshot 1 (watch out for the tripwire!). Variant two assumes that you walk through the room to the right (screenshot 2). This is not going to be easy though. Most probably, there are three guards around (start eliminating them with the one at the door, after he turns away from the platform).
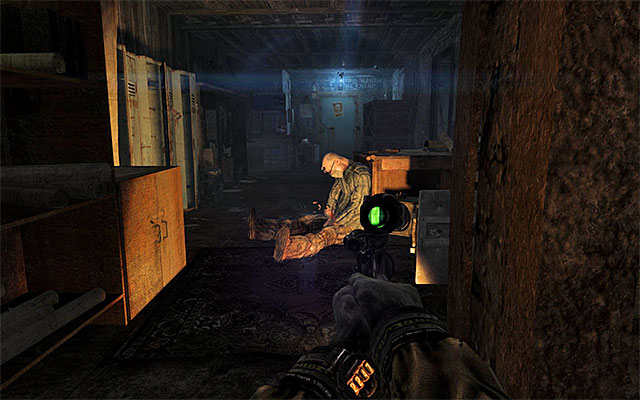
Both of the above variants will allow you to reach the side corridor shown in the screenshot.
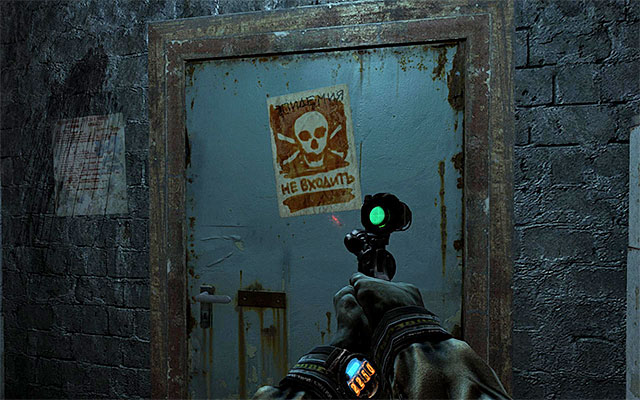
Examine the corridor, as well as the rooms you have just visited, and try to obtain as many filters as possible. Finally, approach the door with the skull on it. Before you open the door, put your gas mask on because, you are entering areas filled with smoke, where Artyom would suffocate really quickly.
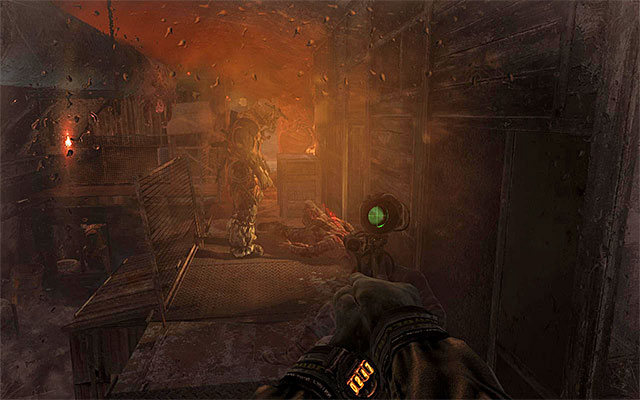
From now on, apart from the standard sources of light, you also need to pay attention to places where flames appear. These may, unexpectedly, expose you, which will result in your cover being blown. It is worth noting here that you can stop some guards while they are setting the surroundings on fire, which will make the exploration easier. You can take such an action in the area that you have just stepped into, and eliminate the guard on the upper balcony (the one that the ladder leads to).
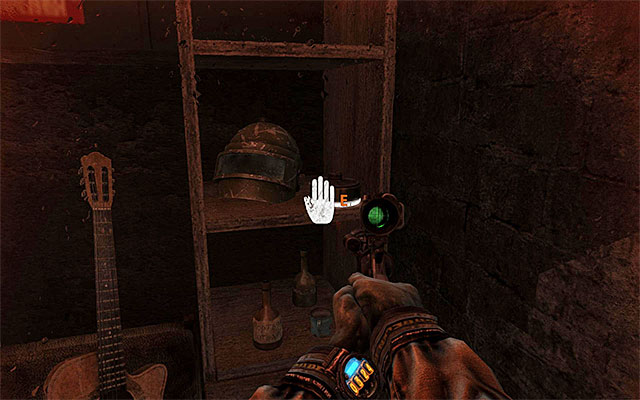
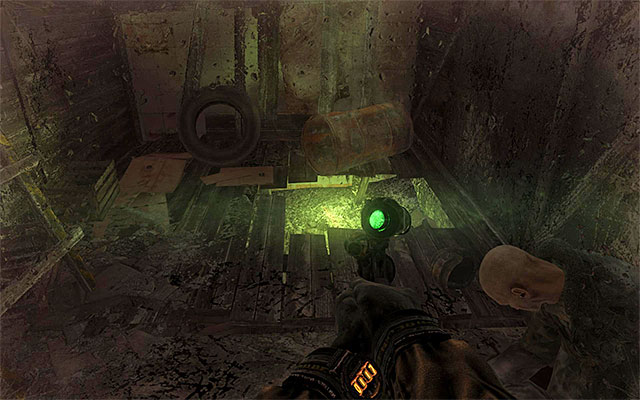
First of all, it would be a good idea to take a look around the area. At the end of the corridor, to the left of the starting point (screenshot 1) there area, among others, filters, a tape recorder and a guitar. Near the starting point, there is also a hole in the ground (screenshot 2) with a tunnel leading to the basement. After you getting down into the basement, you would meet two enemies where it is better to wait until the severely wounded soldier is finished off by his colleague.
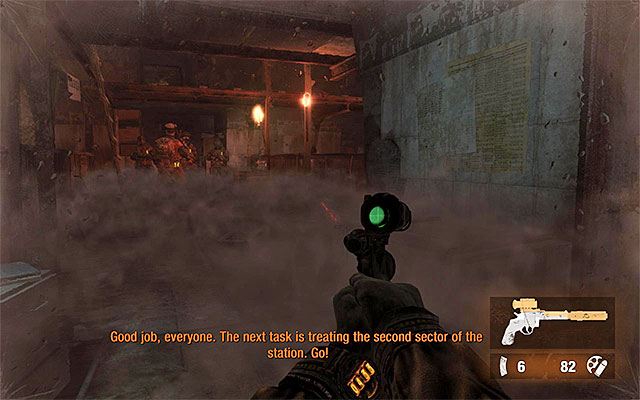
You should now focus on your objective. You need to walk through the entire central area located to the left of the door by which you started. On the ground floor soldiers are being debriefed, after which they disperse, which will make it easier for you to walk around them. While taking the decision concerning the passage to the other end of the area, remember to stay away from the flames, as well as about not leaving the eliminated enemies out in the open.
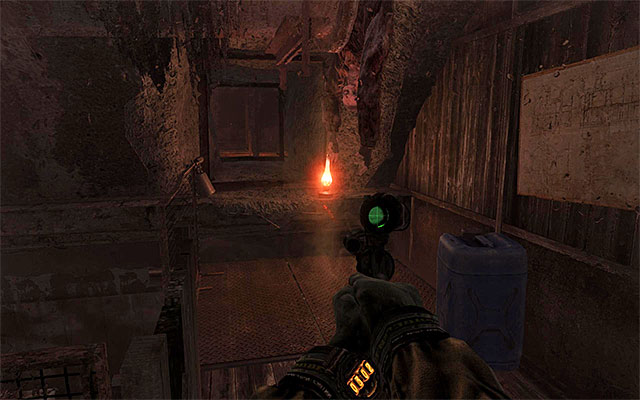
An alternative to this approach is to make your way to the upper balconies, best by taking the ladder located right next to the starting point. Once you are finally there, eliminate the single guard, and then locate the narrow passage shown in the above screenshot. Taking the passage will allow you to reach the top of the main hall and, as a result, walk around the guards below.
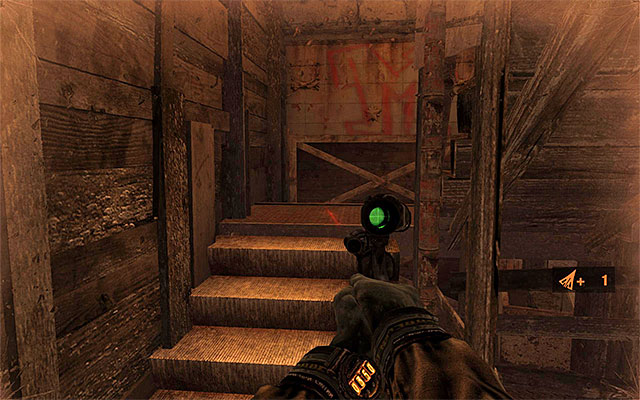
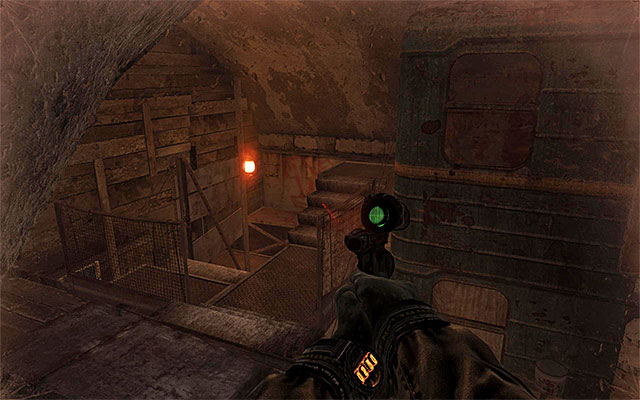
If you have decided to take the passage through the lower level, sooner or later you will end up against a locked gate blocking passage to the corridor to the right. Eavesdrop on the guards' conversation and go left, thus making your way to the stairs shown in screenshot 1. If you have, however, chosen to walk through the upper levels, you will reach the balconies shown in screenshot 2 right away. In both cases, watch out for the single guard and try to get him from behind, as soon as he turns his back at you.
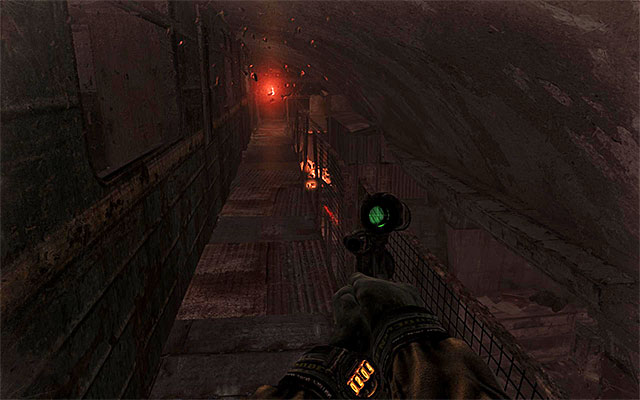
Before you go any further, make sure (to the extent to which it is possible) that you have explored the previous areas (supplies, weapons etc.). walk along the catwalks shown in the above screenshot, thanks to which you will go around the locked gate located below.
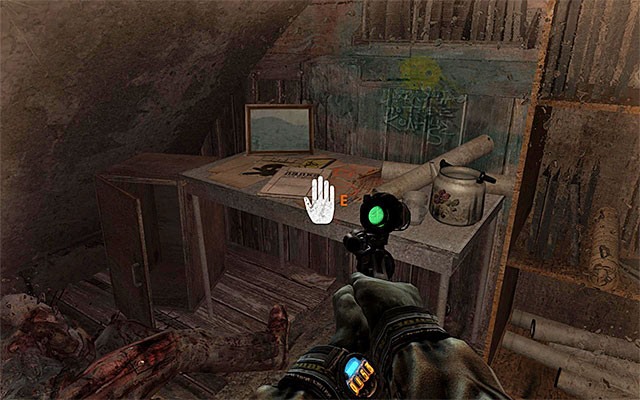
Stop after you reach the first well-lit rooms, to find here an Artyom's diary page (the above screenshot).
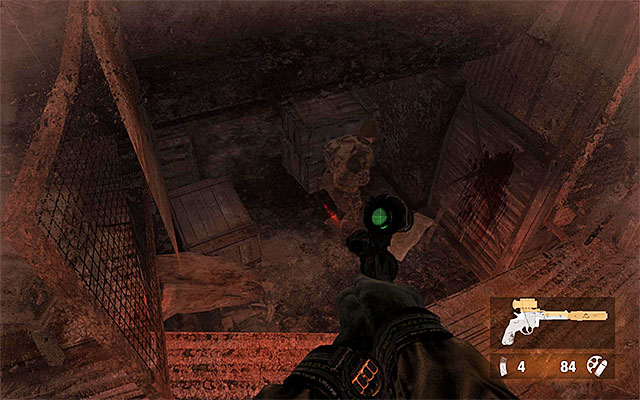
Proceed along your path and explore the rooms you enter (there are filters among others) and interact with a guitar. After you have reached the end of the catwalk, turn right and stand right next to the edge (the above screenshot). Jump down and deal quickly with the two guards by using the element of surprise to your advantage.
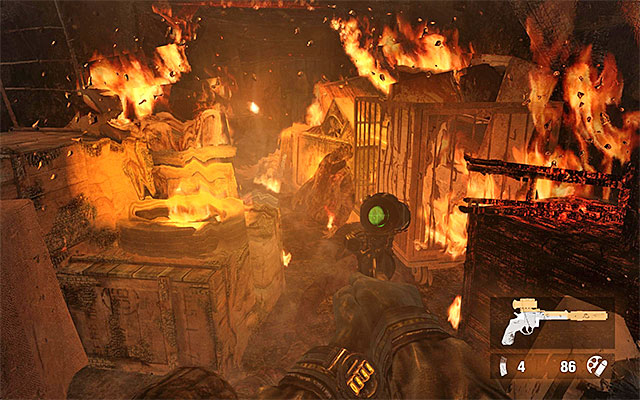
Enter the burning corridor and sprint through to avoid taking excessive damage. Turn then into the next tunnel and go towards the last one, in this chapter, large area, while remembering to collect all the filters on your way.
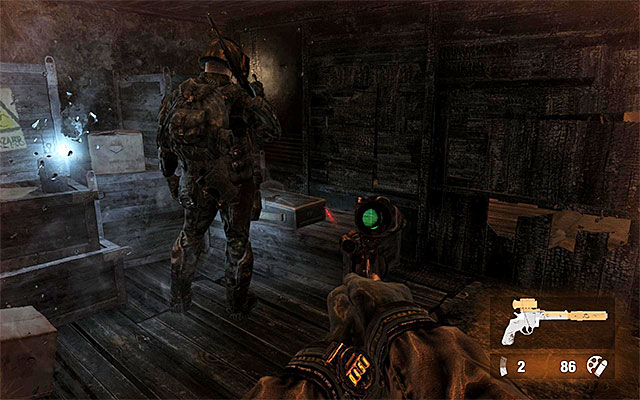
Carefully, approach the next location. I strongly recommend that you destroy all of the nearby sources of light and wait for the guards to disperse. The enemy that is still holding his ground needs to be taken from behind and knocked out or killed.
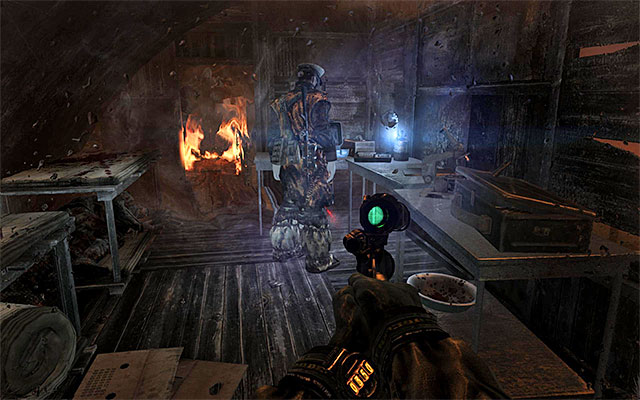
You must have already noticed that there is a staircase here, but the exploration of the upper floor is completely optional and will not get you any closer to the completion of this mission. Still, if you want to explore that area anyways, you need to watch out for the single officer. After you eliminate him, search the area for the regular supplies and a tape recorder.
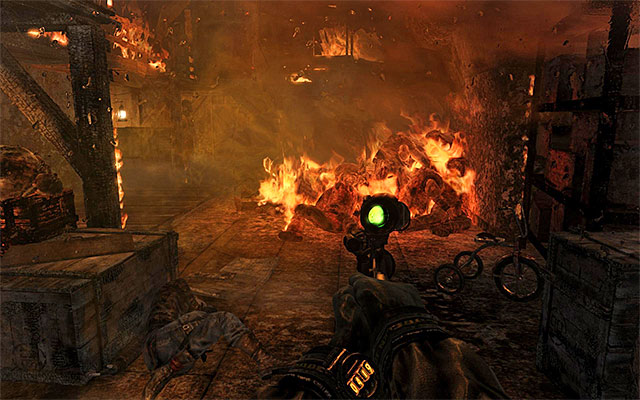
Return downstairs and enter a bigger area that is on fire. It is a good idea to eliminate all of the guards you encounter to minimize the risk of being noticed. At all times, try to look around for possible supplies, and especially for filters for your gas mask.
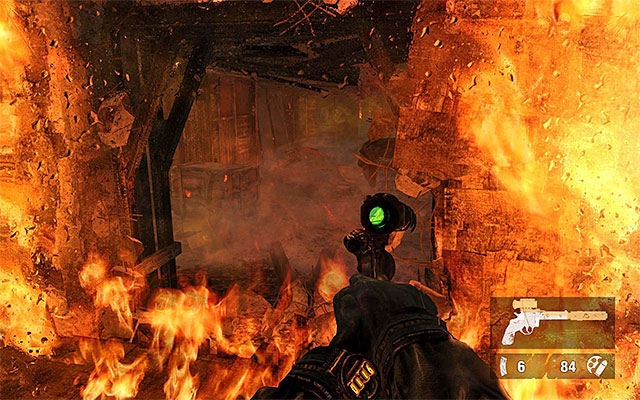
Stop where you encounter enemies having a conversation. Wait for them to go their ways , enter another blazing room and go right straight away, ignoring at the same time the guards further away. Take the narrow passage shown in the above screenshot.
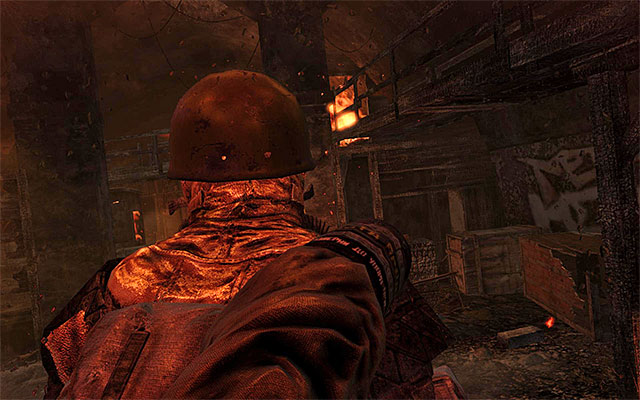
Ahead of you, there are two enemies. If you were fast enough to get here, you will be able to take them by surprise. Otherwise, the enemies will already have taken their posts and you will have to dash up to one of them, so you can take him down with a melee attack before he manages to draw his weapon.
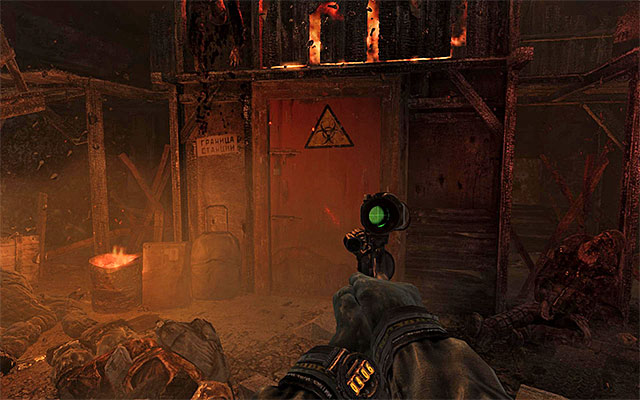
Regardless of how you dealt with the abovementioned guards, examine the area again, above all, to find new filters. Finally, take the door shown in the above screenshot.
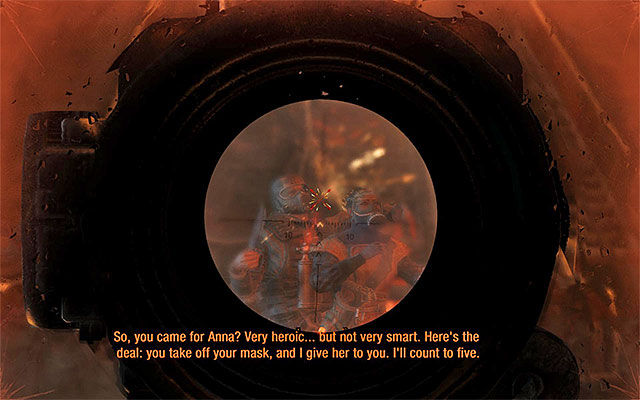
Right after you open the door, you will see a cutscene of you meeting the person that has been holding Anna hostage. In general, there are two alternatives here. Variant one is to shoot Lesnicki. What is interesting, you won't kill him, even if you have aimed at his gas mask.
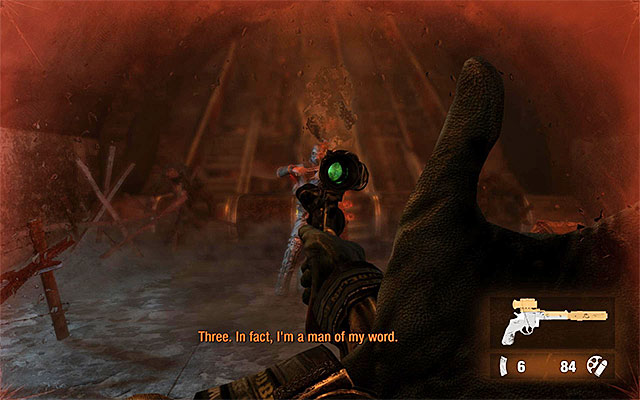
Variant two is following the order to give up, and taking off the mask. In both cases, Lesnicki will run away, and you will be able to save Anna, and evacuate from the are occupied by the enemy forces.
You are not permitted to copy any image, text or info from this page. This site is not associated with and/or endorsed by the developers and the publishers. All logos and images are copyrighted by their respective owners.
Copyright © 2000 - 2026 Webedia Polska SA for gamepressure.com, unofficial game guides, walkthroughs, secrets, game tips, maps & strategies for top games.
