About this guide

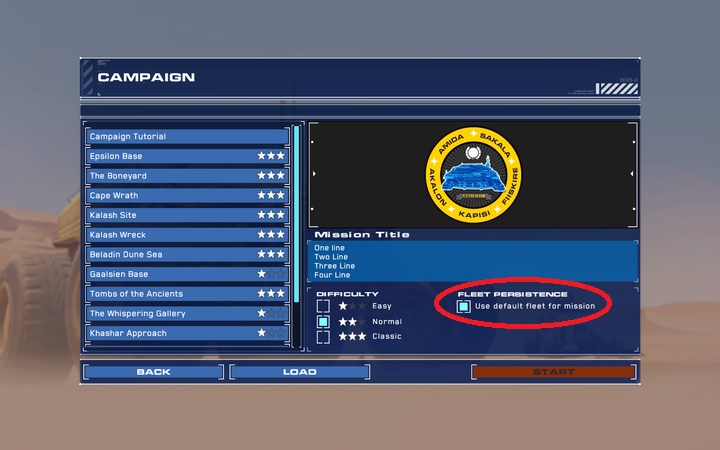
This guide has been prepared based on the experience of the highest difficulty level (Classic): it is likely that there will be differences on the lower difficulty levels (e.g. availability of resources, starting units or the number of enemy units on the map). This walkthrough has been based on the default configuration of starting units (you can check the "Use default fleet for mission" box, while selecting the mission).
In the campaign walkthrough, numbers [1] have been used to mark map locations important for an individual mission. These are the strategic locations: unit deployment, locations of enemy units or other key items.
Bold has been used to highlight the key fragments within a given description that you should especially pay attention to. Brown has been used for names of technologies that the specific fragment of the text refers to.
You are not permitted to copy any image, text or info from this page. This site is not associated with and/or endorsed by the Gearbox Software or Blackbird Interactive. All logos and images are copyrighted by their respective owners.
Copyright © 2000 - 2025 Webedia Polska SA for gamepressure.com, unofficial game guides, walkthroughs, secrets, game tips, maps & strategies for top games.
