Homeworld Deserts of Kharak: Mission 11 - Khashar Plateau
Artifacts to obtain:
- random (search wrecks [6]-[10]).
Primary objectives:
- prepare the massif defense;
- repair defense turrets;
- destroy AA units.

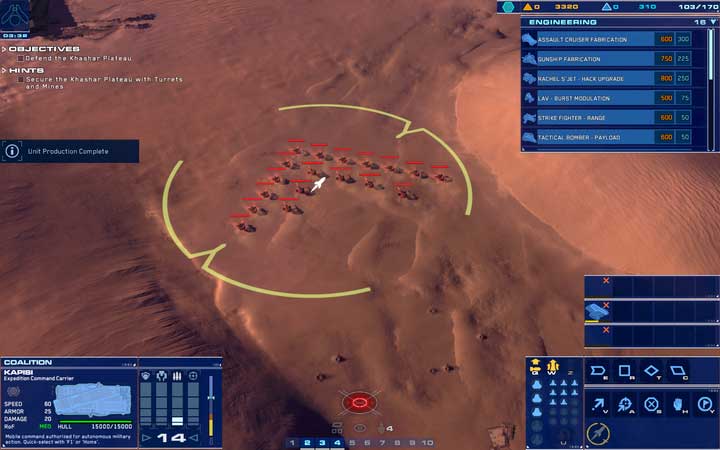
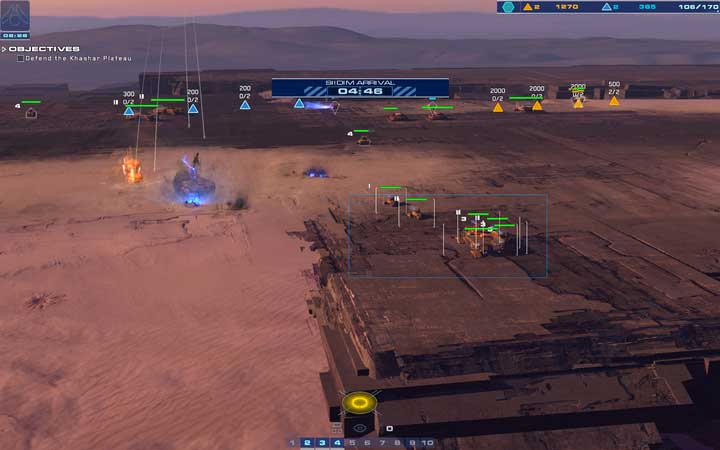
This mission uses the same map as mission 10. You are on the massif in the central part of the map and you have to fight back the enemy for about 12 minutes. Points most vulnerable to attacks are [2], [3] and [4]. However, start by gathering resources here and take to repairing the turrets.
Hint: You can dispatch several RGs and Support Cruisers Sakala, or aid their defense with aircraft.

I recommend against using Artillery Cruisers. In the auto mode, it is easy to damage own units, as well as defense systems. It is best to use Battlecruisers, numerous RGs and several AAVs (especially in [5], where there are multiple LAVs attacking). Also, it is a good idea to place Missile Batteries in each corner of the massif, or stationary AA turrets. The enemy tends to attack from several sides simultaneously. This is why you have to maintain mobility and switch between groups of units quickly. It is best to use the tactical view for the majority of the mission.
Hint: Try to deploy your units in front of massif approaches, in a straight line. Unfortunately, while deployed on edges of the rock, you will not be able to engage units below.

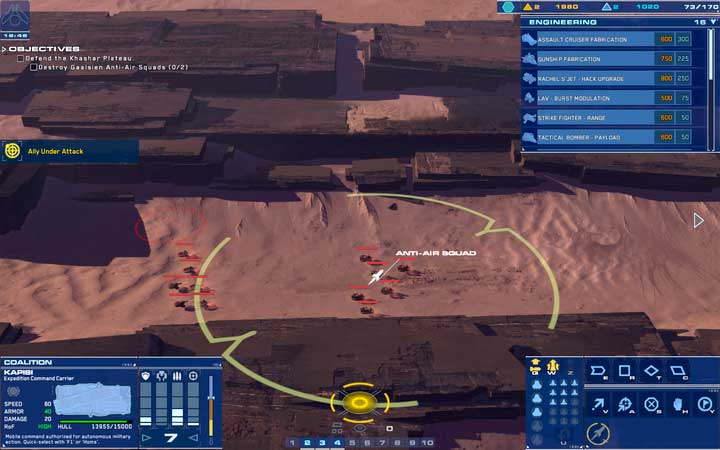
After around 12 minutes, when the transport plane will get close, you have to clear the path for it, by destroying two groups of AA units in the Southern part of the map. You can do that with Cruise Missile or by sending the majority of your forces to attack. This time, focus on the AA units only, because destroying them is the key to success. You do not have to destroy remaining enemy units.
- Homeworld: Deserts of Kharak Game Guide
- Homeworld Deserts of Kharak: Game Guide
- Homeworld Deserts of Kharak: Campaign mode walkthrough
- Homeworld Deserts of Kharak: Mission 0 - Campaign Tutorial
- Homeworld Deserts of Kharak: Mission 1 - Epsilon Base
- Homeworld Deserts of Kharak: Mission 2 - The Boneyard
- Homeworld Deserts of Kharak: Mission 3 - Cape Wrath
- Homeworld Deserts of Kharak: Mission 4 - Kalash Site
- Homeworld Deserts of Kharak: Mission 5 - Kalash Wreck
- Homeworld Deserts of Kharak: Mission 6 - Beladin Dune Sea
- Homeworld Deserts of Kharak: Mission 7 - Gaalsien Base
- Homeworld Deserts of Kharak: Mission 8 - Tombs of the Ancients
- Homeworld Deserts of Kharak: Mission 9 - The Whispering Gallery
- Homeworld Deserts of Kharak: Mission 10 - Khashar Approach
- Homeworld Deserts of Kharak: Mission 11 - Khashar Plateau
- Homeworld Deserts of Kharak: Mission 12 - Torin Crater
- Homeworld Deserts of Kharak: Mission 13 - Khar-Toba Site
- Homeworld Deserts of Kharak: Campaign mode walkthrough
- Homeworld Deserts of Kharak: Game Guide
You are not permitted to copy any image, text or info from this page. This site is not associated with and/or endorsed by the developers and the publishers. All logos and images are copyrighted by their respective owners.
Copyright © 2000 - 2025 Webedia Polska SA for gamepressure.com, unofficial game guides, walkthroughs, secrets, game tips, maps & strategies for top games.
