
Homeworld Deserts of Kharak: Mission 6 - Beladin Dune Sea
Artifacts to obtain:
- Either 1 or 2 - wreck after it has crashed (in point [3]/[5]).
Primary objectives:
- destroy all Gaalsien production vehicles and their patrol;
- destroy Ashoka Carrier;
- optional - do not let enemy planes reach Ashoka.
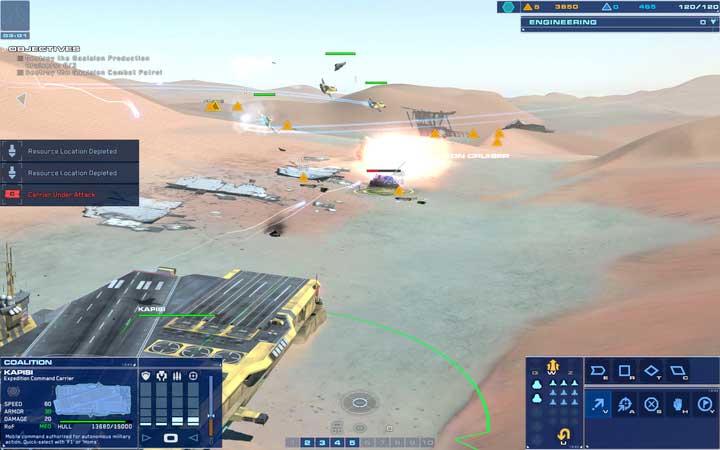
You start in the South-Western corner of the map. Follow the canyon to the East and move AAVs and RGs to the head. You can deploy RGs on the hill and attack the first production line on both sides. Do not ignore Kapisi - have it follow your armies. As soon as you defeat the small group that has been guarding Gaalsien Production Cruiser [1], make a stop by the second heap of resources in the corner [2].
Hint: If you have Baserunners (by default, you receive two), have them go north and east, over the sand hills, and deploy sensors. They will notify you of the incoming threat earlier.
Hint 2: IF you started in the default mode, start by researching into AAVs - Hull.
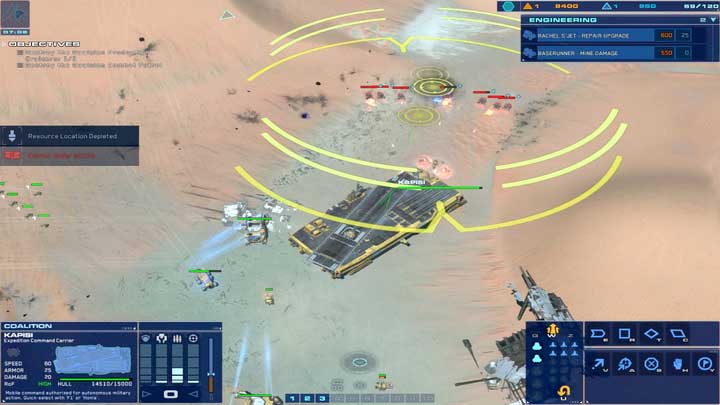
In the meantime, collect the remaining resources. The enemy may attack you from the North. Also, it is a good idea to make sure that a small group of mainly LAVs and around 2 AAVs, will not approach from the West. From the North, you will be attacked by constant waves of around 8 AAVs in a row - it is best to face them with Kapisi and deploy RG next to it.
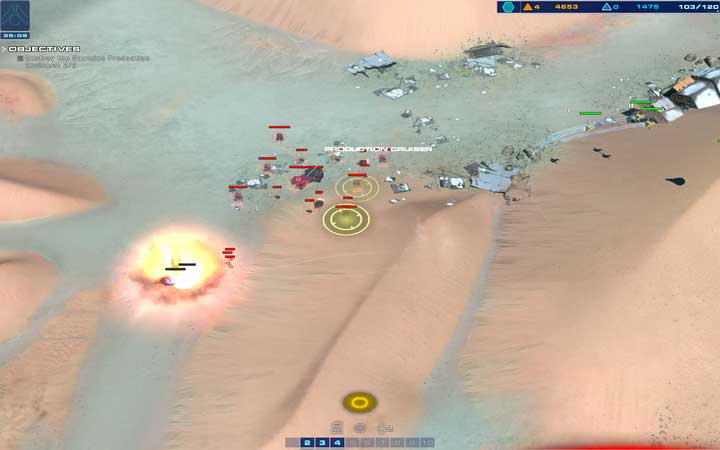
You can now move your units several meters to the north, along the canyon. In the East, there is a larger deposit of resources [3] which you first have to smash with mines. Toy can send harvesting units there without any reinforcements (but accompanied by Support Cruiser). In the meantime, since you have some supplies, you can start production of units. You do not need to many of them: 4 RGs and 6 AAVs, assisted by Kapisi, should be able to destroy the second production unit to the North-West [4].
Hint: Remember about planes. As of now, the enemy does not have any strong turrets that would threaten your aircraft. You also have two bombers that deal tremendous AoE damage.
Hint 2: Before you launch the attack, define the current position of the Gaalsien patrol on the map. If you start a fight with the production unit and wit the patrol at the same time, you may suffer high losses. Attack them one-by-one.
Hint 3: While attacking the production unit with ground units, remember to throw several smoke grenades at the enemy - this will let you attack single units that come out of the smoke, whereas enemy units will not be able to fire. (especially enemy Assault Railguns).
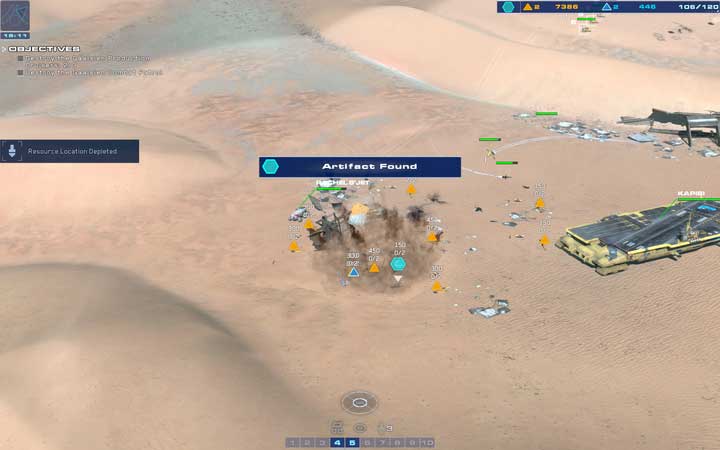
If you have seized the second location [4], you can now command Kapisi towards the second heap of resources [5] and wait here (you also find a random artifact here). Start harvesting for resources here. In the meantime, you also have to deploy guards: deploy 4 AAVs and 2 RGs in front of the heap, on the West, and another one (similar or slightly stronger) atop the hill, to the East of [4].
Note: Before you launch an attack on the second production vehicle of Gaalsien, gather all loose resources on the map: i.e. ones in points [3], [5], [6] and [7]. You can destroy this vehicle with planes only, without sending your troops there.
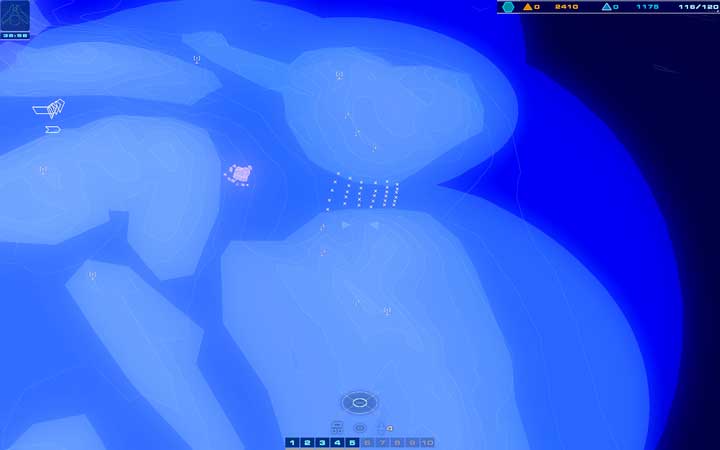
The next step to take, before attacking the group to the North-West [8] is preparing the army for the arrival of the enemy reinforcements- Ashoka Carrier and a large army. depending on the current condition of your supplies, you should focus on three things:
- mines and turrets near the enemy arrival point [9];
- production of planes - you need as many of them as possible;
- save some resources (it pays off to have the surplus 3 thousand, after you make the above purchases), because you gain access to new units, later on (Missile Battery) and their upgrades.
![After you have defeated the last army, you are up for an extended fight with the enemy remnants that arrive from the North-East [9] - Mission 6 - Beladin Dune Sea - Campaign mode walkthrough - Homeworld: Deserts of Kharak Game Guide](/homeworlddesertsofkharak/gfx/word/86663485.jpg)
After you have defeated the last army, you are up for an extended fight with the enemy remnants that arrive from the North-East [9]. This is going to be a large one, composed of Railguns and Missile Ships that can use mortars (discover them beforehand, by researching into Missile Battery Fabrication). Enemy units will mainly be deployed in [10], [11], [12], [13] - remember not to keep any units there! Enemy RGs will be deployed on the hills and several AA vehicles by the Carrier [13]. You cannot launch an effective attack at higher difficulty levels, in one take.
Prepare in the following way:
- Bombard points [10], [11], [12] up until you destroy all RGs. Do not launch any ground attack because the enemy outnumbers you and has better positions that provide him with better Range of attack (and nearby reinforcements).
- Produce several units (3 will initially do) of AA units upgraded with Missile Battery (Missile Battery - Mortar and Missile Battery - Ability Recharge).
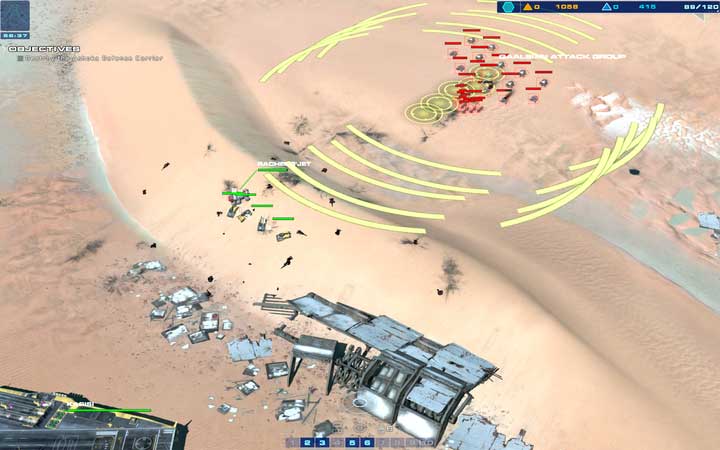
- The enemy will attack in small waves, around every 10 minutes, from the direction of Ashoka - it is best to stand behind the peak of the hill, thanks to which units that emerge from the other side can be attacked at a short distance with AAVs, and at a long range with RGs. Always precede that with an air-raid on the approaching army.
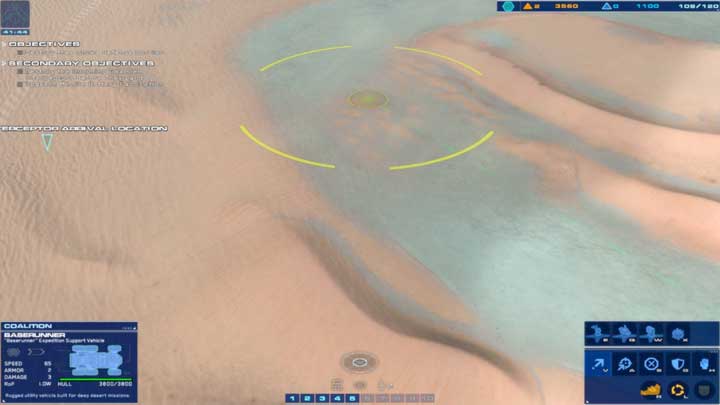
- Several minutes after enemy units arrive from the direction of Ashoka [14], you will receive a notification of the approaching airborne units. Also, they will be coming later as reinforcements. The game suggests that you leave vehicles with AA turrets, but it is not a good idea to waste the potential of those vehicles: deploy two stationary AA turrets there ( using Baserunner) and this will do until the end of the mission.
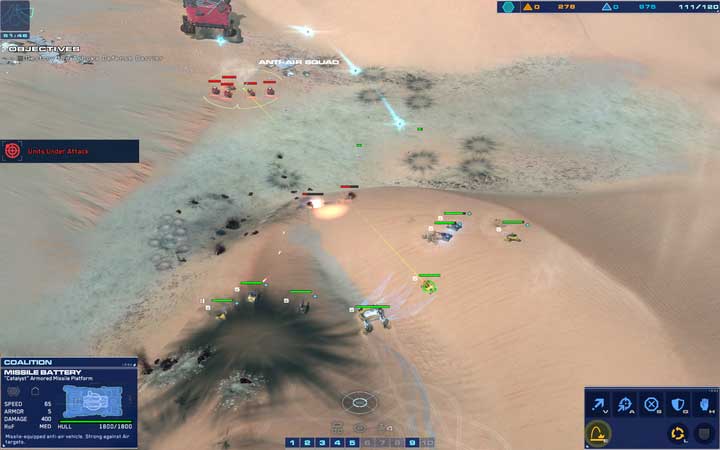
It is best to attack Ashoka from the direction of the Southern hill (the advantage of height that you will not obtain from the North and you will get between enemy units from the South; this will win you the most time), to destroy enemy aircraft. Afterwards, you will be able to finish them off with your planes. Take AA units with you: you will find useful their mortars (this ability requires a moment's cooldown but it deals high AoE damage).
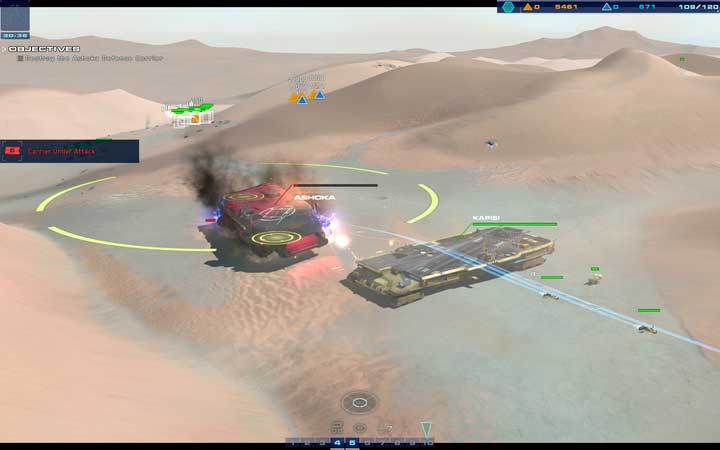
Do not attack Ahoka yet and wait for the defense units to be destroyed first! This is so, because the enemy Carrier launches an EM wave after it loses some energy (around 20%), which will halt your units temporarily and escape. The escape route is not set, which is why it is difficult to prepare an ambush beforehand. The thing is that the Carrier moves quite quickly and in the meantime, it also produces more units. You should now attack Ashoka with everything you have, predominantly planes.
Hint: It is a good idea to destroy all units, or leave some of the enemy units by the Carrier, and retreat. You can then send some units/turrets/mines to the West. However, just not to lose anything on that, park Kapisi these, which will block the route and put all of the energy into Turret Network. The enemy carrier will not be a threat to you anymore.
- Homeworld: Deserts of Kharak Game Guide
- Homeworld Deserts of Kharak: Game Guide
- Homeworld Deserts of Kharak: Campaign mode walkthrough
- Homeworld Deserts of Kharak: Mission 0 - Campaign Tutorial
- Homeworld Deserts of Kharak: Mission 1 - Epsilon Base
- Homeworld Deserts of Kharak: Mission 2 - The Boneyard
- Homeworld Deserts of Kharak: Mission 3 - Cape Wrath
- Homeworld Deserts of Kharak: Mission 4 - Kalash Site
- Homeworld Deserts of Kharak: Mission 5 - Kalash Wreck
- Homeworld Deserts of Kharak: Mission 6 - Beladin Dune Sea
- Homeworld Deserts of Kharak: Mission 7 - Gaalsien Base
- Homeworld Deserts of Kharak: Mission 8 - Tombs of the Ancients
- Homeworld Deserts of Kharak: Mission 9 - The Whispering Gallery
- Homeworld Deserts of Kharak: Mission 10 - Khashar Approach
- Homeworld Deserts of Kharak: Mission 11 - Khashar Plateau
- Homeworld Deserts of Kharak: Mission 12 - Torin Crater
- Homeworld Deserts of Kharak: Mission 13 - Khar-Toba Site
- Homeworld Deserts of Kharak: Campaign mode walkthrough
- Homeworld Deserts of Kharak: Game Guide
You are not permitted to copy any image, text or info from this page. This site is not associated with and/or endorsed by the developers and the publishers. All logos and images are copyrighted by their respective owners.
Copyright © 2000 - 2025 Webedia Polska SA for gamepressure.com, unofficial game guides, walkthroughs, secrets, game tips, maps & strategies for top games.
