
Homeworld Deserts of Kharak: Mission 3 - Cape Wrath
Artifacts to obtain:
- Sensor Waveform Amplifier (one of the mission's objectives).
Primary objectives:
- deploy Kapisi deeper into Hell's Gate;
- investigate the signal;
- protect Rachel as she enters the ship (also, protect Kapisi);
- destroy the enemy Cruiser.
Note: This mission is the first one for which you can use units from the previous mission. Thanks to this, if you have done well in The Boneyard, you can now have it easier - more experienced units and in higher numbers. This guide focuses on the default units for this mission.
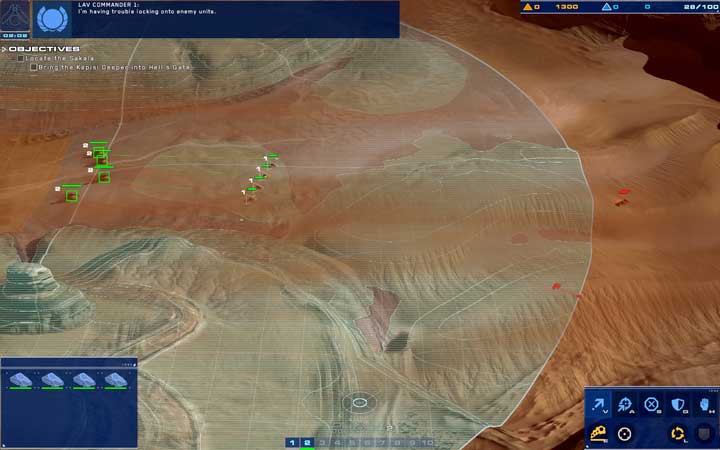
By default, you start this mission with Kapisi, Rachel, two Salvagers and a Support Cruiser. As for combat units, you receive 4 LAVs and 4 AAVs. First of all, stop the caravan and command combat units ahead. At the first bend to the West of your positions, there is some uneven terrain. Get there with your AAVs and try to take position on the top to receive a bonus to attack. Deploy smoke screen over enemy's Railguns- they will start to move around the screen and will get under fire from LAVs, thanks to which you can save all of your units.
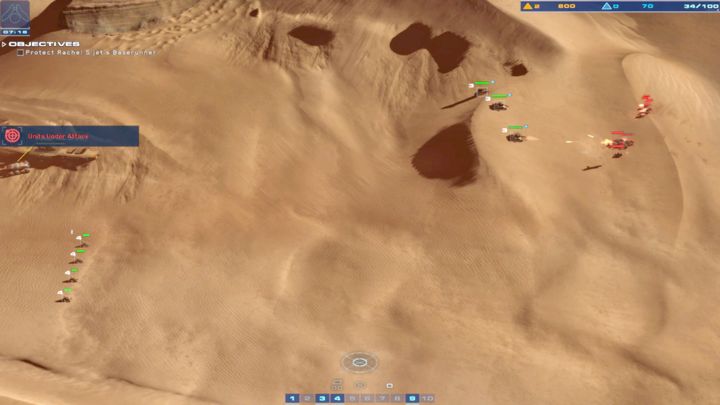
You can catch some breath now. With the remaining units, follow the canyon, up until you come across resources - collect them. There is no point in building more Salvagers. As soon as you collect the resources, park Kapisi by the next deposit on the bend and start harvesting for them. Along your way, also discover AAVs Fabrication, and optionally, Boost for LAVs. Also, note that to build AAVs (and RG), you require RU resource- it is the one that is marked in blue. After the cutscene, deploy the rest of the units in the following way:
- deploy Support Cruiser right behind Rachel [1];
- two AAVs right in front of Rachel [2];
- two more AAVs on the Northern hill of this canyon, a bit westwards [3];
- keep LAVs ready by the Southern wall of the canyon [4].
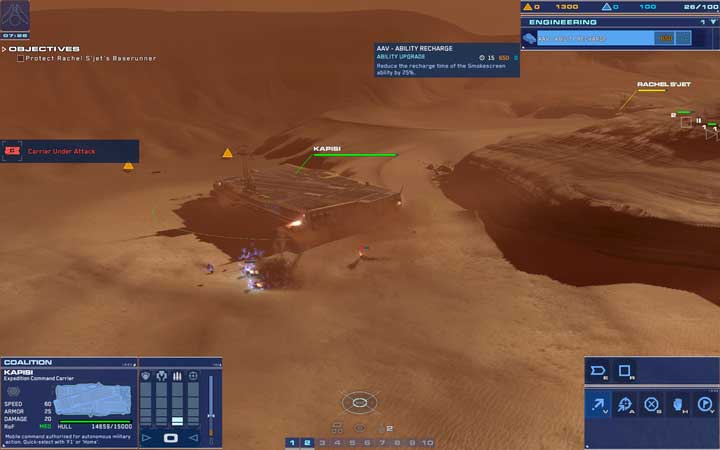
Start production three AAVs in Kapisi and keep them right next to the ship (dispatch one of the to the hill [1]). There are 3 energy points available. Send one point on each Repair System, Turret Network and Range Systems. Thanks to this, you will be able to defend Kapisi with support from AAVs, when it gets hot. At the same time, they will be repaired by standing next to the Carrier. If you have enough resources, you can also buy AAVs Ability Recharge.
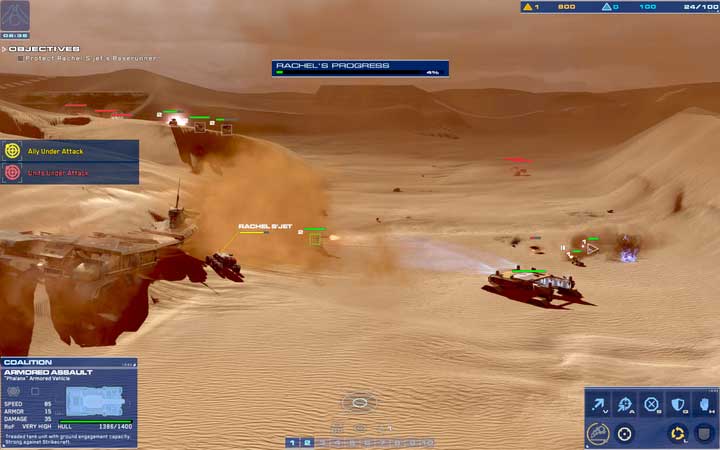
A large Attack will start. Enemy units will launch an attack from the North-East (by [2]): mainly Sandskimmers (light vehicles) and AAVs; there will be another wave attacking from the East, right by the wall, Sandskimmers and RG.
The defense strategy is as follows:
- Let especially your AAVs attack on the hill.
- If any of them is damaged, replace them with the AAVs by Rachel, and repair them with Supporter.
- LAVs will be destroying the weakened units, thanks to which the ones on the hill do not have to leave their positions.
- In order not to toil over RGs by the Southern wall, destroy all of the enemy LAVs in the battlefield- Railguns will retreat after they are destroyed.
- Deploy smoke grenades right in front of Rachel to prevent RGs from attacking her (this is why you should keep two AAVs there). Also, you can deploy grenades right in front of RGs, but this will deprive you of the ability to destroy them.
- In the meantime, your Carrier will be attacked three times. You can produce one more AAV, because with the third wave, you will have to use smoke screens to protect Kapisi from RG, while you are busy fighting Sandskimmers (they will not allow your LAVs to rush).
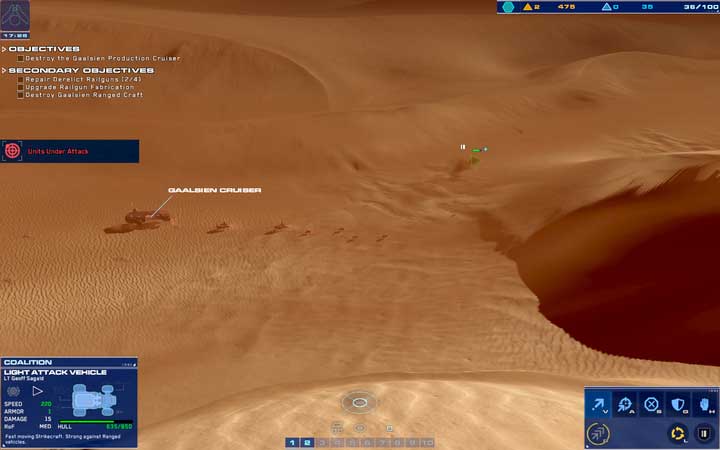
As soon as Rachel is done with searching the wreckage, you should launch your own attack. First, gather resources in the East - you will be safe there and opponent should be attacking only from the East now, in the strength of 3-4 units. Deploy your units by Kapisi, to fight back the enemy. Use Rachel and Support Cruiser to repair Railguns that are now marked with yellow squares on your map (4 units) and protect them, instead of producing and upgrading new ones. Instead, buy more upgrades for AAVs (especially the ones that increase hull integrity - AAVs Hull, available after you discover AAVs Ability Recharge).
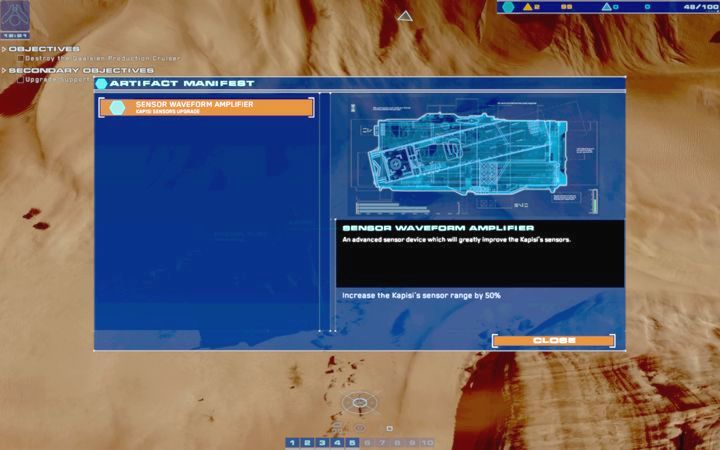
Hint: Rachel will bring an artifact. Its bonus is a passive one - it remains active for the whole time, just like the other ones that you can collect in successive missions. Starting with mission 5, you will be getting more of them. By selecting the blue cube icon in the upper corners, you can look up what artifact you have obtained and what bonus it provides.
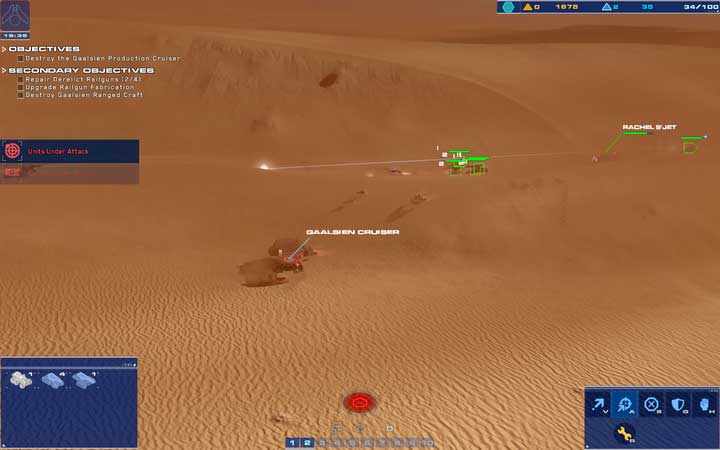
Now it's time to launch an attack on the enemy Carrier. It is not too well guarded. You only have to destroy the Carrier to complete this mission. There is no need for you to eliminate all of the units, An effective attack strategy requires two groups of 3-4 AAVs and 2 RGs. Also, it may be useful to have a single LAV in the Eastern group...
- deploy both groups at both sides of the rock separating your base from the enemy ([5],[6]).
- Deploy the Eastern group in [7], i.e. outside of the enemy's sight, but on the top of the dune.
- Have the Western group approach the enemy Carrier, outside of the range of attack.
- Attack with the Eastern group, while still on the dune - first, destroy the enemy RGs. If you have a LAV, you can approach the enemy first and lure them towards the units on the dune.
- Right after you start the attack with the Eastern group, launch an attack with the Western one: have AAVs destroy enemy units and have RGs lay fire on the enemy Carrier. After the target loses more than a half of the points, you can attack it with all of the units you have.
- Homeworld: Deserts of Kharak Game Guide
- Homeworld Deserts of Kharak: Game Guide
- Homeworld Deserts of Kharak: Campaign mode walkthrough
- Homeworld Deserts of Kharak: Mission 0 - Campaign Tutorial
- Homeworld Deserts of Kharak: Mission 1 - Epsilon Base
- Homeworld Deserts of Kharak: Mission 2 - The Boneyard
- Homeworld Deserts of Kharak: Mission 3 - Cape Wrath
- Homeworld Deserts of Kharak: Mission 4 - Kalash Site
- Homeworld Deserts of Kharak: Mission 5 - Kalash Wreck
- Homeworld Deserts of Kharak: Mission 6 - Beladin Dune Sea
- Homeworld Deserts of Kharak: Mission 7 - Gaalsien Base
- Homeworld Deserts of Kharak: Mission 8 - Tombs of the Ancients
- Homeworld Deserts of Kharak: Mission 9 - The Whispering Gallery
- Homeworld Deserts of Kharak: Mission 10 - Khashar Approach
- Homeworld Deserts of Kharak: Mission 11 - Khashar Plateau
- Homeworld Deserts of Kharak: Mission 12 - Torin Crater
- Homeworld Deserts of Kharak: Mission 13 - Khar-Toba Site
- Homeworld Deserts of Kharak: Campaign mode walkthrough
- Homeworld Deserts of Kharak: Game Guide
You are not permitted to copy any image, text or info from this page. This site is not associated with and/or endorsed by the developers and the publishers. All logos and images are copyrighted by their respective owners.
Copyright © 2000 - 2026 Webedia Polska SA for gamepressure.com, unofficial game guides, walkthroughs, secrets, game tips, maps & strategies for top games.
