Watch Dogs Legion: The Whistleblower - walkthrough
The Whistleblower, SIRS Missions
Last update:
On this page of the Watch Dogs Legion guide, you will learn how to complete the first mission from the SIRS chapter, The Whistleblower. In this task, you will examine the SOS signal that was sent to DedSec.
When you begin your mission, go to the place where the meeting was organized. Sit in a chair and wait for the person to appear.
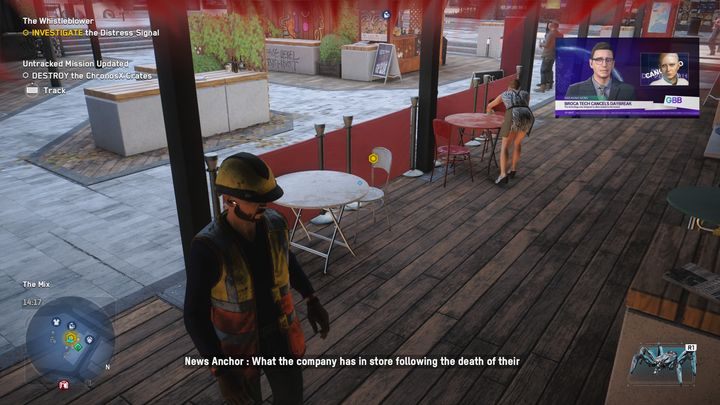
A short cutscene will appear where you will receive an item related to the task. Then go to the next point on the map.
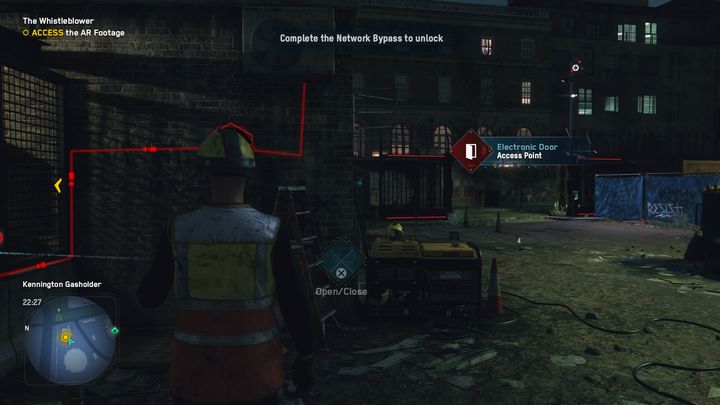
Once there, go to the door that is locked and hold the button responsible for hacking. A red line will appear, again as in the case of other tasks, you will have to solve a puzzle consisting of switching nodes.
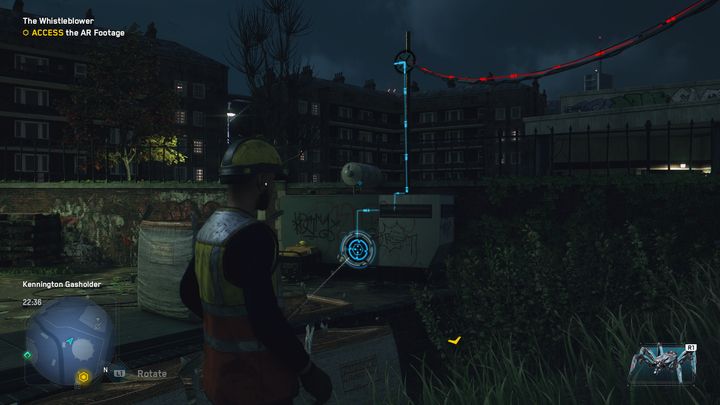
This puzzle is very simple, you just need to flip the switches without unlocking any others. Once you've put them all together, go back to the door and open it. Next, go to the box next to which the tag is located and interact with it.
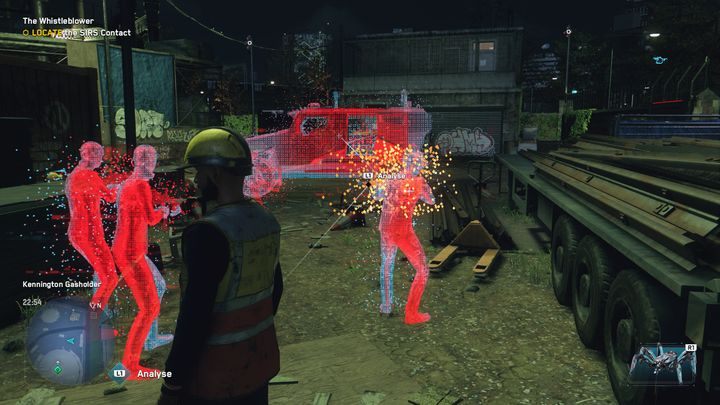
Then go to the marker and perform the AR reconstruction. You'll see what happened here. Analyze where the yellow color appears. Then follow the car with the reconstruction.
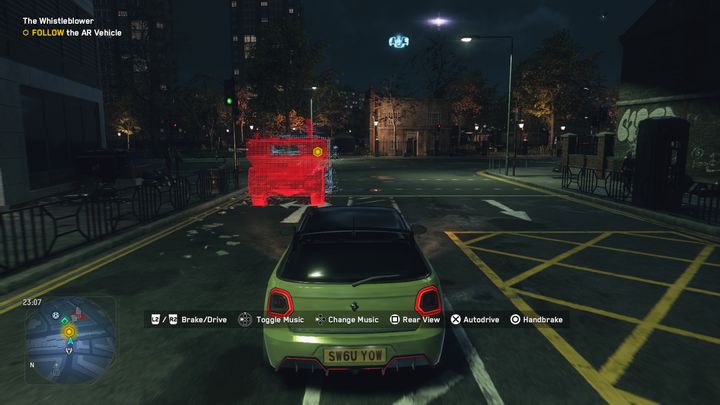
Driving behind the visualization of the car, you will find yourself in an underground parking lot. There, perform the AR reconstruction analysis again. Then go to the point where the ambulance went.
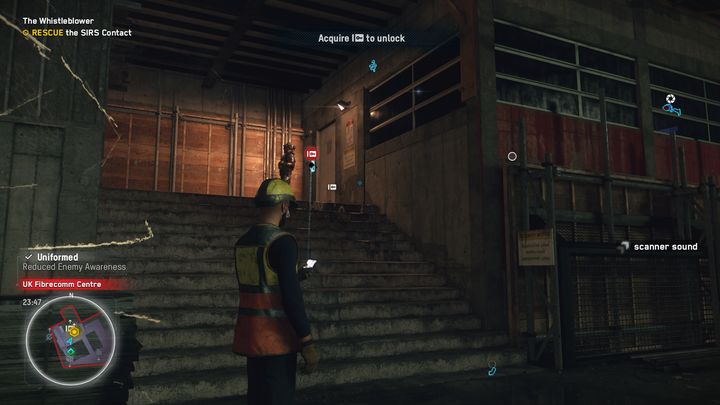
The place is a restricted area, you can wear a construction suit so that your opponents do not detect you.
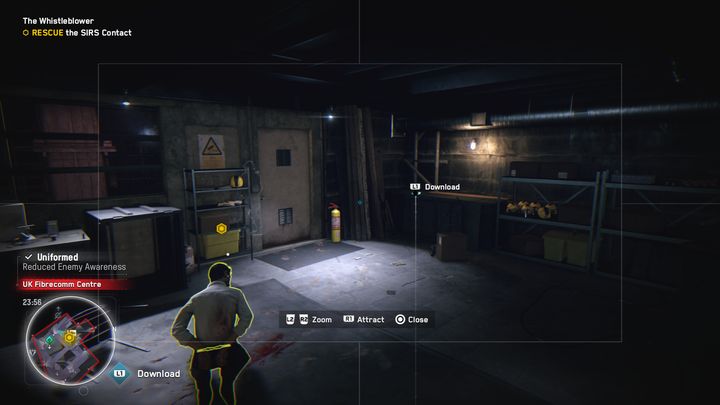
Hack the camera, which is located in the middle of the building. That's where you'll see the person you need to free. Get the access key, then get rid of the guard and go inside.
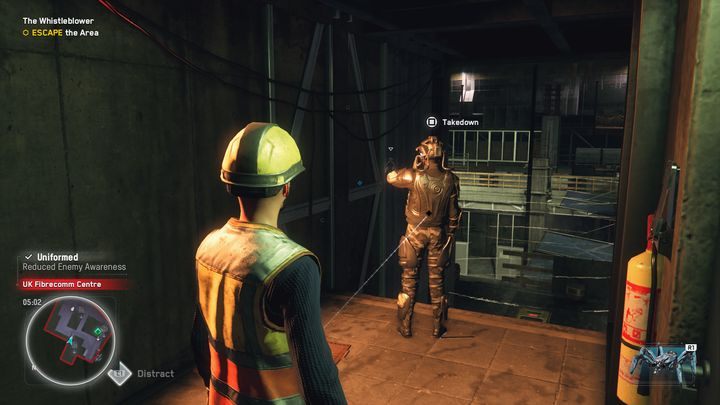
After the finished cutscene, you will find yourself on the other side of the building, take down the enemy and escape from the restricted area to complete the mission.
- Watch Dogs Legion Guide
- Watch Dogs Legion: Walkthrough
- Watch Dogs Legion: SIRS Missions
- Watch Dogs Legion: The Whistleblower - walkthrough
- Watch Dogs Legion: Espionage 101 - walkthrough
- Watch Dogs Legion: Honey Trap - walkthrough
- Watch Dogs Legion: Hunting Zero Day - walkthrough
- Watch Dogs Legion: Smoking Gun - walkthrough
- Watch Dogs Legion: Kill Box - walkthrough
- Watch Dogs Legion: Dossier Malik - walkthrough
- Watch Dogs Legion: Barbarians at the Gate - walkthrough
- Watch Dogs Legion: SIRS Missions
- Watch Dogs Legion: Walkthrough
You are not permitted to copy any image, text or info from this page. This site is not associated with and/or endorsed by the developers and the publishers. All logos and images are copyrighted by their respective owners.
Copyright © 2000 - 2025 Webedia Polska SA for gamepressure.com, unofficial game guides, walkthroughs, secrets, game tips, maps & strategies for top games.
