Splinter Cell Conviction: Washington Monument
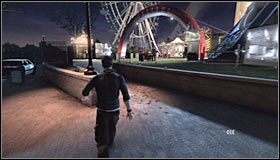 | 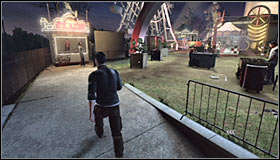 |
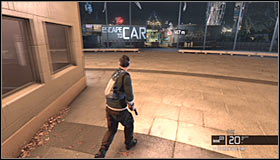
Walkthrough: Start moving towards the amusement park, listening to a new conversation with Victor along the way #1. Leave the main path by heading to your right #2 and use this opportunity to familiarize yourself with the surroundings. Your objective will be to neutralize three guards patrolling the funfair grounds and the most important to know about is that you can't be seen by them. You'll also have to eliminate them in darker areas so you won't raise an alarm. The characters you're looking for will be represented as white icons on your HUD and naturally this will make finding them and tracking their movements a lot easier.
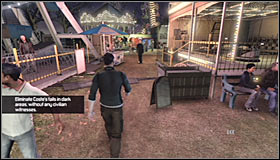 | 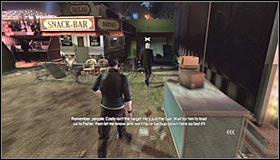 |
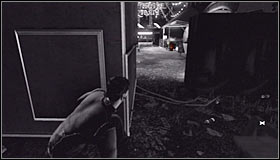
The characters you'll have to interrogate and neutralize are men dressed in black suits. You can approach them in any order, however the first person should appear near your position really soon #1. Follow your target and you'll soon reach a dark alley #2.
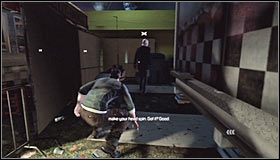 | 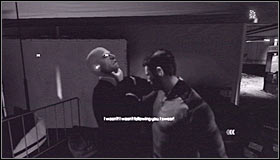 |
Quickly approach the man you're following #1 and press the action key to grab him. Fisher will automatically start a new interrogation #2 and in this case it will have only one phase instead of usual three.
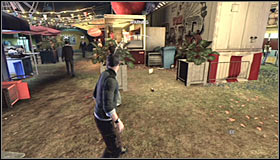 |  |
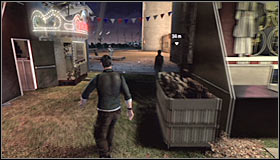
You may now go after two other opponents. You should know that they will pass by each other in one of the areas of the amusement park #1, so you'll have to be very careful to avoid detection. You'll also have to eliminate one of the guards by hiding in an alley and waiting for him to show up #2. Drag him away from the crowd so the brutal interrogation won't be seen by any civilians.
 | 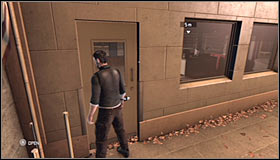 |
Once you've interrogated all three opponents you'll have to proceed towards one of the exits from the amusement park located near the monument #1. Head forward here and enter a small building #2 to have a conversation with Victor.
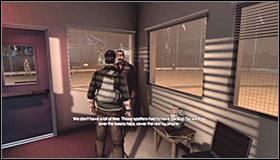 |  |
During your conversation Victor will give you a backpack filled with standard equipment, including a silenced pistol. You'll also be rewarded with two new toys - remote mines and portable EMP devices #1. Exit the room and start heading back to the passageway you've used to get here #2. You'll have to be careful from now on if you plan on avoiding detection right to the end of the mission.
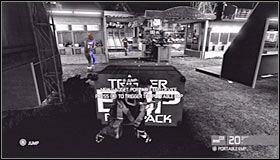 | 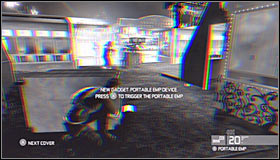 |
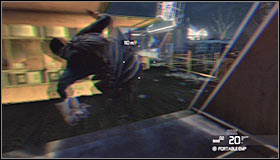
A more obvious choice is to hide behind an object marked by the game and located in the middle of the passageway #1. Consider sliding towards this cover to increase your chances of staying hidden. Wait until enemy units have gathered around your position and activate the portable EMP device #2.
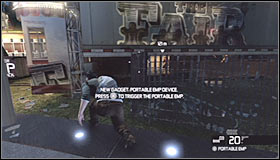 |  |
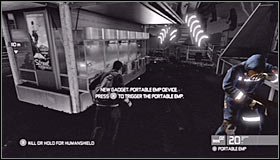
If you don't want to hide behind the central object you could also find an alternative passageway to your right #1. Notice that you would have to pass by a civilian after using the tunnel and you would also have to jump over the counter after triggering the EMP device #2.
 | 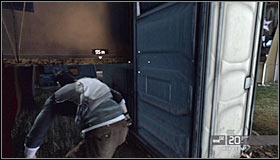 |
In both cases you'll want to quickly proceed to your right after the EMP blast, because it'll be dark here only for a short while #1. Ignore enemies encountered along the way, because you won't have to kill them. Turn left and locate a new tunnel next to a white cabin #2.
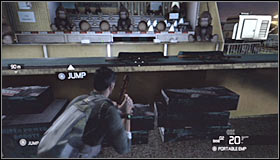 | 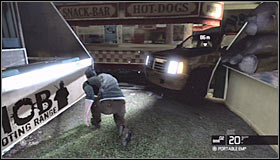 |
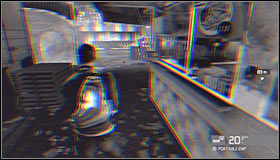
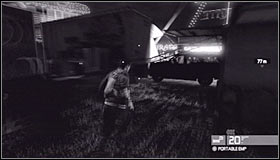
Head through a small tunnel to find yourself crouching next to a counter #1. Jump over the counter and proceed towards a parked SUV found to your left #2. If you take cover here you should notice new enemy units stationed just around the corner.
 |  |
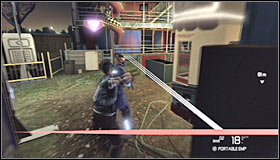
Trigger a second EMP device #1 and start running towards enemies mentioned above. Turn around and head towards a new vehicle #2. You'll have to proceed to your left here and you'll find a tunnel where the game will create a checkpoint.
 | 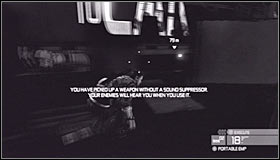 |
Ignore the tunnel for time being and instead slowly proceed to your left. One of the guards will be patrolling this area #1 and you should defeat him in hand to hand combat. Return to the tunnel, press the crouch key and head inside #2 to make your way to a group of mercenaries.
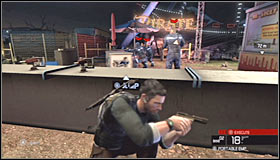 | 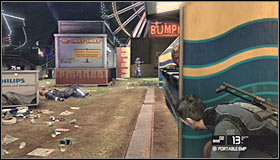 |
Tag all three opponents and then eliminate them using Mark and Execute system #1. You should now move to your left and wait for a guard patrolling a nearby area to show up #2. If he arrives here earlier than predicted consider eliminating him with a precise shot to the head.
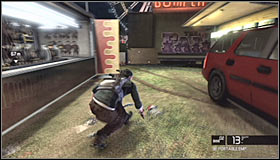 | 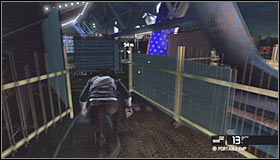 |
Start moving towards the area where you've seen the single guard mentioned above #1. If you play this out correctly you'll pass by each other near one of the booths and he won't notice you. Wait until he moves further away and then quickly proceed towards a dark corridor located to your left #2.
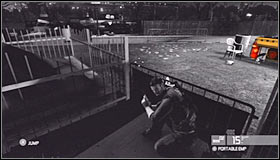 | 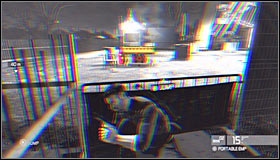 |
Approach a new metal barrier slowly, because enemy units are stationed nearby #1. I wouldn't recommend destroying the stove, because the explosion would attract too much attention. Instead you should use your last EMP device here #2. Quickly jump over the railing and start running to your left.
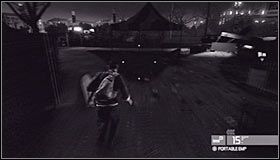 | 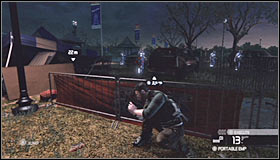 |
You'll have to reach the area with the last group of enemy units #1 and this has to be done BEFORE everything returns to normal. Take cover to the left of the parked vehicles #2.
You must now decide how you want to escape from the amusement park:
OPTION A - avoiding two guards without killing them
OPTION B - killing most of the nearby guards
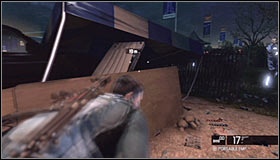 | 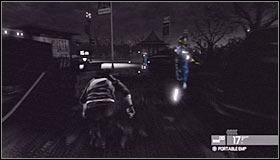 |
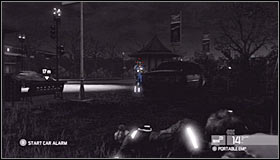
Option A: Wait until the guard standing close to your position turns slightly to his left and SLOWLY move past the cover using an opening near the lamp #1. Keep heading forward #2 and make sure not to touch any one of the guards stationed here.
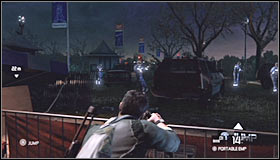 |  |
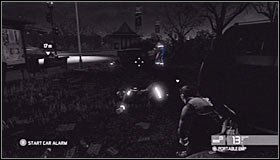
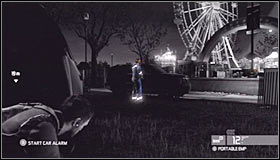
Option B: Kill the closest opponent from here with a successful headshot #1. Jump over the railing and approach the vehicle where this person was standing a few seconds ago. Kill the second guard from here #2 (also with a headshot).
 |  |
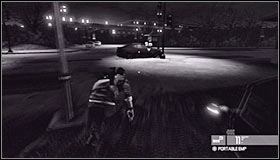
The death of the second guard will probably trigger an alarm in the car he was standing close to. Wait until the third guard arrives to see what's happening and eliminate him as well #1. The last fourth opponent is stationed to your right #2 and he can be ignored.
 | 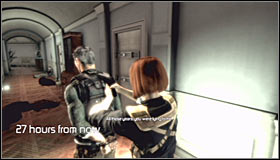 |
Walkthrough (continued): You may now start moving towards Fisher's car found in the middle of a nearby car park #1. You'll soon take control over Anna #2 - all you have to do here is to keep pressing the movement key.
- Tom Clancy's Splinter Cell: Conviction Game Guide & Walkthrough
- Splinter Cell Conviction: Game Guide
- Splinter Cell Conviction: Walkthrough
- Splinter Cell Conviction: Hints
- Splinter Cell Conviction: Merchant's Street Market
- Splinter Cell Conviction: Kobin's Mansion
- Splinter Cell Conviction: Price Airfield
- Splinter Cell Conviction: Diwaniya, Iraq
- Splinter Cell Conviction: Washington Monument
- Splinter Cell Conviction: White Box Laboratories - part 1
- Splinter Cell Conviction: White Box Laboratories - part 2
- Splinter Cell Conviction: Lincoln Memorial
- Splinter Cell Conviction: Third Echelon HQ - part 1
- Splinter Cell Conviction: Third Echelon HQ - part 2
- Splinter Cell Conviction: Third Echelon HQ - part 3
- Splinter Cell Conviction: Michigan Ave. Reservoir - part 1
- Splinter Cell Conviction: Michigan Ave. Reservoir - part 2
- Splinter Cell Conviction: Downtown District
- Splinter Cell Conviction: The White House
- Splinter Cell Conviction: Walkthrough
- Splinter Cell Conviction: Game Guide
You are not permitted to copy any image, text or info from this page. This site is not associated with and/or endorsed by the developers and the publishers. All logos and images are copyrighted by their respective owners.
Copyright © 2000 - 2026 Webedia Polska SA for gamepressure.com, unofficial game guides, walkthroughs, secrets, game tips, maps & strategies for top games.
