Splinter Cell Conviction: Lincoln Memorial
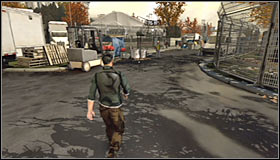 | 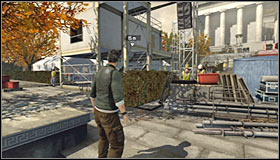 |
Walkthrough: Start off by heading forward #1. You can run and you won't have to hide from anyone. Keep going straight until you've found a control booth #2. Use the stairs and enter the booth without any other delays.
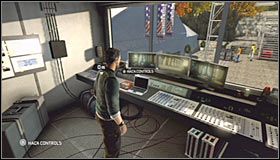 | 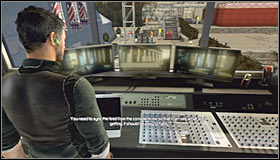 |
Approach a large control console located to your right and press the action key in order to hack into the system #1. Take your time to familiarize yourself with the next objective - you'll have to listen in to a conversation using available TV cameras #2.
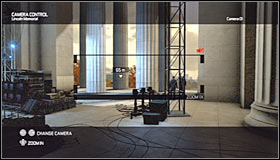 | 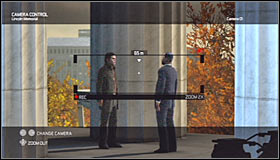 |
Start off by choosing camera number 2 #1. Zoom in on the person in the dark suit. Follow this man with the camera (he should go to the left) until a second person shows up #2.
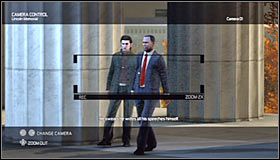 | 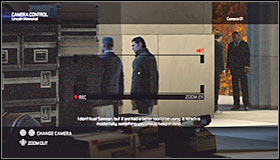 |
You won't have to do anything right away, however both men will soon start moving to your left #1. Make sure to move the camera so you won't lose the audio. Wait until a speaker icon has changed its color from green to red #2, informing you that you have to change the camera.
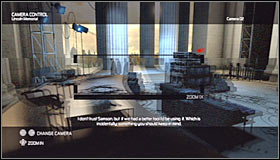 | 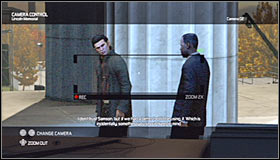 |
Switch to camera number 3 #1. Naturally you'll have to zoom in the view on the characters you've been following so far in order to continue listening to their conversation #2.
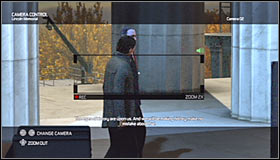 | 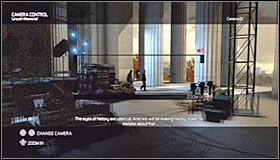 |
Wait until both men have started moving right #1 and go back to using camera number 2 after you've lost the audio #2. Thankfully this conversation will soon come to an end.
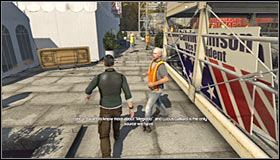 | 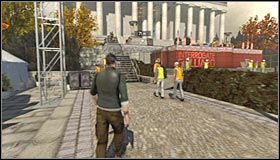 |
Exit the booth after listening to a new conversation with Grim and turn right twice #1, heading towards a stage located directly in front of the Lincoln Memorial #2.
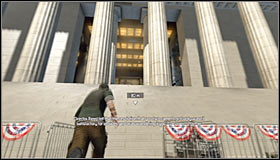 | 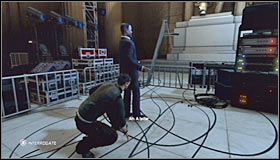 |
Choose the passageway located between the flags and head up the stairs #1. Press a crouch key here and carefully surprise Galliard #2 in order to initiate a new interrogation.
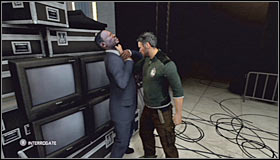 | 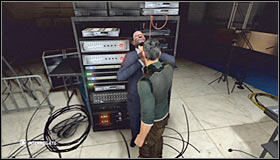 |
This conversation will consist of four phases and the general rules will be the same as in previous interrogations. This means you'll have to encourage Galliard to talk by beating him up and you'll be allowed to use certain objects from the environment to your advantage, including television sets #1, a control panel, an audio equipment case #2 and a metal barrier.
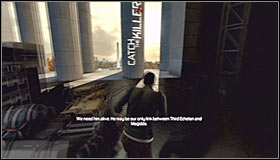 | 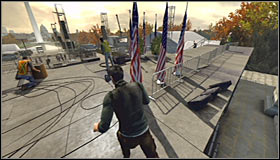 |
Galliard will soon get shot and you'll have to take part in a long pursuit after the killer. Start off by leaving the Lincoln Memorial building #1. Proceed towards the large stage you've used to get here #2.
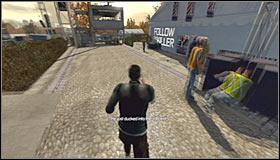 | 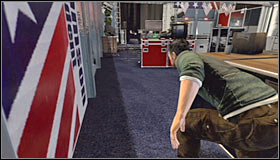 |
Use the stairs to leave the stage and start moving towards a large tent located to your right #1. Make sure to press the crouch key as soon as you're inside the tent, because the killer will fire at you. Get closer to him by staying close to the left section of the tent #2.
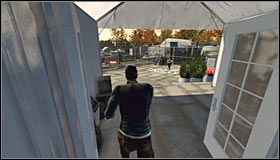 | 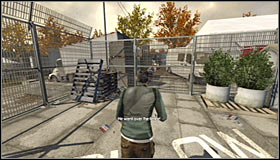 |
Stand up as soon as you've noticed that the killer has left the tent and continue the chase #1. You'll be forced to climb over a fence along the way #2, however it shouldn't be a big problem.
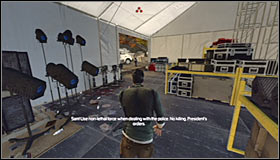 | 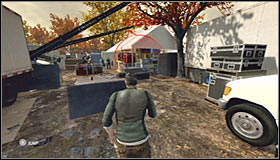 |
Enter a second tent. You won't have to worry about any surprises here so you may as well proceed directly towards the exit #1. Be careful, because you'll encounter several police officers just around the corner #2. Take cover behind the nearest cover. Thankfully you won't have to worry about the killer, because he'll wait for you.
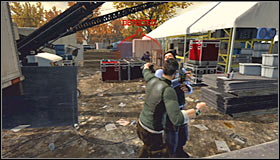 | 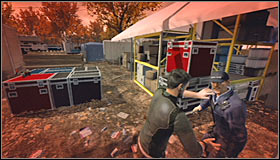 |
You'll be instructed by Grim that you're not allowed to kill the cops so instead you'll have to figure out a different way to get rid of them. You can wait for them to come to you #1 or you can try attacking them while they're reloading their guns #2. Try not to take any unnecessary risks. The chase will resume as soon as they're all neutralized.
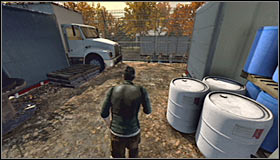 | 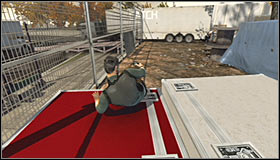 |
Keep running after the killer. You'll have to turn right twice so that you'll find yourself next to the fence #1. Continue heading forward here and slide over a red obstacle as soon as you've noticed it in front of you #2.
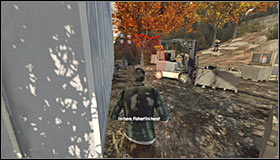 | 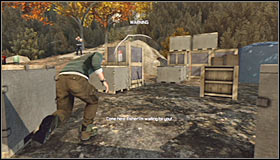 |
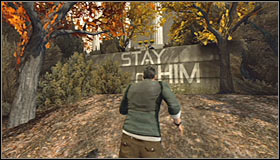
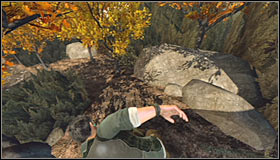
Ignore a new truck, because it won't block your path. Turn right and be careful after reaching a new area, because the killer will try to surprise you here #1. You must move closer to him without receiving any critical hits and this means running between nearby objects used for cover #2.
 |  |
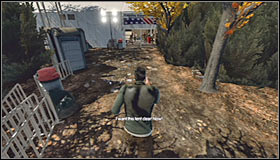
As soon as you're close enough to the killer he'll stop firing at you and instead he'll start running away again. Approach a new wall #1 and climb on top of it. Turn left here. You'll soon have to jump down to a lower level #2.
 | 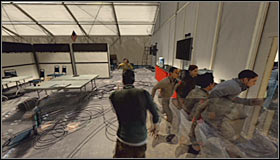 |
Continue running forward until you've found a new tent #1. Don't be fooled by the crowd, because you won't have to go right. Instead you should continue running forward #2.
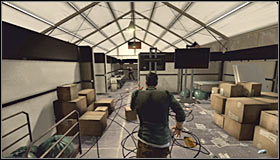 | 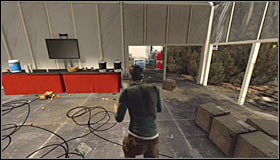 |
You'll now have to go through a simple labyrinth. The good news is that the killer will be showing himself to you #1, so you'll always know where to go. Keep following him until he escapes the tent using the passageway you've ignored a moment ago #2.
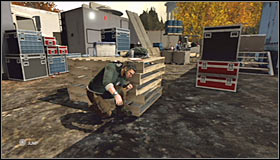 | 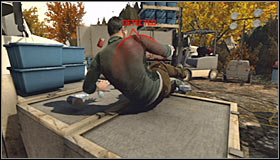 |
Continue running forward and then turn right twice. Make sure to quickly hide behind the nearest cover #1, because new police officers have arrived in the area. Just as before, you will have to choose between waiting for them to get closer and aggressively closing in on them #2.
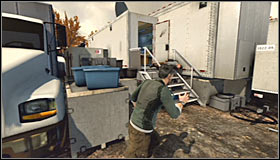 | 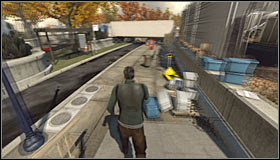 |
The person you're going after will soon execute one of the cops and you'll have to enter an equipment truck #1. Head forward here and then turn right #2.
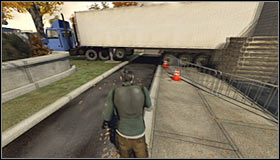 | 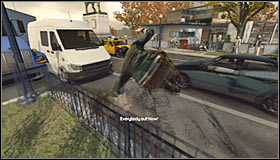 |
As you've probably suspected you'll have to slide under the large trailer #1 so that you'll be allowed to continue the chase without any additional interruptions. Proceed to your left and then turn right. Jump over the railing here #2, ignoring civilian vehicles seen in the area.
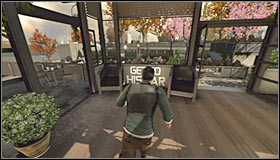 | 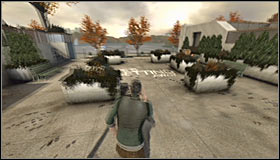 |
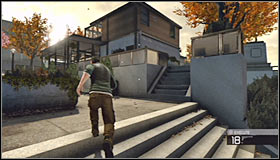
You'll soon end up inside the cafeteria and you should continue moving forward. Jump over a small obstacle #1 and then turn left #2. Keep heading towards the main street where you'll witness a huge explosion.
 | 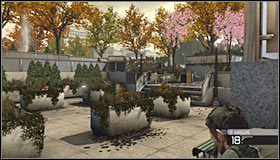 |
Listen to a new conversation with Grim and as soon as it has ended get closer to the cafeteria building #1. You'll have to get rid of four several of enemy units. Not all groups will arrive at the same time, but if you take too long dealing with one of the groups you'll force the next one to show up earlier than expected. The first group (two enemies) will appear to your left #2.
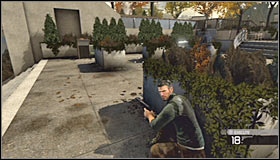 | 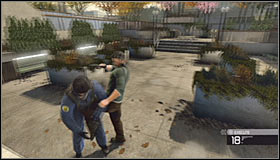 |
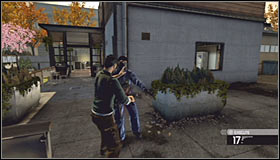
I would recommend taking cover near the stairs where you've witnessed the recent explosion #1. Wait for both enemies to show up. Notice that one of them will stop near your position, allowing you to defeat him in melee combat #2.
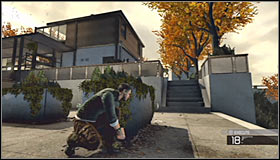 |  |
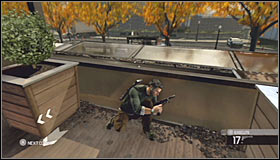
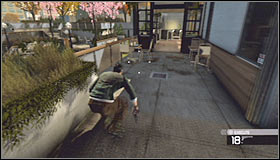
Take cover again #1, because the other guard will show up on an upper balcony. If he comes here you'll have an easy job of defeating him. Otherwise you'll have to approach him carefully and surprise him #2 or kill him with a successful headshot.
 |  |
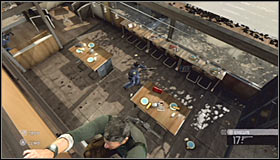
The second group (three enemies) will show up in front of the main entrance to the cafeteria #1. You may decide to remain on the ground floor #2 or you may proceed to the upper floor (using the stairs or a pipe).
 | 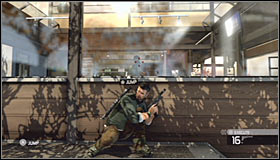 |
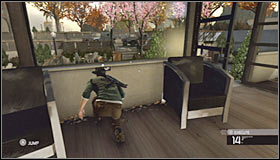
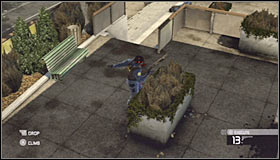
Enemies from the second group should begin patrolling the area near the main entrance, as well as some of the rooms on the ground floor (including the kitchen). There are many ways of defeating them - you can try surprising them from the upper balcony #1 or you can remain on the ground floor and rely on headshots #2. There aren't any solid methods here, because each time they'll position themselves differently.
 |  |
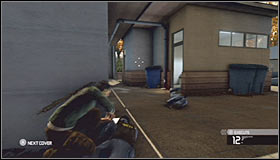
The last third group (three enemies) will appear in the same area as the first one #1 - to the left of the cafeteria. Be careful, because enemies from this group may decide to investigate the back of the building #2.
 | 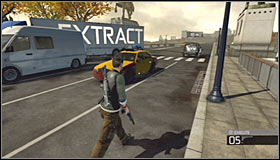 |
I would recommend locating enemies by their voices, so there's a smaller chance of being surprised. Get rid of all of them #1 and ignore a new car which will appear in the area. Start moving (or even running) towards the designated bridge #2. Approaching one of the vehicles will allow you to end this mission.
- Tom Clancy's Splinter Cell: Conviction Game Guide & Walkthrough
- Splinter Cell Conviction: Game Guide
- Splinter Cell Conviction: Walkthrough
- Splinter Cell Conviction: Hints
- Splinter Cell Conviction: Merchant's Street Market
- Splinter Cell Conviction: Kobin's Mansion
- Splinter Cell Conviction: Price Airfield
- Splinter Cell Conviction: Diwaniya, Iraq
- Splinter Cell Conviction: Washington Monument
- Splinter Cell Conviction: White Box Laboratories - part 1
- Splinter Cell Conviction: White Box Laboratories - part 2
- Splinter Cell Conviction: Lincoln Memorial
- Splinter Cell Conviction: Third Echelon HQ - part 1
- Splinter Cell Conviction: Third Echelon HQ - part 2
- Splinter Cell Conviction: Third Echelon HQ - part 3
- Splinter Cell Conviction: Michigan Ave. Reservoir - part 1
- Splinter Cell Conviction: Michigan Ave. Reservoir - part 2
- Splinter Cell Conviction: Downtown District
- Splinter Cell Conviction: The White House
- Splinter Cell Conviction: Walkthrough
- Splinter Cell Conviction: Game Guide
You are not permitted to copy any image, text or info from this page. This site is not associated with and/or endorsed by the developers and the publishers. All logos and images are copyrighted by their respective owners.
Copyright © 2000 - 2025 Webedia Polska SA for gamepressure.com, unofficial game guides, walkthroughs, secrets, game tips, maps & strategies for top games.
