Splinter Cell Conviction: Third Echelon HQ - part 2
 | 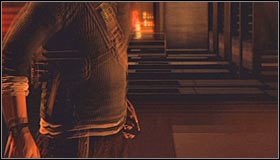 |
You should know that you won't have to hide anymore from now on so even if you trigger an alarm you won't fail the mission. Start off by heading towards the receptionist's desk #1. You'll have to listen to a short conversation and then Fisher will automatically detonate both charges #2. Get ready, because you'll have to act quickly if you don't want to get imprisoned here.
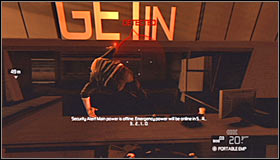 | 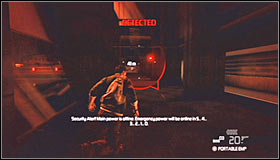 |
Jump over the receptionist's desk as soon as you've regained control over Fisher #1. Ignore the first guard seen in front of you and instead of attacking him proceed directly to your left #2. Naturally you should be running here so that escaping won't take too much time.
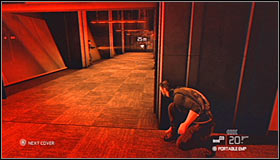 | 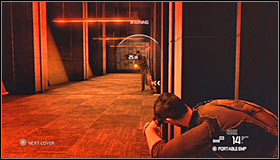 |
Take cover behind one of the pillars found to your right and focus on attacking the guards stationed directly in front of you #1 #2. There's going to be two of them and they must die quickly, because otherwise you'll be too late to leave this area.
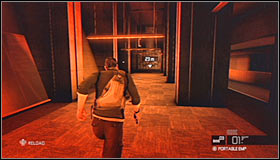 | 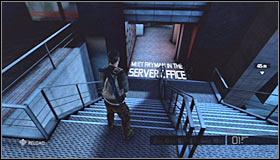 |
Start running forward as soon as both guards have been shot #1 and then turn right. Ignore a passageway located in front of you, because you'll have to head down the stairs instead #2. You can stop here for a while to reload your weapon and to take a closer look at your surroundings.
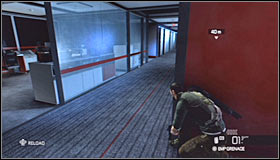 | 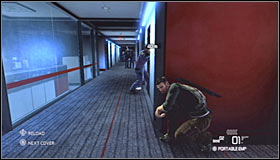 |
Proceed towards the first office space seen in the distance. Take cover behind the right corner #1 and you should notice that this area is being patrolled by enemy units. You could try eliminating all hostiles, however avoiding most of them is possible. I would recommend following one of the guards to a room located to your right #2.
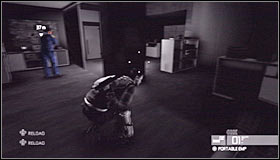 | 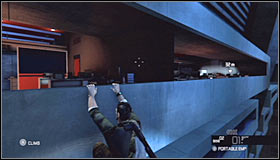 |
You can either stun the guard you were following or take cover behind the pillar #1 and wait for him to leave the room. Approach a nearby balustrade and jump over to the other side #2.
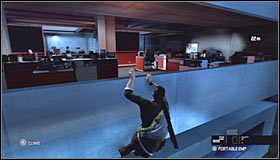 | 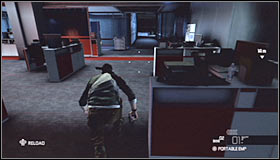 |
Start moving right #1. You should be moving in that direction until you've reached the other end of the balcony. Jump over the balustrade again, set off an EMP device #2 and start running forward. You will soon get to a passageway located next to a server room (a checkpoint should be created here).
 | 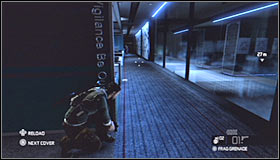 |
You will have a chance to remain hidden from now on and this means avoiding all contact with enemy units. If you intend to attack the guards you should at least make sure to avoid areas monitored by security cameras so that you won't alarm anyone in the area. Start off by heading forward #1. You'll soon have a chance to turn right but instead of going there quickly move towards the nearest cover #2.
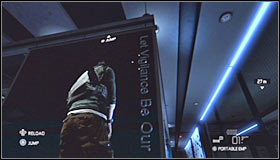 | 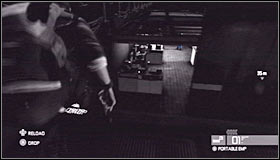 |
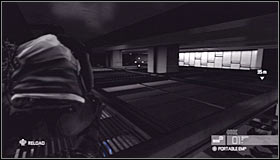
Look up and you should notice that you will be allowed to climb on top of this office structure to get to the ceiling section #1. Proceed to the left after making your way to the top and eventually you should be able to find a dark place where the roof ends #2. Head down after you've made sure that no one is coming this way.
 | 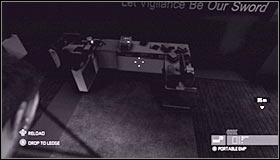 |
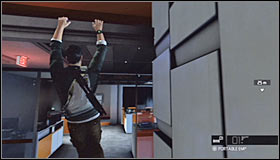
Quickly look up and pull yourself up to an adjacent ceiling section located above the second office #1. This time you should proceed to your right. Get to the corner #2 and take your time to check your surroundings. Make sure not to land in a spot which is monitored by a camera and wait for all nearby guards to leave.
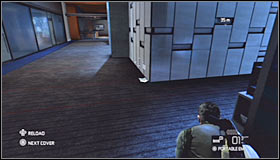 |  |
Take cover behind the wall again and wait for a good moment to quickly move towards a new passageway located in front of you #1. Keep heading forward here. You'll soon reach a new office space and once again you'll have a chance to reach the ceiling section #2.
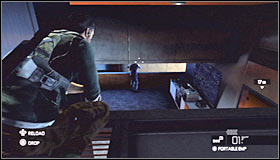 | 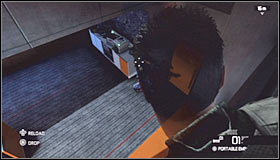 |
Proceed forward and then turn right. You should notice that the surrounding area is being patrolled by a single guard #1. He stops close to balustrades and is moving between two nearby rooms. If you don't want to kill him you should wait for him to leave this room #2.
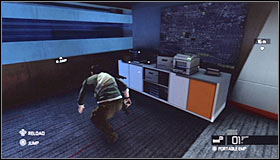 | 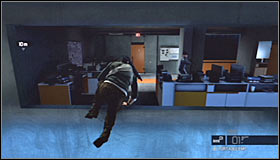 |
Head towards the balustrade where the guard was standing #1 and jump over it. Move to the left a little and wait for the guard to start going back to this room. Quickly begin moving left until you've reached the second room #2. Jump over the balustrade to find yourself standing inside the second room.
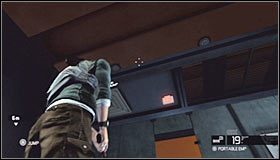 | 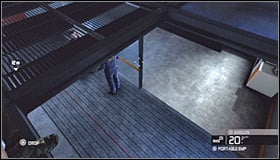 |
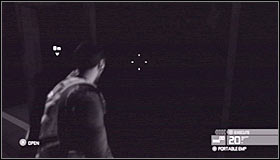
Make a few steps forward. Ignore a new door located directly in front of you and instead look up. You'll have a chance to get to the ceiling section again #1. Once you're there approach a big hole. You should notice two guards talking to each other #2.
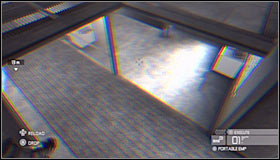 |  |
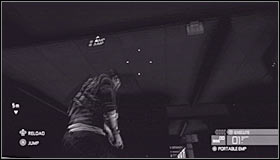
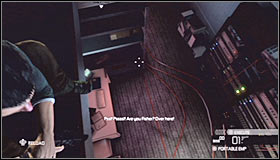
Wait until the guards have stopped their conversation and left this area. Activate a portable EMP device #1, quickly drop down and proceed towards a door leading to the next room #2. If you don't have any portable EMP's left you could try using a standard EMP grenade or eliminating enemy units followed by destroying a security camera.
 |  |
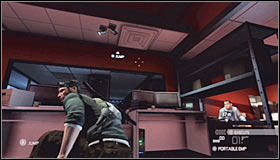
AS SOON AS you've used the door look up and pull yourself up to an upper ledge #1. You'll have to do this quickly, because the power will soon come back and other guards will show up. Use the ceiling section to make your way to the left room #2.
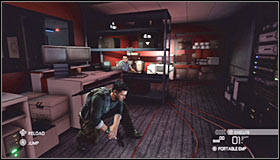 | 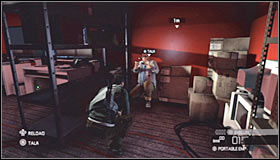 |
Drop down to a small room #1 and then proceed towards the technician found to your left #2. During your conversation you'll find out more about your objective and you'll be awarded with a very useful toy - sonar goggles.
 | 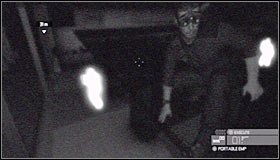 |
Quickly return to the ceiling area #1, because new enemies will arrive here in the meantime. Notice that by activating the goggles you can track their movement easily #2.
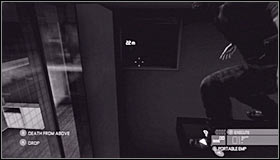 | 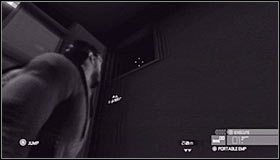 |
Head on to the opposite end of the large room and you should notice an entrance to a ventilation shaft to your right #1. Wait for enemies to leave this area, drop down and then quickly pull yourself up #2 so that you'll end up inside the shaft.
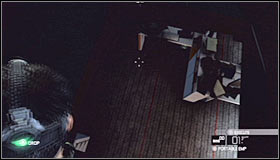 | 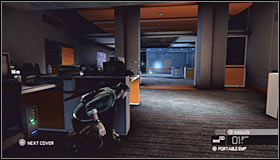 |
Ignore the fact that it's very dark inside the shaft, because you won't have to explore this area. Head forward and it shouldn't take long for you to find a hole #1 through which you'll be allowed to drop down to one of the previously explored rooms. Take cover behind the desk here #2 and wait for enemies to leave.
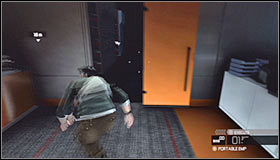 | 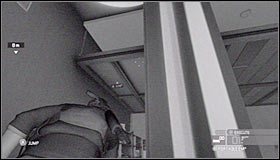 |
You'll now have to start going back to the corridor where you've started exploring this floor of the building. Your first decision should be to explore the left room #1 which will be unguarded. Find a spot from where you'll be allowed to pull yourself up #2.
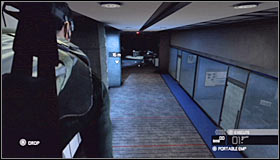 | 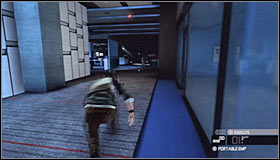 |
Use the ceiling area to make your way to a brighter corridor leading to the next location #1. Drop down and proceed forward when it's safe #2. There are two smaller rooms here, but you won't have to explore them.
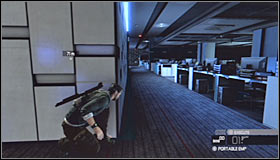 | 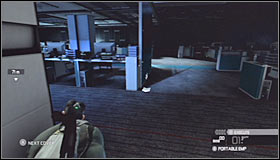 |
Take cover behind the left wall #1 and stay here until no one is neither looking nor heading in this direction. Quickly move towards a cover seen in front of you #2, but don't move too far ahead if you don't want to be seen by the camera.
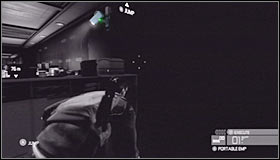 | 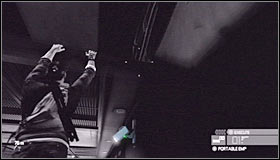 |
Wait until the security camera turns left and quickly move forward so that you'll end up under it #1. You can now pull yourself up to get to the ceiling section again #2.
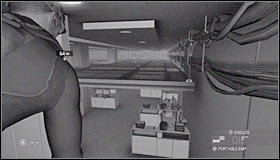 | 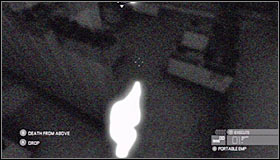 |
You can move forward which will allow you to safely pass by several opponents. Eventually you'll have to reach a previously explored gap between two office spaces #1. Watch out for a single guard patrolling this area #2 and then make your way across the gap.
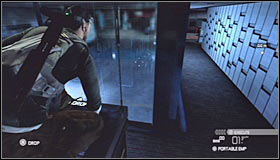 | 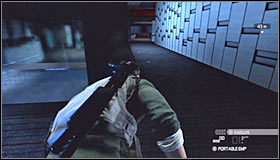 |
You may keep moving forward. Make a stop when you're close enough to a new corridor #1. Make sure to drop down far away from the area monitored by a new security camera and then quickly proceed towards the corridor seen in front of you #2.
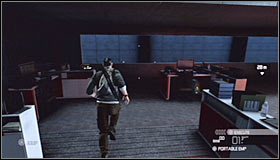 | 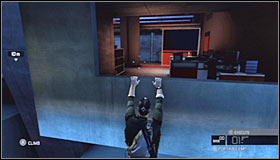 |
You'll get to a new large office space and you should keep running forward. Doing this will allow you to reach a balustrade and naturally you must jump over it #1. Start moving to your left and eventually you'll end up next to an unguarded room #2.
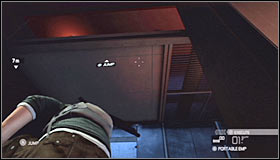 | 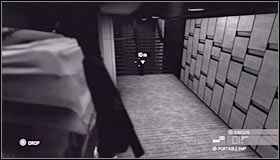 |
Climb over the railing and once you're inside the room proceed to the ceiling area for the last time #1. You may now start moving to your left which will allow you to avoid the entire office and drop down next to a safe corridor #2.
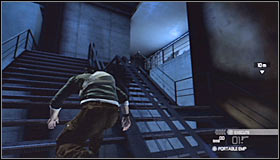 | 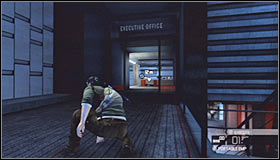 |
Head forward to reach the staircase you've used some time ago #1. Ignore the blocked corridor and instead turn right. Notice that the entrance to the executive office has been finally unlocked #2. Head over there right now.
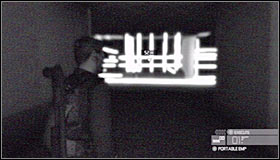 | 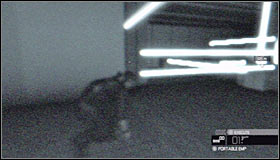 |
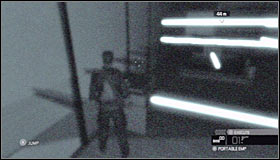
You'll now have to take part in a rather challenging section of the mission. Put on your sonar goggles #1 and you'll notice that there's A LOT of laser beams here shown in white color. Your objective will be to avoid touching them. Avoiding the first beam is very simple - all you have to do is to press the crouch key and walk under it when it's safe #2.
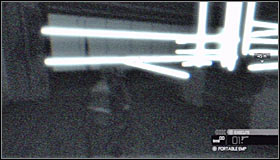 |  |
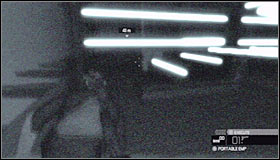
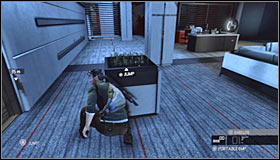
Your task will be to reach the opposite end of this room and you should be moving clockwise. Proceed to your left and take your time avoiding two laser beams #1. Approach the glass window and climb on top of a small object to avoid a new beam #2.
 |  |
Head forward, avoiding two laser beams encountered along the way #1. Turn right after reaching a new corner of the room. You'll now have to climb on top of a new object #2. Head forward carefully, avoiding other nearby traps.
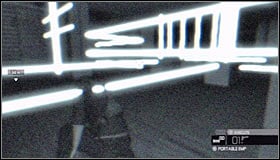 | 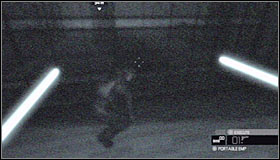 |
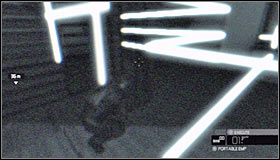
You'll now find yourself in a section of the room with lasers turning themselves on and off every few seconds #1 #2. You should be moving VERY slowly here. Each time wait only for the nearest beam to be turned off. I wouldn't recommend trying to avoid more than one beam at a time, because it's easy to make a mistake here.
 | 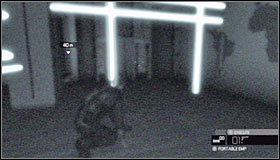 |
You must now walk under several new beams #1 and doing this should allow you to get closer to the exit. Get ready for the toughest challenge so far #2 - wait until all four beams have moved away and quickly go past this trap.
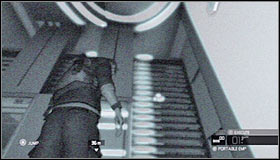 | 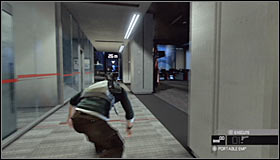 |
You may now stand up #1. Press the jump key to make your way to the other side. Drop down and start moving towards Reed's office #2. Thankfully you won't encounter any enemies or traps along the way.
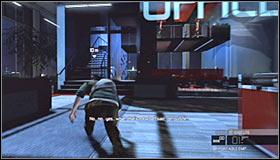 | 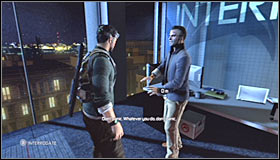 |
It shouldn't take long for you to reach the main area and you should notice Kobin talking on the phone in Reed's office. Use the stairs to get there #1. Approach Kobin #2 and press the action key to allow Fisher to start an interrogation.
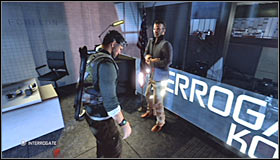 | 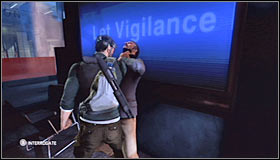 |
The first part of the interrogation will only require you to keep pressing the action key #1 in order to encourage Fisher to get the informations he needs. Wait until Kobin lands on the lower level and grab him. You can finally become creative #2.
- Tom Clancy's Splinter Cell: Conviction Game Guide & Walkthrough
- Splinter Cell Conviction: Game Guide
- Splinter Cell Conviction: Walkthrough
- Splinter Cell Conviction: Hints
- Splinter Cell Conviction: Merchant's Street Market
- Splinter Cell Conviction: Kobin's Mansion
- Splinter Cell Conviction: Price Airfield
- Splinter Cell Conviction: Diwaniya, Iraq
- Splinter Cell Conviction: Washington Monument
- Splinter Cell Conviction: White Box Laboratories - part 1
- Splinter Cell Conviction: White Box Laboratories - part 2
- Splinter Cell Conviction: Lincoln Memorial
- Splinter Cell Conviction: Third Echelon HQ - part 1
- Splinter Cell Conviction: Third Echelon HQ - part 2
- Splinter Cell Conviction: Third Echelon HQ - part 3
- Splinter Cell Conviction: Michigan Ave. Reservoir - part 1
- Splinter Cell Conviction: Michigan Ave. Reservoir - part 2
- Splinter Cell Conviction: Downtown District
- Splinter Cell Conviction: The White House
- Splinter Cell Conviction: Walkthrough
- Splinter Cell Conviction: Game Guide
You are not permitted to copy any image, text or info from this page. This site is not associated with and/or endorsed by the developers and the publishers. All logos and images are copyrighted by their respective owners.
Copyright © 2000 - 2025 Webedia Polska SA for gamepressure.com, unofficial game guides, walkthroughs, secrets, game tips, maps & strategies for top games.
