Splinter Cell Conviction: Price Airfield
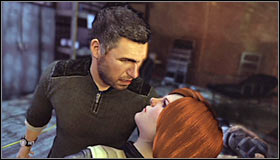 | 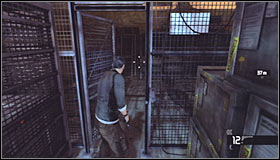 |
Walkthrough: You'll have to press the action key several times during your conversation with Grim #1 which will allow Fisher to hurt her a little. Wait until you've regained full control over the main character and go to a small metal gate. Open the gate #2 to leave this area.
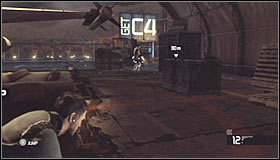 | 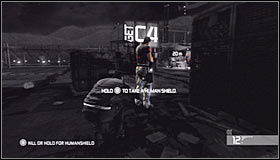 |
You should move forward right away, because one of the guards will show up here really soon. Take cover behind one of the nearby objects and wait for his arrival #1. Approach him as soon as he turns around to silently eliminate him from the rest of the game #2.
 | 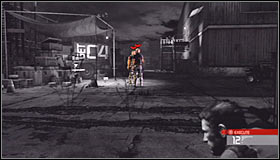 |
There are two other guards nearby and you should approach them from the left side. I would recommend taking cover behind a forklift #1. You should be able to kill them from here using Mark and Execute #2.
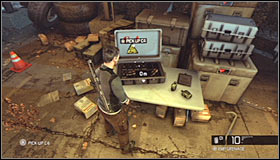 | 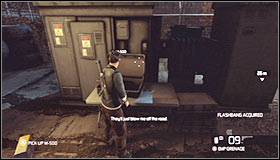 |
Go to the area where both guards were standing and collect C4 charges from one of the crates #1. You may now start moving towards a warehouse seen in the distance. Explore the surrounding area to find flashbang grenades #2 - they may come in handy really soon.
You must now decide how you want to get to the chopper in order to plant the charges:
OPTION A - aggressive approach which includes eliminating a lot of enemy units
OPTION B - a risky approach which relies on staying hidden and reaching the chopper without killing anyone
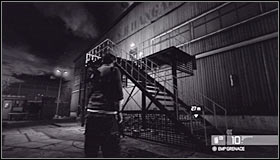 | 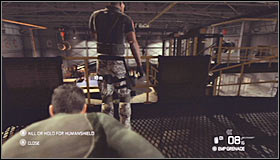 |
Option A: This is a more aggressive method, but it's far easier to plan and execute. Proceed towards the stairs which lead to a small balcony #1. You won't have to destroy any lamps along the way. Approach a door, press the crouch key, open the door and kill the first guard in hand to hand combat #2.
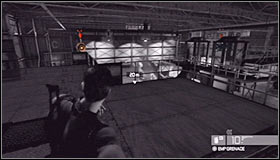 | 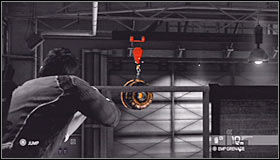 |
You should now make your way to the left balcony #1 and this can be achieved without leaving the warehouse (as long as you use the railings). Choose your pistol and aim for a chain which holds a large engine in the air #2. The engine should kill a few guards and you can also use the chaos to destroy at least one nearby lamp so that the area around the "accident" site will be covered in darkness.
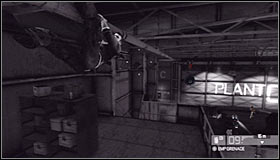 | 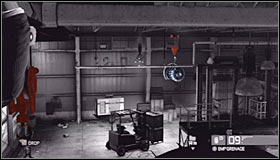 |
Quickly look up and press the jump key to grab a horizontal pipe located close to the warehouse ceiling #1. Start using the pipe to get closer to the area of the first accident. Turn the camera right when you're there and notice that you'll have a chance to target a new chain to drop the second engine #2.
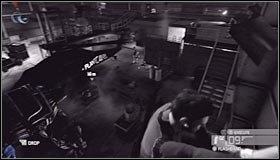 | 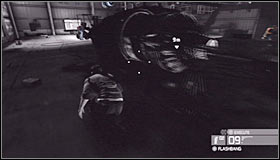 |
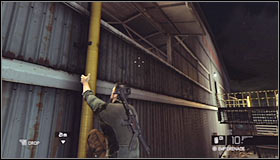
Almost all of the guards should go and see what's happening around the second crash site (if some of them have stayed you may consider using Mark and Execute system to get rid of them, but it shouldn't be necessary). Slide down on a pipe #1 and start moving towards the left side of the helicopter #2. Naturally you should be careful here, because you may encounter single enemy units.
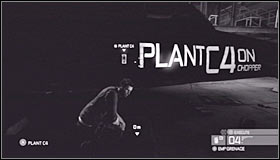 | 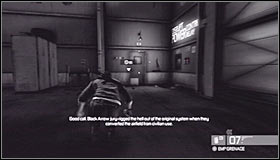 |
Approach the left side of the helicopter and plant an explosive charge in the designated area #1. As you've probably noticed, this operation will take Fisher a few seconds, so you can't be attacked or seen by enemies in the meantime. You may now proceed towards the exit located in one of the corners of the warehouse #2. Consider destroying a lamp located above the door if you don't want to risk being seen by someone. Enter a small room.
 | 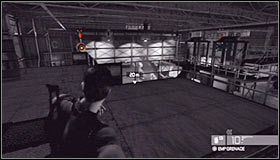 |
Option B: This method requires a lot of precision, but if you don't make any major mistakes you'll have a chance to plant the charges without killing anyone in the process. Start off by turning right and using a pipe located to the left of the balcony #1. Enter the warehouse through an opened window and you should end up standing on a large metal balcony #2.
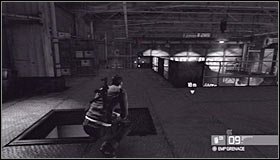 | 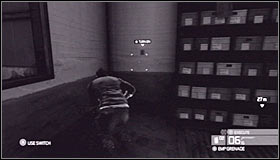 |
Turn left and locate an opened hatch in the metal floor #1. Drop down to a lower level and once you're inside a small room take your time to find a light switch on the right wall #2.
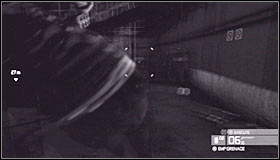 | 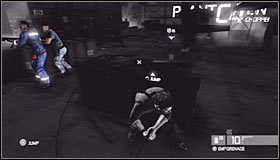 |
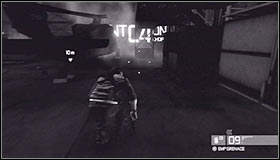
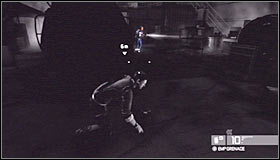
As soon as you've used the switch jump through a nearby window #1. Notice that you've broken the glass and made some noise so expect enemy units to start moving towards your position. Take cover nearby #2 and prevent Fisher from being located thanks to their flashlights.
 |  |
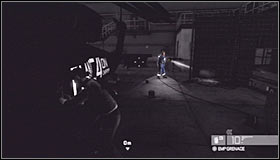
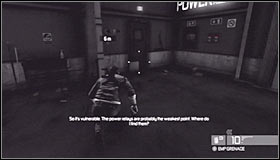
You may now start moving towards the helicopter and in order to make things safer you should go around it from the right side #1. You'll then have to approach the left side of the chopper, because that's where you'll need to plant the charges. Wait for the guards to leave #2 (they should go investigate the room with the broken window).
 |  |
Approach the designated area quickly and plant the charges #1. Notice that this operation will take Fisher a few seconds, so you'll have to act quickly before enemy units return. Retreat to the front of the helicopter after planting explosives and then locate a door in one of the corners of the warehouse #2. Be careful, because you may encounter additional hostiles along the way. Avoid them and quickly enter a new room.
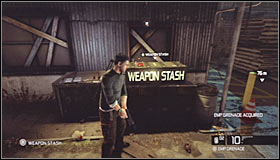 | 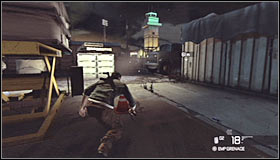 |
Walkthrough (continued): Exit the building and take your time to locate a new equipment crate (it'll be to your left) #1. Collect much needed supplies and then start moving towards buildings seen in the distance #2.
You must now decide how you want to get to the last building of the camp:
OPTION A - choosing the left passageway which means reaching the destination faster but with a lot of risks
OPTION B - choosing the right passageway which means moving slowly, sneaking around and avoiding all enemy units
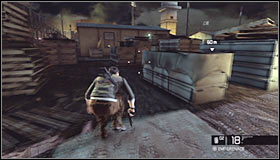 | 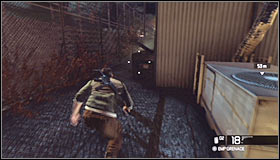 |
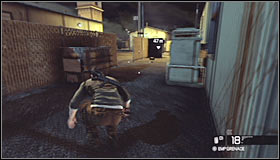
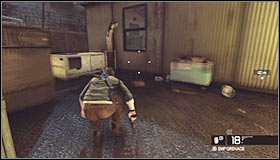
Option A: Keep moving forward until you notice a parked truck. Proceed to your left here #1. This means you'll be moving close to some of the buildings #2. Make sure to keep a crouching stance, so there's a lower risk of being seen by someone.
 |  |
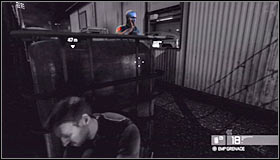
You'll soon reach a passageway leading to the next set of buildings #1 and you'll have to be extremely careful here, because you may encounter enemy units. Make sure that no one is looking or heading your way and go to your left #2 so that you'll be moving close to buildings again.
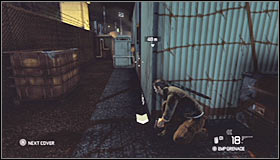 |  |
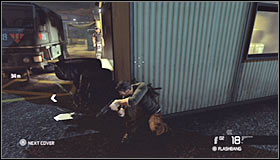
Keep moving forward until you get to the end of the camp #1. You'll have to be very careful in this area, because all nearby buildings are being patrolled by a single person. Take cover somewhere to your left and wait for this guard to pass by #2. If you encounter this enemy earlier during your mission you may either kill him with a headshot or quickly take cover in one of the buildings.
 | 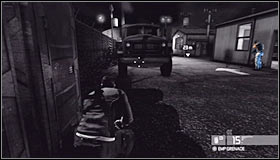 |
Approach the main area of the campsite #1. Take special attention in what's happening to your right, because you may notice other enemy units. Wait until it's safe and start moving forward. You should be heading towards a new parked truck #2.
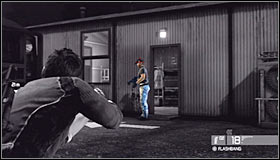 | 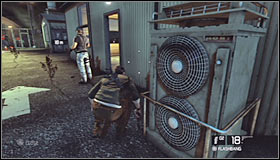 |
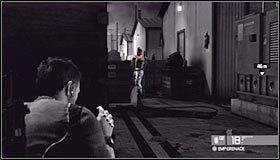
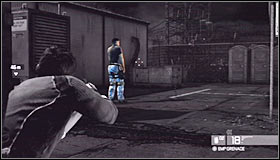
Turn right here and you should notice a single guard standing in front of one of the buildings #1. I wouldn't recommend trying to go around him, because it would be far too risky. As a result you should either kill him from a distance or slowly approach him and defeat him in direct combat #2.
 |  |
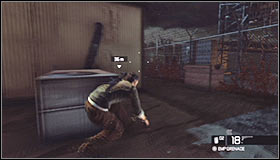
Option B: Keep moving forward until you notice a parked truck. Proceed to your right here by taking cover behind the truck. Watch out for two soldiers in the area. One of them will be standing in front of a building #1 and his colleague will be on patrol #2. Wait for the second guard to leave this area before moving on.
 | 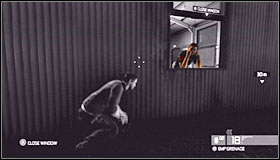 |
Start moving towards the closest building and choose a narrow passageway located directly behind it #1. You'll have to be careful here, because one of the guards may appear in the left window #2. I wouldn't recommend killing him - instead it's best to wait until he turns around and leaves.
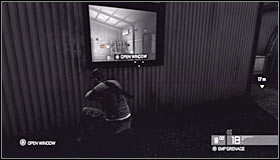 | 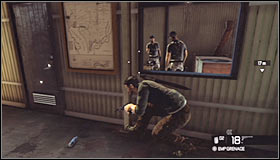 |
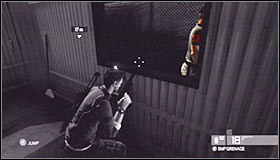
Keep heading forward until you've reached the next building (ignore the conversation heard in the background). Open the left window #1 and then enter the building. Slowly move to your right here and walk under a new window so you won't be noticed by the guards #2.
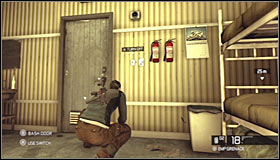 |  |
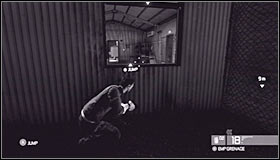
Locate a light switch near a door and press it to turn the lights off #1. You may now return to the window which you've used to get here. Wait for one of the guards to pass by your position #2. Climb through the window again and go left.
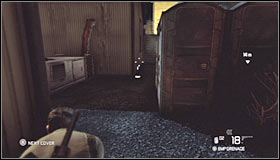 |  |
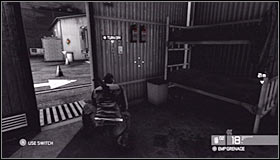
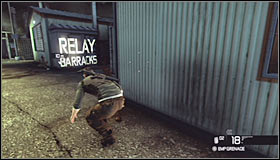
Take cover near the corner of the building, turn the camera right and choose that you want to quickly move towards the next building #1. Don't make any stops along the way and you should reach your destination without being seen by the remaining guard. Enter the last building from this row #2.
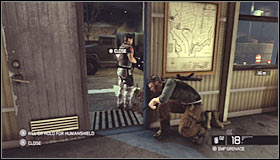 |  |
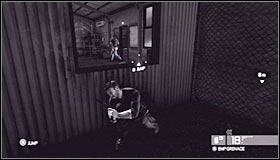
Make a few steps forward and you should notice that one of the guards is standing close to the right exit #1. You could knock him unconscious, but it won't be necessary. Close the door, go to your left and interact with a new light switch to turn the lights off #2.
 | 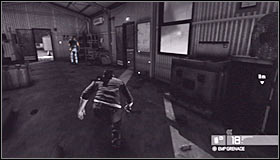 |
Quickly return to the window and climb through to end up outside the building again. Wait for the guard to open the door and enter the building #1. Quickly enter the building for the second time and proceed towards an unguarded right door #2. Bear in mind that you have to act quickly before he interacts with the switch and then turns around.
 | 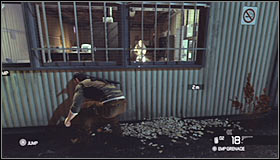 |
Walkthrough (continued): You may start moving towards the designated building #1. If you look through one of the windows you'll notice that there are three enemies inside #2 and there are many ways of getting rid of them.
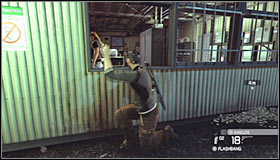 | 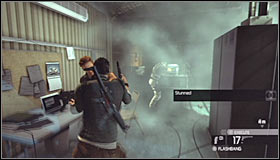 |
The easiest way to eliminate the guards would be to throw a standard grenade inside #1, but naturally that would immediately raise an alarm in the rest of the camp. If you don't want to kill the soldiers with a grenade you could also use a flashbang and then deal with them in direct combat #2. This on the other hand would be risky.
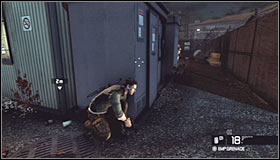 | 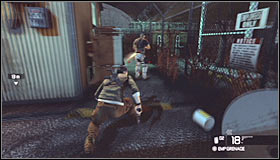 |
I would recommend that you wait outside for one of the soldiers to leave the building. It's important to wait for him near the main path #1, because he can go left OR right. In both cases you should surprise him from the back and neutralize him with a melee move #2.
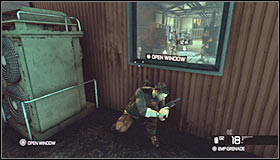 | 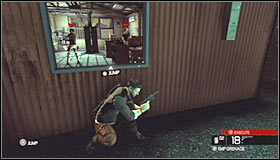 |
You must now take cover near one of the windows (the one located far away from the main path is the best one #1). Mark both opponents and then eliminate them using Mark and Execute system #2. They shouldn't notice you prior to the execution as long as you don't make any mistakes.
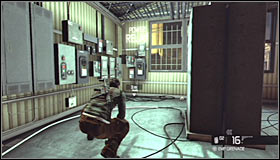 | 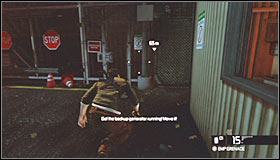 |
Enter the building using a door or a window. Locate a lever in one of the corners of the room #1 and interact with it to cut power to the rest of the facility. Bear in mind that you've triggered an alarm in the camp, so you must act quickly. Exit the building through a nearby window and immediately turn right #2. Start running towards a gate. Open it and then quickly proceed to your left where you'll have a chance to breathe.
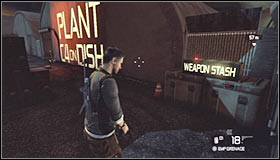 | 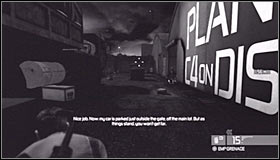 |
Wait until the situation calms down and then check the area to your right to find a new equipment crate #1. You may now proceed towards the entrance to the first hangar #2. It would be a good idea to start eliminating enemies from now on - you'll find this to be a good decision in a few minutes.
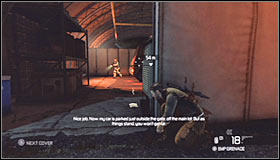 | 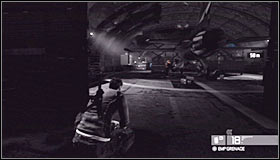 |
There are two passageways leading to the satellite dish and I would recommend choosing the hangar located closer to your position #1, because the left hangar #2 (the one with a jet) would require you to pay more attention to avoiding nearby sources of light. Don't forget that it's always a good idea to surprise enemy units with precise hits and to avoid killing them in areas where their bodies may be discovered by someone else.
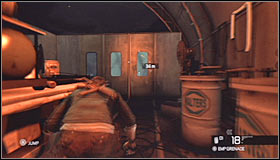 | 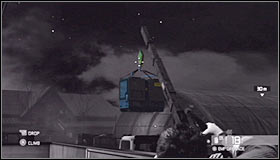 |
Assuming you've chosen to enter the right hangar and started moving forward you should soon encounter a small hangar wall #1. Climb on top of this wall. Take a look at the surrounding area and destroy large searchlights located close to the dish so that it'll be darker there from now on. You can also sabotage a blue generator seen to your left #2 by shooting at the crane's arm.
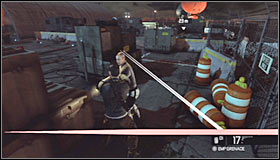 | 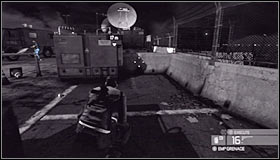 |
Destroying a generator should kill some of your enemies and distract the rest and this means you'll have an easier job getting closer to the satellite dish #1. You won't have to kill all enemy units you encounter along the way, however you shouldn't leave anyone alive in your vicinity. Choose to approach the dish from the right side #2, because it'll be darker there.
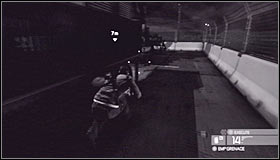 | 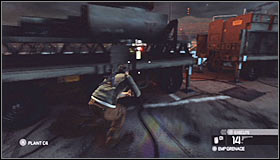 |
Notice that you can start moving in the shadows behind the dish #1 and this will make reaching your destination much easier. Deal with the remaining enemy forces if you have to and then approach the left side of this object to plant an explosive charge #2.
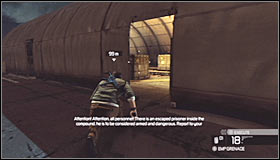 | 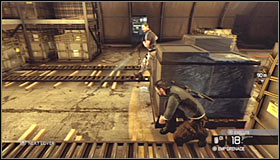 |
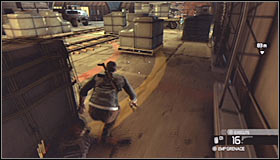
Things will get complicated in a short while, because new enemies will show up in the area and all the airfield lights are going to be turned on. This will make sneaking around practically impossible, because you won't have enough bullets (and opportunities) to destroy all the lights. I would recommend that you proceed towards a hangar located directly behind the dish #1. Once you're inside start taking cover behind crates and other large objects in hopes of surprising enemy units #2. You should be able to defeat at least several mercenaries in hand to hand combat. The rest should be shot using a silenced pistol.
 | 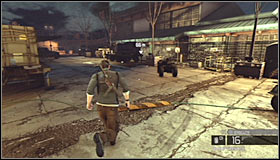 |
Make sure that you've cleared the hangar before moving closer to the designated area of the map #1. Eliminate new targets using a silenced pistol, wait for a right moment to make a move and start running towards a new passageway located to your right #2. Keep going forward here until you're contacted by Grim.
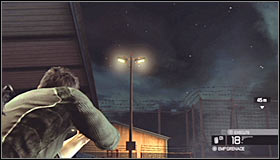 | 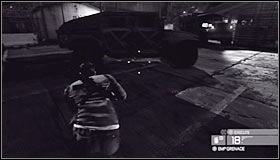 |
You'll have to deal with a new enemy patrol after talking to Grim. You won't be allowed to avoid attacking enemy units, but you will have a chance to plan your assault in order to kill them without exposing your position. Start off by destroying two lamps seen directly in front of you #1 and then take cover near the humvees found to your left #2.
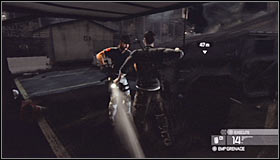 | 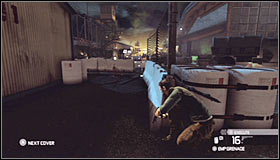 |
If you can't use Mark and Execute you should wait here for one of the guards to make a stop near the humvees and quietly eliminate him #1. Otherwise you may shoot him when he gets closer which is going to be less risky. Start moving towards a large lamp with destroyed lights #2, however you should know that you won't be safe here - enemies will still have a chance to see you if you're not careful.
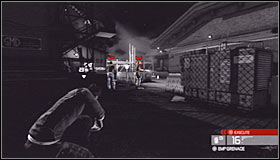 | 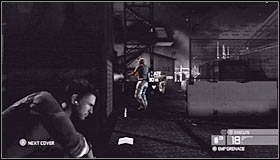 |
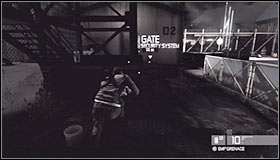
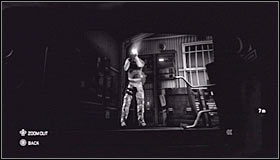
Move closer to enemy units and use Mark and Execute system to get rid of at least two of them #1. You can use a standard silenced pistol to deal with the remaining two #2 and you should be fine as long as they don't find you in the process.
 |  |
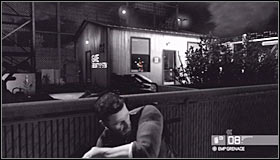
The last opponent is hiding inside a small building seen in the distance #1. You can check what he's doing by sliding a mirror under the door #2, however it shouldn't be necessary. I wouldn't recommend bashing through the door, because he'll be prepared to defend himself. You may consider using a flashbang grenade if you've got one, because you would then have a few seconds to get to him before he starts firing again.
 | 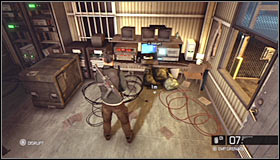 |
Instead of trying to defeat the last mercenary in close combat you should take cover behind objects found across the street #1. Use your pistol to eliminate him from a larger distance and without taking any risks. You may now enter the hut and use a nearby computer #2. Exit the building and approach the main gate to end this mission.
- Tom Clancy's Splinter Cell: Conviction Game Guide & Walkthrough
- Splinter Cell Conviction: Game Guide
- Splinter Cell Conviction: Walkthrough
- Splinter Cell Conviction: Hints
- Splinter Cell Conviction: Merchant's Street Market
- Splinter Cell Conviction: Kobin's Mansion
- Splinter Cell Conviction: Price Airfield
- Splinter Cell Conviction: Diwaniya, Iraq
- Splinter Cell Conviction: Washington Monument
- Splinter Cell Conviction: White Box Laboratories - part 1
- Splinter Cell Conviction: White Box Laboratories - part 2
- Splinter Cell Conviction: Lincoln Memorial
- Splinter Cell Conviction: Third Echelon HQ - part 1
- Splinter Cell Conviction: Third Echelon HQ - part 2
- Splinter Cell Conviction: Third Echelon HQ - part 3
- Splinter Cell Conviction: Michigan Ave. Reservoir - part 1
- Splinter Cell Conviction: Michigan Ave. Reservoir - part 2
- Splinter Cell Conviction: Downtown District
- Splinter Cell Conviction: The White House
- Splinter Cell Conviction: Walkthrough
- Splinter Cell Conviction: Game Guide
You are not permitted to copy any image, text or info from this page. This site is not associated with and/or endorsed by the developers and the publishers. All logos and images are copyrighted by their respective owners.
Copyright © 2000 - 2025 Webedia Polska SA for gamepressure.com, unofficial game guides, walkthroughs, secrets, game tips, maps & strategies for top games.
