Splinter Cell Conviction: Third Echelon HQ - part 1
This mission will have a very challenging first part, because if you're detected you'll fail your primary objective. To be more specific, you'll be forced to retry if (not counting Fisher's death):
1) Fisher is seen by one of the guards - thankfully this doesn't mean you can't kill them. You will have a chance to eliminate them, however it has to be done flawlessly so that they won't have a chance to raise an alarm or inform their colleagues.
2) Fisher is seen by one of the security cameras.
3) A dead guard is seen by one of the security cameras - generally this means you can't kill them in the vicinity of the cameras (even if you think they won't be found by the camera).
4) A dead guard is found by another opponent.
5) One of the security cameras is destroyed.
6) Opponents become alarmed in some other way (for example - as a result of a missed headshot attempt).
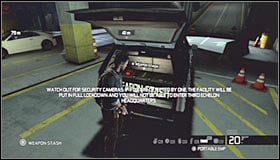 | 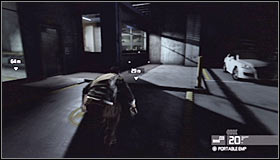 |
Walkthrough: Naturally you should start this mission by interacting with an equipment crate found in the back of the SUV #1. You may start moving towards a nearby guard post #2. Make sure to avoid security cameras along the way, especially since they'll always be in motion.
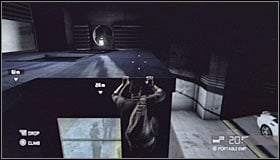 | 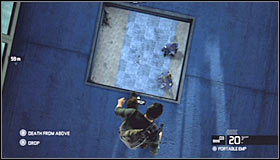 |
Approach the booth carefully - it's important to remain in the shadows so you won't be seen by the guards. Pull yourself up #1 to end up on the roof of the guard post and approach a large hole #2. You can now choose how you want to resolve the situation with the first group of guards.
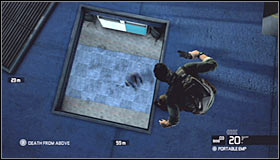 | 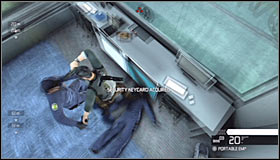 |
If you prefer to play it safe you can wait for the guards to leave #1 - one of them should enter the area where you've started this mission and the other one will proceed to the parking area where you have to go. If you don't mind killing the guards you can land on one of them and then quickly neutralize his colleague #2. Don't forget that you'll be forced to eliminate one of the guards before this part of the mission ends anyway, because that's how you'll gain possession of a keycard.
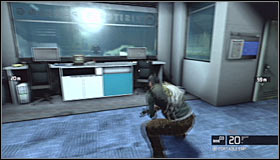 | 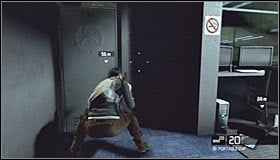 |
Either way you must press a crouch key after landing inside the guard post #1 so you won't be seen by anyone else. Approach the right door #2, open it and take cover in the shadows (while still inside the guard post).
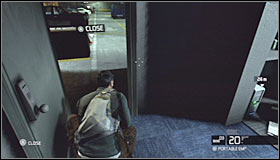 | 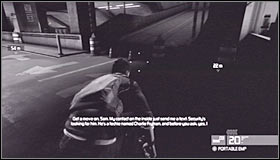 |
You must be VERY careful here, because the area around the door you've just opened is being monitored by one of security cameras #1. Wait for the camera to turn and start moving to your right. It'll be dark there #2 so you'll have an easier job at planning your next move. If you've secured the post you'll have to worry about one guard and if you didn't kill anyone so far there should be two of them.
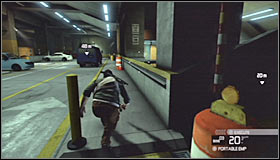 | 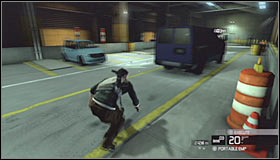 |
Start moving towards a blue van seen directly in front of you #1 #2. You shouldn't be in a lot of hurry so you won't make a mistake by letting yourself by seen by a guard or a security camera. If you make a mistake and still have a chance to escape consider jumping over a nearby balustrade, however this also may be risky.
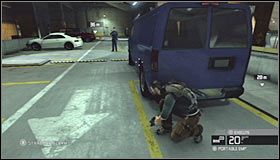 | 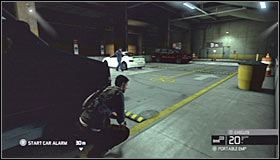 |
Take cover behind the blue van and spend some time observing the nearest opponent #1. Notice that he will be checking balustrades found to your left and this is usually a good moment to move forward #2.
 | 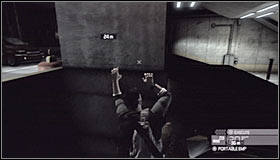 |
You should be heading towards a section of the parking lot which is monitored by a security camera and therefore you must jump over a nearby balustrade #1. Proceed to your right here #2.
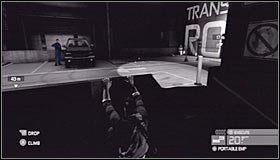 | 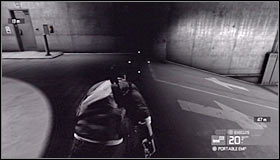 |
Keep going right until you've reached the end #1. Remain here, waiting for a right moment to make a move. Jump over the balustrade again and proceed to your right. You should find enough space between a nearby lamp and the area being checked by the camera #2.
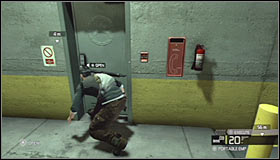 | 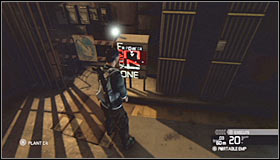 |
Wait for the guard to turns his back on you and quickly proceed towards a nearby door #1. Thankfully you'll be safe once you're inside. Locate an object marked by the game and plant the first explosive charge #2.
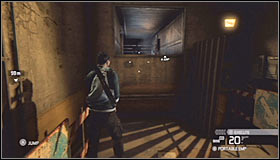 | 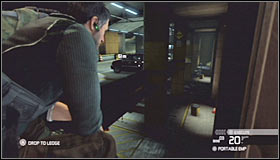 |
You won't have to return to the main area of the parking lot after planting the charge, because you can enter a nearby ventilation shaft instead #1. Head through the shaft until you reach the area where you'll be allowed to drop down to a lower level of the parking lot #2.
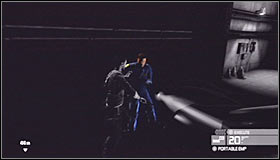 | 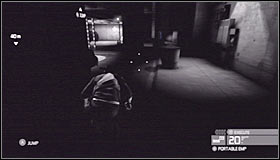 |
You must be careful here, because even though it's dark here this area will be patrolled by a single guard. The best solution would be to kill him #1, so that he won't interfere in the future. Start heading forward #2. You should be moving towards the guard post you've visited earlier on only this time you will be exploring a lower level.
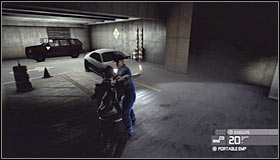 | 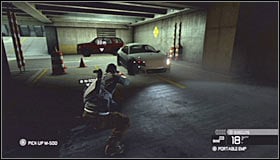 |
You'll have to reach an area with a new guard #1 and I would recommend performing a surprise attack here. You should also destroy lamps of a nearby car #2 so that his body won't be noticed by anyone else in the future.
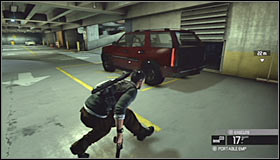 | 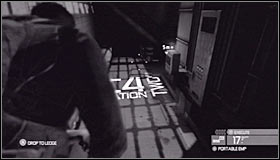 |
Head on towards a red SUV seen in front of you and you'll find an entrance to a ventilation shaft hidden behind it #1. Enter the shaft and it won't take long for you to reach a room where you'll have to plant a second bomb #2.
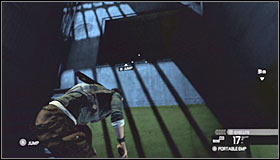 | 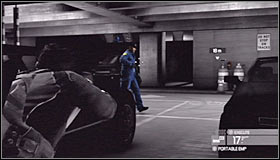 |
I would recommend that you return to the area where you've killed the last opponent and this can be achieved by using the ventilation shaft again #1. Be careful, because a new guard may have started patrolling this area in the meantime #2.
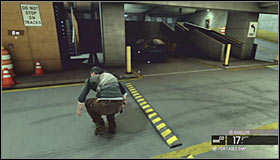 | 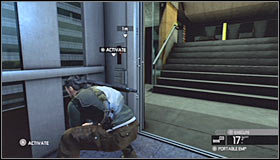 |
Start going back the same way you came before, however you should stop when you're about a half way through. Turn right and proceed towards the elevator #1. Quickly enter the elevator and interact with a console #2. Wait until you're transported to a new level.
- Tom Clancy's Splinter Cell: Conviction Game Guide & Walkthrough
- Splinter Cell Conviction: Game Guide
- Splinter Cell Conviction: Walkthrough
- Splinter Cell Conviction: Hints
- Splinter Cell Conviction: Merchant's Street Market
- Splinter Cell Conviction: Kobin's Mansion
- Splinter Cell Conviction: Price Airfield
- Splinter Cell Conviction: Diwaniya, Iraq
- Splinter Cell Conviction: Washington Monument
- Splinter Cell Conviction: White Box Laboratories - part 1
- Splinter Cell Conviction: White Box Laboratories - part 2
- Splinter Cell Conviction: Lincoln Memorial
- Splinter Cell Conviction: Third Echelon HQ - part 1
- Splinter Cell Conviction: Third Echelon HQ - part 2
- Splinter Cell Conviction: Third Echelon HQ - part 3
- Splinter Cell Conviction: Michigan Ave. Reservoir - part 1
- Splinter Cell Conviction: Michigan Ave. Reservoir - part 2
- Splinter Cell Conviction: Downtown District
- Splinter Cell Conviction: The White House
- Splinter Cell Conviction: Walkthrough
- Splinter Cell Conviction: Game Guide
You are not permitted to copy any image, text or info from this page. This site is not associated with and/or endorsed by the developers and the publishers. All logos and images are copyrighted by their respective owners.
Copyright © 2000 - 2025 Webedia Polska SA for gamepressure.com, unofficial game guides, walkthroughs, secrets, game tips, maps & strategies for top games.
