The Witcher 2 Assassins of Kings: Where is Triss Merigold? (steps 8-10)
Step 8: Get through the mist
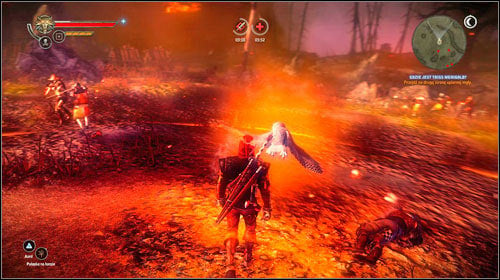
Leave Vergen through the west gate (M15, 7) and head towards the Mist. Keep walking right beside the owl and try not to exit the protective ring she has created. Keep following the owl and try not to go out of the protective circle which she has created. When only one of the wraiths steps into it, it will be shocked - on lower difficulty levels you won't have to do pretty much anything. On higher difficulties, you might have to finish off the ones which got through. However three times during the travel, the owl will be blocked by wraiths and a Draugir will appear as well. You have to eliminate the wraiths which are holding the owl. They like to disappear often, so stick with quick attacks to jump between the wraiths and avoid getting hit by the Draugir.
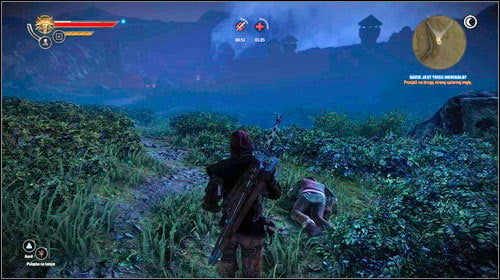
Unfortunately Philippa won't be able to accompany you. Keep moving forward until you reach a corpse (M19, 1) - beside it you will find the strange statuette. Roche will appear. You can tell him you're looking for Triss or not - irrespectively of how you lead the conversation, Roche will help you by showing you the possible ways of reaching the camp:
- You can sneak through the camp. Description in Step 9, Option A.
- You can go through the caves. Description in Step 9, Option B.
Step 9, Option A: Find a way into the Kaedweni camp. Go through the camp
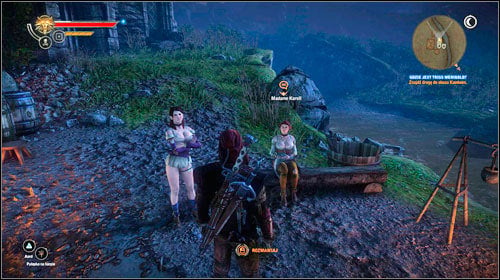
If you decide to go through the cave, head to Madame Karoll in the western part of the area (M19, 10). You can have fun with the prostitutes or talk about a way into the camp - however you will have to pay a considerable price for the information. In return you will learn that inside the tent there's a passage leading onto a beach inside the camp - go inside the tent (M19, 11).
Step 10: Find the tunnel leading into the Nilfgaardian camp
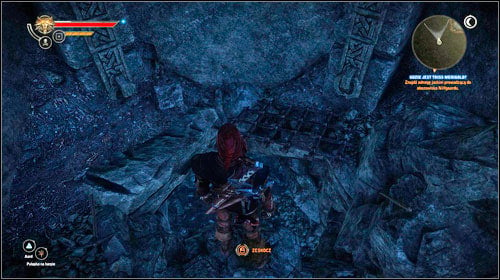
Go through the door (M20, 1) and afterwards the cage - on the right you will find a hole leading to the caves below the camp (M20, 2).
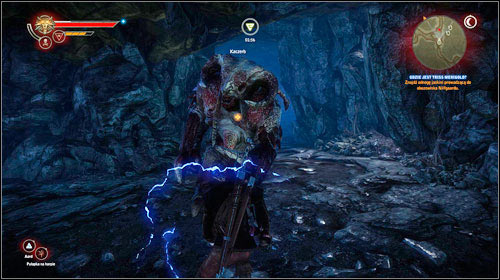
Right at the crossroad you will be attacked by a Bullvore (M21, 1). Look out for his aggressive charge attacks and remember to have Quen activated for protection. It also might be useful to stun the monster with Yrden and use that to attack him from behind. Inside the cave you will also come across Greater Rotfiends - look out, as they explode before dying.
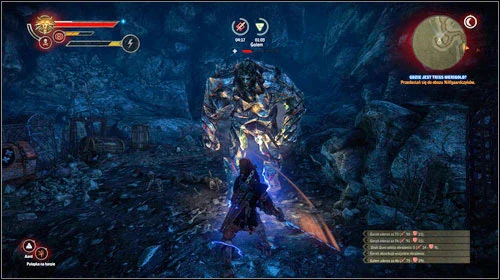
Optionally you can fight the Golem (M21, 2) - right before the gate you will find a magic circle. The Golem is a very demanding enemy, but fighting him is very profitable, as afterwards you find a good armor and boots inside the chest beside. Move on to the end of the tunnel, where you will reach the surface (M21, 3). Unfortunately you will be caught by a soldier and taken to Henselt.
Skip to Step 11.
Step 9, Option B: Find a way into the Kaedweni camp. Go through the caves

If you decide to go through the caves, go north. On your way you will come across Rotfiends, so keep in mind they explode before dying. You will reach a Scarp - some climbing and jumping awaits you.
Step 10: Get into the tunnel leading into the Nilfgaardian camp
Notice! If you get noticed, you will die from arrows! |
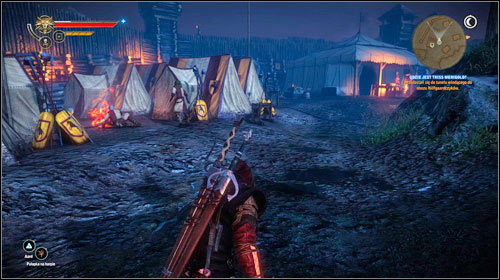
You will be inside the camp and enter stealth mode. Approach the first tent and a drunk soldier will come out (M19, 3). Wait a bit for him to go away and draw the attention of two companions (M19, 4).
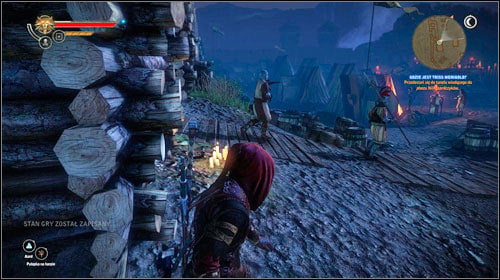
Afterwards head towards the palisade (M19, 5) - from now on you will be following it all the time. Wait beside the first gate for all the soldiers to leave (M19, 6).
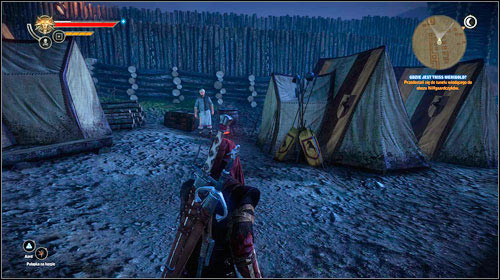
Move on and look out for the peeing soldier - wait a bit. A bit further you will come across a cook (M19, 7) who will notice you - quickly use Axii so he doesn't call the guards (you have to quickly press the left mouse button).
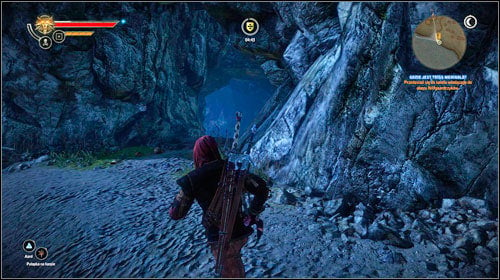
Once again wait for soldiers to come out of the second gate (M19, 8) and go through it. Stun the soldier standing on the cliff and go down into the cave (M19, 9). Inside, head towards the surface exit (M21, 3). Optionally you can fight the Golem (M21, 2) - right before the gate you will find a magic circle. The Golem is a very demanding enemy, but fighting him is very profitable, as afterwards you find a good armor and boots inside the chest beside. Move on to the end of the tunnel, where you will reach the surface (M21, 3). Unfortunately you will be caught by a soldier and taken to Henselt.
Skip to Step 11.
- The Witcher 2 Assassins of Kings Guide
- The Witcher 2 Assassins of Kings: Game Guide
- The Witcher 2 Assassins of Kings: Act 2 Iorweth
- The Witcher 2 Assassins of Kings: Main missions Act 2 Iorweth
- Prelude to War: Aedirn
- The Witcher 2 Assassins of Kings: The War Council
- The Witcher 2 Assassins of Kings: A Matter of Life and Death
- The Witcher 2 Assassins of Kings: Subterranean Life
- The Witcher 2 Assassins of Kings: Hunting Magic
- The Witcher 2 Assassins of Kings: Royal Blood
- The Witcher 2 Assassins of Kings: Where is Triss Merigold? (steps 1-7)
- The Witcher 2 Assassins of Kings: Where is Triss Merigold? (steps 8-10)
- The Witcher 2 Assassins of Kings: Where is Triss Merigold? (steps 11-14)
- The Witcher 2 Assassins of Kings: The Eternal Battle
- The Witcher 2 Assassins of Kings: Death Symbolized
- The Witcher 2 Assassins of Kings: Hatred Symbolized
- The Witcher 2 Assassins of Kings: Vergen Besieged
- The Witcher 2 Assassins of Kings: Main missions Act 2 Iorweth
- The Witcher 2 Assassins of Kings: Act 2 Iorweth
- The Witcher 2 Assassins of Kings: Game Guide
You are not permitted to copy any image, text or info from this page. This site is not associated with and/or endorsed by the developers and the publishers. All logos and images are copyrighted by their respective owners.
Copyright © 2000 - 2026 Webedia Polska SA for gamepressure.com, unofficial game guides, walkthroughs, secrets, game tips, maps & strategies for top games.
