The Witcher 2 Assassins of Kings: From a Bygone Era
Act 2
Iorweth's path
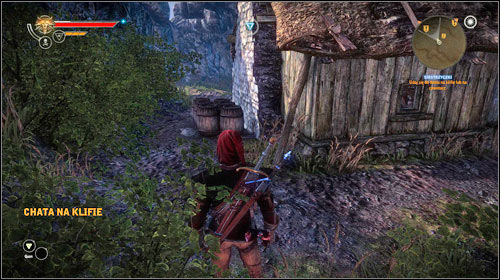
You can reach the cliff house (M13, 15) after reaching the Kaedweni camp after getting through the mist. On the left side of the house you will find a few barrels - you can destroy them using Aard or Igni to unveil a basement entrance.
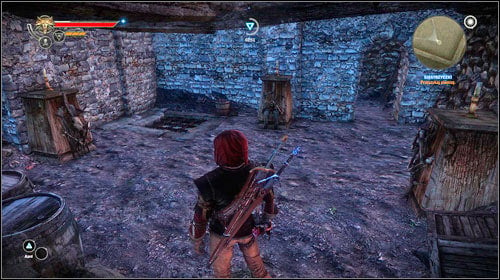
Inside you will find three totems with candles. You have to light them in the proper order and if you make it wrong, a wraith will appear. On each totem you can also find signs resembling arrowheads (upwards, downwards or connected).
Notice! You can learn the proper order by taking a closer look at the tombs at the cemetery (Step 3, Option B), so it's worth to go there. |
The proper order is (taking the above screen as a reference):
- The candle on the left (down)
- The candle on the right (connected)
- The candle in the middle (up)
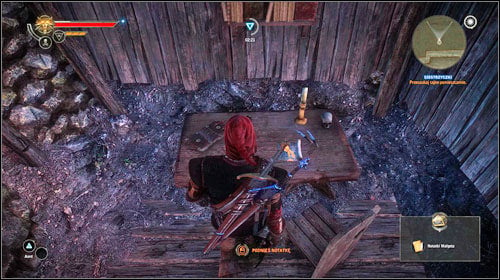
A secret room will open, inside which you will find Malget's notes. Only a mage in Act 3 will be able to read them.
Roche's path
You will obtain Malget's notes while completing Little Sisters. You can also head directly to the house and follow the instructions above. In case of Roche's path, the notes can be read by Dethmold (M25, 7) - you can either sell it to him or keep with you, however you won't be able to complete the mission in Act 3 without them.
Act 3
Step 1: Find out more about Malget's notes
In fact you can learn more about the notes if you first take a look around the square and ask the proper character. If however during For a Higher Cause! you tried to sneak through the sewers (M31, 16), a Wisp will appear right after you enter (M33, 2). Unfortunately you won't be able to understand what it's saying or answer.
In case of Roche's path, you will reach the sewers during For Temeria! If you decide to save Triss.
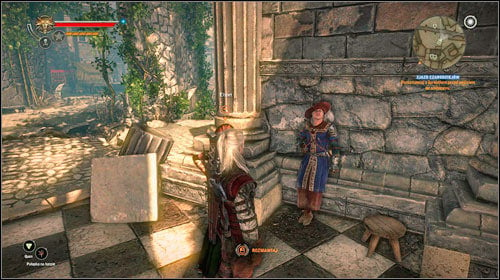
To key to reading the mysterious notes is Bras of Ban Ard who can be found on the main square (M31, 20). Asked about the manuscript, he will tell you that using it you can enter a secret vault. First you however need to communicate with the guardian - you can learn how by paying or successfully using Axii hex. You will learn the password: "Nanna Kanpa Zi Uddu-ya Ia Ia Gat Exa Nanna Zi Uddu-Zi Gat Kanpa Nibbit". First you have to read everything after "Nanna Kanpa", skip "Nanna Zi" and read the rest backwards.
Step 2: Give the guardian the correct password
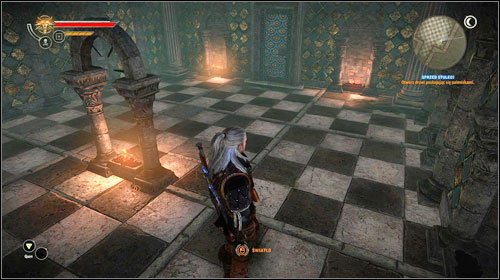
Go to the sewers (M31, 16) and approach the Wisp (M33, 2) to start giving the password. The proper order is: "Zi Uddu-ya Ia Ia Gat Exa Nibbit Kanpa Gat" - go through the portal that will open.
Step 3: Open the door using the braziers
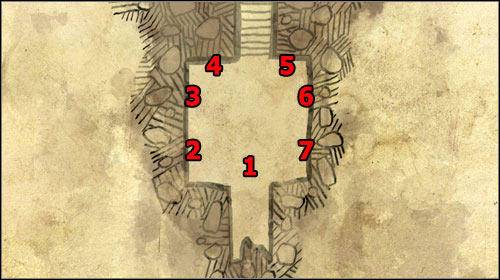
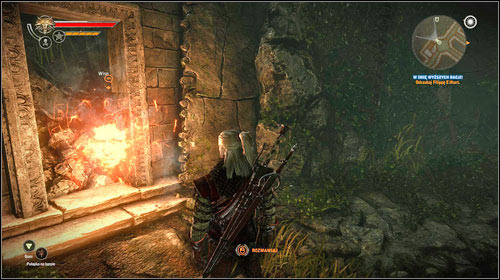
A small puzzle in which you have to light all the braziers. Each one affects two others (in accordance with the symbols on the screen):
1: 2 and 4
2: 5 and 7
3: 1 and 2
4: 3 and 6
5: 1 and 7
6: 3 and 5
7: 3 and 6
At first braziers number 1, 4 and 5 are lighted. To light all of them, interact with, in order, 1 6 2 1. The door will open - go through them to the mage. There are two possibilities of ending this mission:
- You can ask him to reset all your skills - you can reassign all of them.
- You decide to kill the mage.
Step 4: Defeat the artifact's guardian

Fighting the mage can be difficult even on the lowest difficulty level. The Guardian can be hurt only by the steel sword, however he can also summon Gargoyles (always two at once) which have to slain with the silver sword. If you have the Heliotrop sign, it's a perfect opportunity to use it - otherwise it will be a bit more difficult. When Gargoyles appear, the mage will have a protection and you won't be able to hurt him. The Guardian can use very powerful spells which can immediately deactivate your Quen. Once you kill him, don't forget to search his corpse before going through the portal - you will find the Operator's staff.
Notice! If you put out all the torches on the pillars, the Guardian won't be able to summon gargoyles. |
You are not permitted to copy any image, text or info from this page. This site is not associated with and/or endorsed by the developers and the publishers. All logos and images are copyrighted by their respective owners.
Copyright © 2000 - 2026 Webedia Polska SA for gamepressure.com, unofficial game guides, walkthroughs, secrets, game tips, maps & strategies for top games.
