The Walking Dead: Georgia's Last City - Arrival & Battery

You will begin your Crawford adventure in the sewers. If you took Clementine, Lee will give her a double warning and say that they should keep together. Move the manhole cover (Open: Manhole) and then lean out up to come to the surface.
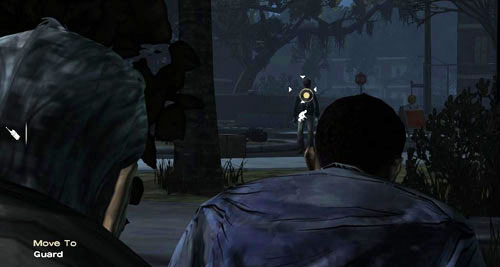
Watch the cutscene. Then point at the guard and simply walk up to him (Move To: Guard). If Lee is holding a gun, you'll be able to threaten the guard. It does not matter what answer you will choose.
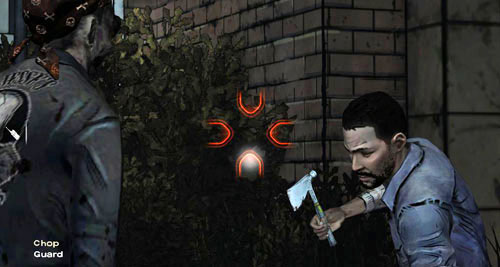
It will turn out that the guard is ... a zombie! Quickly hit him (Chop: Guard) or shoot (Shoot: Guard) if Lee pulled out the gun. If you do not do it fast enough, the zombie will have your entrails for dinner.

Once you've found yourselves in the school, choose one of the answers to Kenny's question. It can have an impact on Clementine (if you took her with you), or on Ben.
1. "Do you think they saw us?"
(1): I don't think so. | - |
(2): Definitely. | Your answer scared Clementine a little. / Your answer freaked Ben out. |
(3): No idea. | Your answer scared Clementine a little. / Your answer freaked Ben out. |
(4): ... | Kenny noticed your silence. |
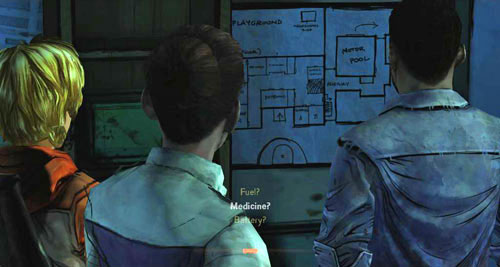
Confirm or deny what Vernon said (it does not matter). After a while you will find yourselves in the classroom, which is also the former Crawford command center. Choose the topics in the next dialogue one by one in any order, to find out where you can find the battery, fuel and medicine.

After you've worked out the plan, you will regain control over Lee. If you do not want to look around the room and talk to Ben and Clementine, go straight through the door (Open: Door). However, if you do want to find out what is inside, there will be a lot to look at. In the right part of the room you can look at: the School Map right next to the door, the Shelf next to it, some Flags and the Rug.

Go to the left side of the room. On the opposite wall there are: dolls (Look At: Dolls), books (Look At: Books) and a TV (Look At: TV). On the desk there are some pamphlets (Look At: Pamphlets), a globe by the window (Look At: Globe) and some glue (Look At: Paste).
Now you can speak with Clementine, provided you took her with you. It does not matter what you'll answer to her two questions. Depending on how the conversation on Hershel's farm developed in the first episode, the answer to the second question will be "Nobody knows." or "Remember what Kat said.".
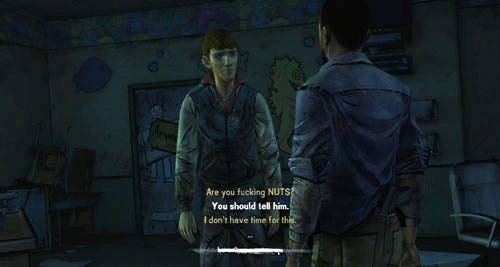
However, in the conversation with Ben, your first response will be important (see the table below). Next, comment on Ben's desire to tell Kenny the truth about what he did however you prefer. Afterwards, exit the room through the door on the right (Open: Door).
2. "Thanks, I got it. Just once I'd like to do something useful, you know?"
(1): That'd make a nice change. | Ben will remember that. |
(2): You're plenty useful. | - |
(3): Okay, I'll let you get to it. | - |
(4): ... | Ben will remember that. |
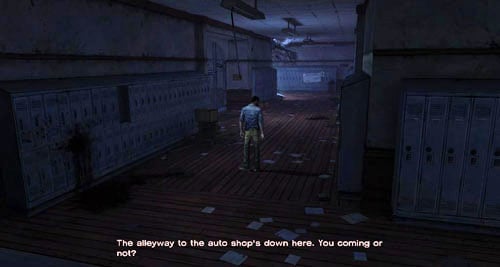
After leaving the room you can look at the photograph (Look At: Photo) and the sign concerning the rules and principles of Crawford (Look At: Sign). Go down the corridor until the scene changes. You will see Molly in the background. After you've turned right keep walking forwards. You can look at an Empty Locker on the left. Further to the left there is a playground exit (Look At: Exit to Playground), but going out of the school is not really a good idea (Open: Exit to Playground).
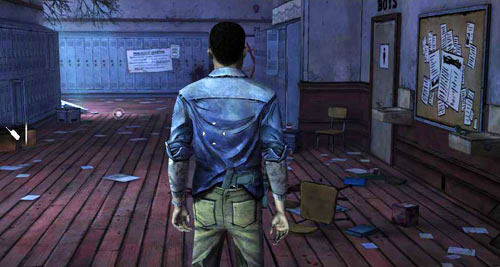
Go a little further. The camera will zoom in. On the right you can see the shower (Look At: Water Fountain) and you can try to go inside the bathroom (Open: Bathroom Door). On the floor there are some Shell Casings you can look at, while up on the left there is a hole (Look At: Hole), but you won't manage to get to it. There are some lockers opposite you, one on the left is covered with blood (Look At: Bloody Locker), but you will not be able to open it.
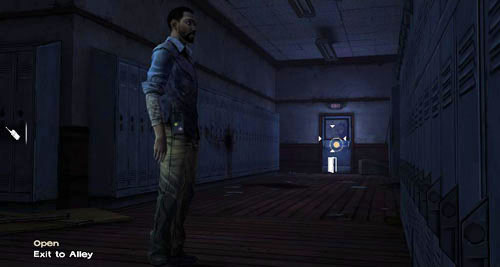
If you go left, you'll see Christa and Vernon and you'll also be able to look at the Vending Machine. There is nothing interesting there, so keep following Molly, to the right. You'll notice a door leading to the street. Go through it (Open: Exit to Alley).
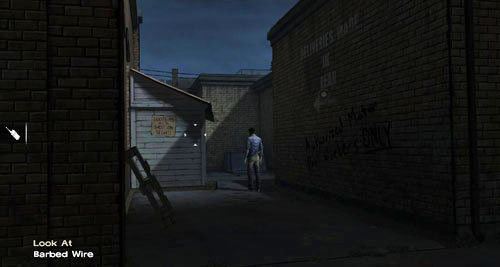
Once you are outside, go into the alley, which runs into the background of the screen. Along the way, you can have a look at two signs (Look At: Sign) - the first one is on the wall on the right and the second on the opposite wall. There is barbed wire on the left (Look At: Barded Wire) and a billboard (Look At: Billboard), but most of all, a gray shed you should enter.
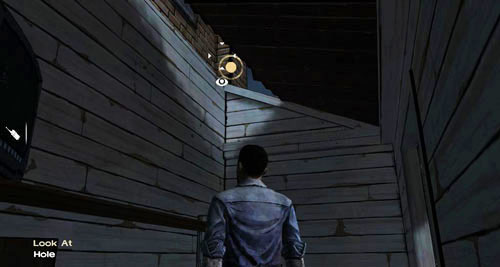
Look at the upper left corner of the screen, and you will see a hole. Look at it (Look At: Hole) and when Lee looks on the shelves, climb them up (Climb: Shelf) to the top. Lee will jump over to the other side of the fence.

You can look at the Garage Door. Try to open it (Open: Garage Door), and then go into the alley, which runs into the top right corner of the screen. The scene will change and you will be able to look at the Fence. But it is better to stay away ... Go back to the garage door. At this moment a body of a zombie will fall down and then the enraged Molly. It does not matter what you'll answer in the next two dialogues.
![[PANIC EVENT - START] - Chapter 5: Georgias Last City - Arrival & Battery | Episode IV: Around Every Corner - Episode IV: Around Every Corner - The Walking Dead Game Guide](/thewalkingdead/gfx/word/-1775989828.jpg)
[PANIC EVENT - START]
It's time for a brief action. Keep pressing the button shown on the screen to raise the garage door. If you hesitate, the zombies will bite you to death. After you've raised the garage door Molly and Lee will go inside.
[PANIC EVENT - END]
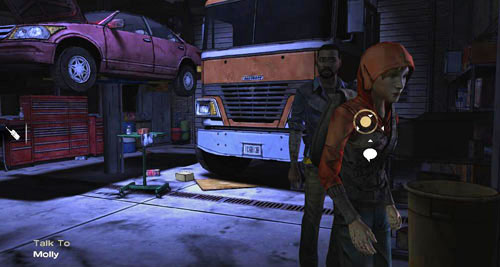
Start by talking with Molly and ask her about everything. Afterwards start searching the place. In the right part of the motor shop, you can look at the truck (Look At: Semi Truck) and its hood (Look At: Truck Hood), which can be opened (Open: Truck Hood). Then look at it again to see if there is a battery. Unfortunately, there won't be any. That is why, go to the left side.
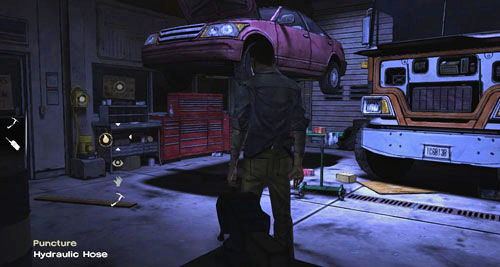
Here you can look at the raised car (Look At: Car) and a Warning Sign. You can also try to open the locked door (Use: Office Door), look at the Lift Panel and use it (Use: Lift Panel).
However, to push the plot forward, take a look at the hydraulic hose (Look At: Hydraulic Hose) and then try to use it (Pry: Hydraulic Hose). Your efforts will come to nothing, however, now you'll be able to ask Molly for her climbing pick - speak with her and select "Can I borrow your hook?". Then pierce the hose with the hook (Puncture: Hydraulic Hose).
![[PANIC EVENT - START] - Chapter 5: Georgias Last City - Arrival & Battery | Episode IV: Around Every Corner - Episode IV: Around Every Corner - The Walking Dead Game Guide](/thewalkingdead/gfx/word/-1775989781.jpg)
[PANIC EVENT - START]
Watch the cutscene and then get to work. If you take too long, the zombies will bite both you and Molly to death. You have to take the battery out of the car. First, unscrew and remove the positive terminal (Unscrew: Positive Terminal) (Detach: Positive Terminal) and then do the same with the negative one (Unscrew: Negative Terminal) (Detach: Negative Terminal). At the end, take out the battery (Pick Up: Battery).

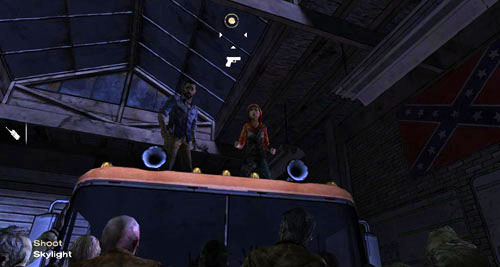
To get out of this place, go on the truck (Climb: Semi Truck) using the ladder on the right side of the truck and then shoot out the skylight above your heads (Shoot: Skylight). When Molly jumps on the roof, grab her hand (Grab: Hand).
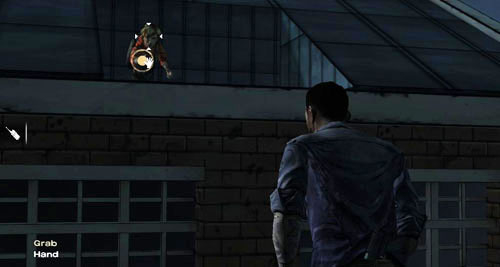
It does not matter what you'll answer to Molly. Lee will take a run-up and jump, and your job is to aim accurately and press the button to take Molly's hand (Grab: Hand). If you don't do it, Lee will fall down and get himself killed. Watch the cutscene and go to the foreground of the screen. You will move from one action to another. Kenny and Brie have returned with the fuel, but they've got some company as well. You have to help them.
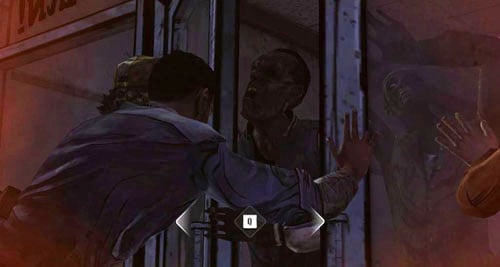
(1) After regaining control over the Lee keep pressing the button shown on the screen and then press the next one.

(2) Since the door will not close in this way, you will have to shoot the zombie in the head (Shoot: Zombie).

(3) Pick up the hatchet from the ground (Pick Up: Hatchet).
(4) Again, keep pressing the button shown on the screen, and then press the next one to put the hatchet between the handles, which will shut the door. The whole group will move to the classroom.
[PANIC EVENT - END]
- The Walking Dead Game Guide
- The Walking Dead: Game Guide
- The Walking Dead: Episode 4 Around Every Corner
- The Walking Dead: Georgia's First City - Outside
- The Walking Dead: Georgia's First City - Inside
- The Walking Dead: Down By The River
- The Walking Dead: Support Group
- The Walking Dead: Bedside Manor
- The Walking Dead: Georgia's Last City - Arrival & Battery
- The Walking Dead: Georgia's Last City - Meds & Escape
- The Walking Dead: For Whom The Bell Tolls
- The Walking Dead: The Morning After
- The Walking Dead: Episode 4 Around Every Corner
- The Walking Dead: Game Guide
You are not permitted to copy any image, text or info from this page. This site is not associated with and/or endorsed by the developers and the publishers. All logos and images are copyrighted by their respective owners.
Copyright © 2000 - 2026 Webedia Polska SA for gamepressure.com, unofficial game guides, walkthroughs, secrets, game tips, maps & strategies for top games.
