Sniper Elite 5 - Mission 1
This is the default mission starting area. Karl must destroy 2 searchlight so that he's transported to the beach (orange 2 on the map).
You will begin your journey after destroying the searchlights from the submarine (orange 1 on the map). You'll complete several tutorials on the beach and encounter first enemies.
The building is closed. You'll have to eliminate an officer standing in front of it and search his body for a key.
The document is inside the boathouse.
You'll have to deal with enemies stationed in front of the building and get inside to rescue a resistance member. This is the final part of the mission introduction. You'll unlock an alternative mission start area here.
It's inside the armory room where you'll also find weapons, ammunition and other supplies.
This is a bunker on the hill. You'll find a good rifle inside and you can use the vantage point to tag and eliminate enemies from the beach and the town.
Neutralizing the radar is one of the main mission objectives. You can use the explosives to blow up the pillars or sabotage the generator in the bunker under the radar. There's an enemy sniper at the base of the radar. You can reach the area with the radar from the trenches or using the back tunnel.
This is a Kill List target. The enemy officer is using a kubelwagon to travel around the town and he's making stops along the way. Completing the challenge requires to kill him in an explosion. It's best to place 1 or several teller mines on the road in the eastern part of the town.
You must explore the resistance hideout and find the safe with the intel as a part of one of the main objectives. The Nazis are huarding the safe house and you need to eliminate them. You can reach the attic by climbing the vines.
There are enemy coastal defenses in 3 different areas - it's 2 bunkers and 1 artillery battery. You have to destroy all of them using satchel charges found nearby and installing them in designated spots. Taking care of the coastal defenses will complete one of the side missions.
The enemy cannon is inside a large bunker in a bigger enemy location. You can get there using the main entrance or an unguarded side path (under the barb wire). The goal here is to sabotage one of the big projectiles to destroy the battery (side mission objective). You'll find an armory with a safe in the enemy camp.
There are 3 anti-aicraft cannons on the map. You can destroy them using satchel charges found in the area. Sabotaging all 3 AA cannons will allow you to complete a side mission objective.
There are Panzerfausts at the end of the pier and you can use them to destroy the patrol boat or Beckendorf's vehicle. You can also start a fire nearby and unlock an alternative mission starting point.
The collectible is inside one of the buildings in the southern part of the city.
It's inside the armory building in the enemy base. You can use the key (one of the nearby officers has it with him) or blow up the door with a satchel charge.
The document is inside the safe in the northern farm building. You can blow up the safe door with a satchel charge our use a key (start tagging nearby enemies to find the one with the key).
Using the tunnel will allow you to easily reach the hill with the radar (orange 6 on the map) in hopes of sabotaging it.
The hidden item is inside of the buildings of a small farm.
They're near the radar and the bunker underneath it. Crossing the trenches is the alternative way of reaching the radar. This is a large open area where it's easy to become a target for the enemies. An officer is patrolling this area and he has the bunker key.
The document is inside the safe in the bunker under the radar. You can obtain the key (one of the nearby enemies has it) or use the satchel charge to blow up the safe.
The collectible is at the end of the pier, next to the Panzerfausts.
The document can be found on the ground floor of the resistance safe house.
The workbench table is at the attic of the resistance building and you can get there by climbing the vines.
The document is inside the safe in the hotel occupied by the Nazis.
Entering the barn allows to end the mission. You need to watch out for the guard from the adjacent building who's monitoring the area.
The small flag is in the building next to the barn (the one with the guard).
The collectible is near a small building, next to the road leading to the radar.
The secret is in the attic of one of the farmhouse buildings. You can get there by going prone and then using the ladder.
The collectible is hidden in the attic of the largest building of the farmhouse. You can get there using a ladder.
You need to break into the armory building in the enemy base. You can use the key (one of the nearby officers has it with him) or blow up the door with a satchel charge. Blow up the safe with a second charge and the collectible will be inside.
Important - You may encounter a bug and the document won't be in the safe. The only way to resolve this is to restart the mission to try again.
The eagle is on top of a structure next to the hotel. A good place to take the shot is the area near the pier (orange 11 on the map).
The eagle is on top of the bunker located next to the beach.
The eagle is on top of the building found outside of the mission area. Pick the road to the west of the collectible and aim your rifle for a long shot.
There are enemy coastal defenses in 3 different areas - it's 2 bunkers and 1 artillery battery. You have to destroy all of them using satchel charges found nearby and installing them in designated spots. Taking care of the coastal defenses will complete one of the side missions.
There are 3 anti-aicraft cannons on the map. You can destroy them using satchel charges found in the area. Sabotaging all 3 AA cannons will allow you to complete a side mission objective.

Sniper Elite 5: Mission 1 (Atlantic Wall) map and description of the location

The Atlantic Wall quest of Sniper Elite 5 is set in the open-world map Colline Sur Mer. Our guide hides the mission 1 world atlas map with secrets and important locations.

guides

Last update:

Download Guide
Table of Contents
Download Guide

Key points of Sniper Elite 5 - Mission 1

Main locations on the map

Kill List target

Secrets and collectibles

We have prepared a world atlas for mission 1 (The Atlantic Wall), which begins the campaign in Sniper Elite 5 . The high-quality map from our guide shows all the important locations, which include e.g. a radar and a hideout of the guerillas. You will also find markings for secrets and collectibles - there are 19 of them in total.

The most important locations on the Colline-Sur-Mer map
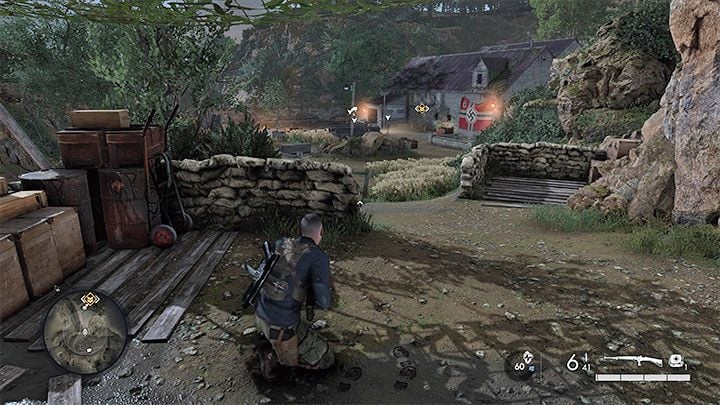
Reaching this building is the last stage of the mission introduction - Sniper Elite 5: Mission 1 (Atlantic Wall) map and description of the location - Mission 1 - Atlantic Wall - Sniper Elite 5 Guide, Walkthrough
  1. Processing Plant - point 4 on the map

Reaching this building is the last stage of the mission introduction. Karl will save a member of the resistance interrogated in the facility. Soon after leaving the factory, you will reach the place where you will unlock full access to the map. An alternative starting point for the mission will be unlocked here. You will also find an armory with lots of weapons and supplies, as well as the first workshop.
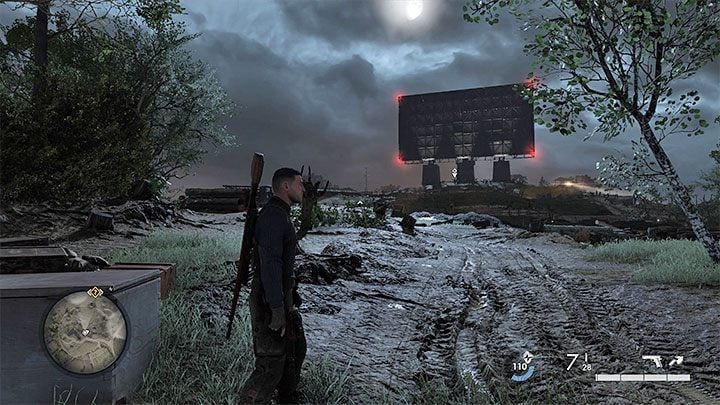
The large radar tower is located on a hill and it's related to one of the main goals of the mission - Sniper Elite 5: Mission 1 (Atlantic Wall) map and description of the location - Mission 1 - Atlantic Wall - Sniper Elite 5 Guide, Walkthrough
  1. Radar - point 6 on the map

The large radar tower is located on a hill and it's related to one of the main goals of the mission. You can reach the radar from the south or through the rear tunnel, but you have to watch out for the sniper there. You can sabotage it in two ways - by overloading the generator or destroying the supports.

This is another location related to the main mission objective - Sniper Elite 5: Mission 1 (Atlantic Wall) map and description of the location - Mission 1 - Atlantic Wall - Sniper Elite 5 Guide, Walkthrough
  1. Resistance Safe House - point 7 on the map

This is another location related to the main mission objective. In this case, you have to get rid of the enemies in the hideout, and then carefully examine it to find a safe with important documents. The key to the safe is hidden in the attic, which can be reached by climbing the vines.
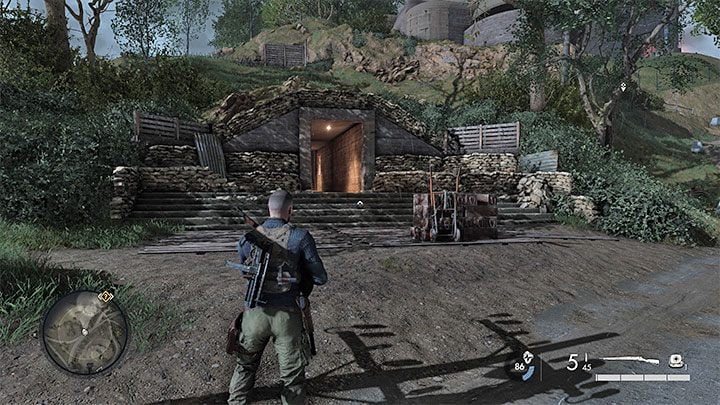
Using the tunnel is an alternative way to get close to the radar, i - Sniper Elite 5: Mission 1 (Atlantic Wall) map and description of the location - Mission 1 - Atlantic Wall - Sniper Elite 5 Guide, Walkthrough
  1. Tunnel entrance - point 12 on the map

Using the tunnel is an alternative way to get close to the radar, i.e. one of the main objectives of the mission mentioned above. During the passage through the tunnel, you will meet only 1-2 enemies and at the same time you won't have to risk traveling through the trenches south of the hill.
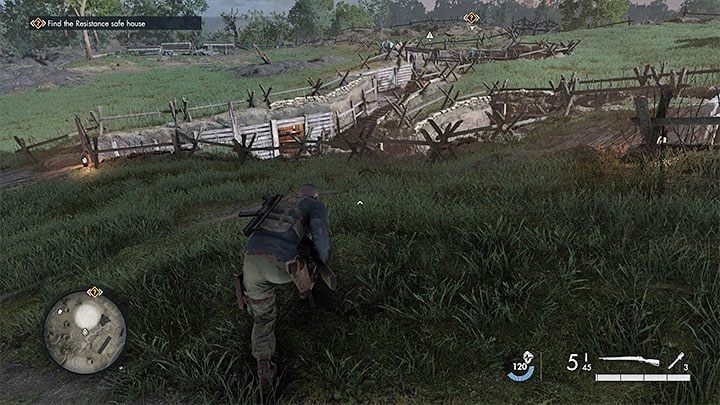
They are located to the south of the radar tower (the mission's main target) and the bunker below it - Sniper Elite 5: Mission 1 (Atlantic Wall) map and description of the location - Mission 1 - Atlantic Wall - Sniper Elite 5 Guide, Walkthrough
  1. Trenches - point 13 on the map

They are located to the south of the radar tower (the mission's main target) and the bunker below it. Going through the trenches is an alternative to the tunnel. You have to avoid staying in the open. Additionally, you have to identify the officer who has the bunker key and steal it from him.

Mission 1 – general information
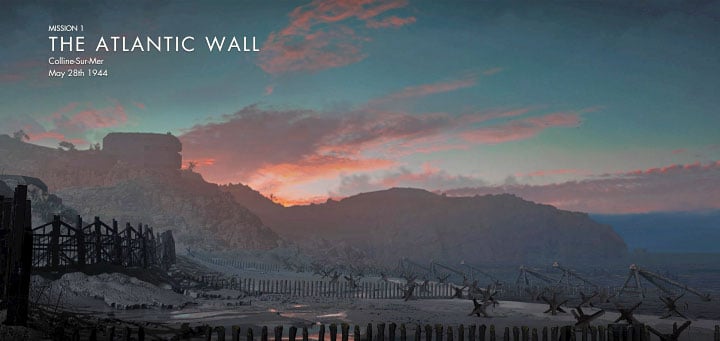
The location where the first mission of Sniper Elite 5 takes place is Colline-Sur-Mer - Sniper Elite 5: Mission 1 (Atlantic Wall) map and description of the location - Mission 1 - Atlantic Wall - Sniper Elite 5 Guide, Walkthrough

The location where the first mission of Sniper Elite 5 takes place is Colline-Sur-Mer. It consists mainly of battlefields (the largest are on the beach and in the vicinity of a large radar tower) and a town occupied by the Nazis.

The beginning of mission 1 is linear - go through the south-eastern parts of the map to complete a series of tutorials. Fortunately, after completing the initial mission objectives, you will unlock the option to freely travel around the map and it will remain so until the end of the mission.

This stage has many open areas. On the one hand, they can make the game easier for you, as you need to use binoculars and a rifle to eliminate distant enemies here. On the other hand, you have to watch out in these locations because there's no possibility of using covers (we recommend hiding in tall grass). The good news is that you should only encounter one enemy sniper while completing this mission.

This mission has 4 possible entry points. When playing it for the first time, you have to start on the submarine in order to move to the shore after the first tutorial. You can unlock new potential entry points by finding them on the map. This will allow you to select them when repeating the missions in order to reach places where you perform main activities faster, for example.

In Mission 1, there are various main and side quests to complete. We discussed them on the following pages:

  1. Securing the Beach – this is an obligatory initial part of the mission, and it requires destroying the floodlights, crossing the beach and then saving a member of the Resistance.
  2. Disarming the radar - This is one of the most important tasks. You can sabotage the radar in two ways and we have described both in detail in the walkthrough.
  3. Retrieving resistance intel - This is the next main objective of the mission. You have to find and search the hideout of the resistance for documents.
  4. Side missions - In mission 1, you can complete 3 optional tasks of destroying selected Nazi installations.
  5. Steffen Beckendorf - This officer is a target from the list, i.e. an elite opponent who must be taken down with an explosion for the sake of a challenge.
  6. Meeting with Charlie and evacuating - You can decide to exfiltrate after completing the main objectives of the mission, or decide to complete some or all of the optional activities.

Mission 1 hides 19 secrets and collectibles. These include 3 workbenches, as well as various types of artifacts or documents. Their locations are shown on the map.

Sniper Elite 5

May 26, 2022

PC PlayStation Xbox
Rate It!

You are not permitted to copy any image, text or info from this page. This site is not associated with and/or endorsed by the Rebellion or Rebellion. All logos and images are copyrighted by their respective owners.

Copyright © 2000 - 2025 Webedia Polska SA for gamepressure.com, unofficial game guides, walkthroughs, secrets, game tips, maps & strategies for top games.