LEGO Star Wars 3 The Clone Wars: Separatist missions p. 2 Free play
 #7_1
|  #7_2
|
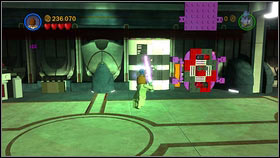
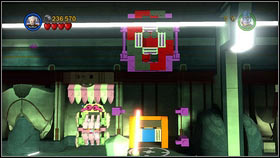
Once again head to where you found the third machine #7_1. Right beside there is a red-black hatch. Move it using the Sith Force #7_2.
 #7_3
|  #7_4
|
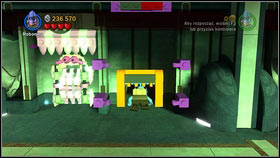
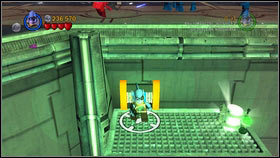
Behind it there's a narrow passage for a small character, like Yoda #7_3. Pass through it and pick up the seventh container #7_4.
 #8_1
|  #8_2
|
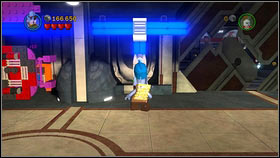
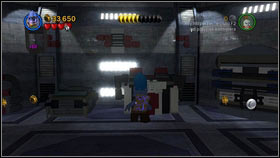
To the right of the passage you've used there's a panel for clones #8_1. Activate it and go inside the unblocked room #8_2. The description how to power up the panel can be found in the walkthrough.
 #8_3
|  #8_4
|
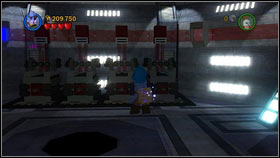
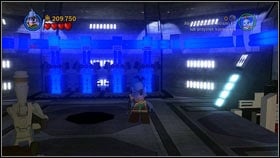
Inside, destroy all the items with a rocket launcher and build 4 boxes from the fragments #8_3. In order to repair the generator, you will have to pull them into the free spaces in the north #8_4. Do it as fast as possible, or the batteries will be pushed out.
 #8_5
|  #8_6
|
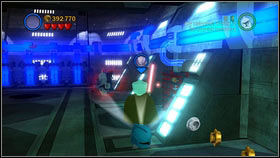
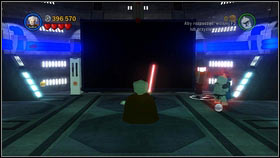
Once the power is back, use the Sith Force on the grate on the right #8_5. Behind it you will find a lever. Pull it and a black screen will appear #8_6.
 #8_7
|  #8_8
|
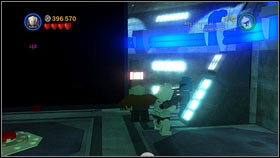
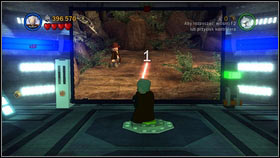
Another lever can be found to the right of the screen #8_7. Using it will cause a game to launch. Stand on the red button on the ground and closely watch the screen #8_8.
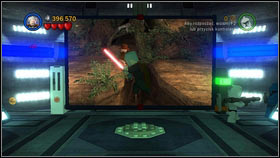 #8_9
| 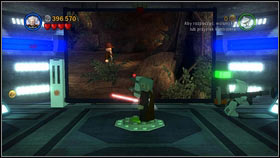 #8_10
|
You will see Indiana Jones running through the jungle. As he will be closing in to a pit, jump up #8_9. In return for safely leading the archaeologist to the other side of the map you will receive another minikit #8_10.
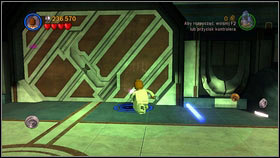 #9_1
| 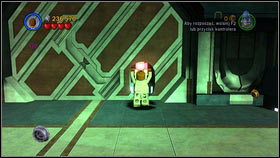 #9_2
|
Now head to the right edge of the corridor and make a hole in the wall in the marked place with a Light Saber #9_1. That way you will discover an orange lever #9_2.
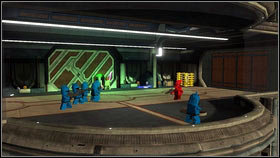 #9_3
| 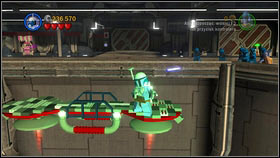 #9_4
|
Pull it and the barrier in the south will disappear #9_3. Now you can get onto the balcony and fly onto the platform with the minikit as R2-D2 #9_4.
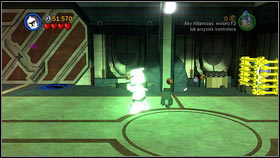 #10_1
| 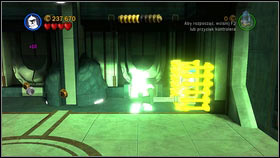 #10_2
|
A bit to the right of the previously used lever there's a gold cage #10_1. Destroy it with a machinegun #10_2.
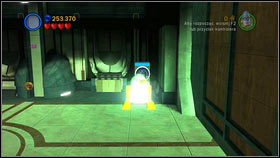 #10_3
| 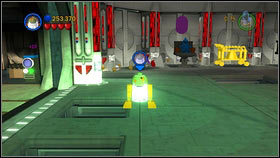 #10_4
|
That way you will unblock a console which can be activated with R2-D2 #10_3. Do it and the nearby gate will open #10_4.
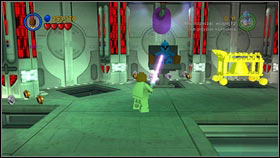 #10_5
| 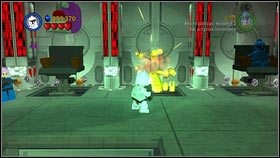 #10_6
|
Inside of the new room, use the Force on the grey cone and stick it to the purple brick hanging above the blue clone #10_5. That way you will change its haircut. A bit further on the right there's a big gold item. Destroy it with a machinegun #10_6 and build a second cone from the fragments.
 #10_7
|  #10_8
|
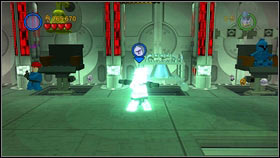
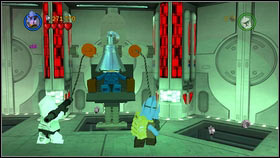
Do the same with the silver item beside, just this time destroy it with grenades or a rocket launcher #10_7. However before the third clone gets transformed, you have to use the grappling hook on two orange grapple points #10_8. The minikit will appear after you make the third haircut.
- LEGO Star Wars III: The Clone Wars Game Guide
- LEGO Star Wars 3 The Clone Wars: Game Guide
- LEGO Star Wars 3 The Clone Wars: Free play
- LEGO Star Wars 3 The Clone Wars: Prologue Free play
- LEGO Star Wars 3 The Clone Wars: Count Dooku p. 1 Free play
- LEGO Star Wars 3 The Clone Wars: Count Dooku p. 2 Free play
- LEGO Star Wars 3 The Clone Wars: Count Dooku p. 3 Free play
- LEGO Star Wars 3 The Clone Wars: Count Dooku p. 4 Free play
- LEGO Star Wars 3 The Clone Wars: Count Dooku p. 5 Free play
- LEGO Star Wars 3 The Clone Wars: Count Dooku p. 6 Free play
- LEGO Star Wars 3 The Clone Wars: Count Dooku p. 7 Free play
- LEGO Star Wars 3 The Clone Wars: General Grievous p. 1 Free play
- LEGO Star Wars 3 The Clone Wars: General Grievous p. 2 Free play
- LEGO Star Wars 3 The Clone Wars: General Grievous p. 3 Free play
- LEGO Star Wars 3 The Clone Wars: General Grievous p. 4 Free play
- LEGO Star Wars 3 The Clone Wars: General Grievous p. 5 Free play
- LEGO Star Wars 3 The Clone Wars: General Grievous p. 6 Free play
- LEGO Star Wars 3 The Clone Wars: General Grievous p. 7 Free play
- LEGO Star Wars 3 The Clone Wars: General Grievous p. 8 Free play
- LEGO Star Wars 3 The Clone Wars: General Grievous p. 9 Free play
- LEGO Star Wars 3 The Clone Wars: General Grievous p. 10 Free play
- LEGO Star Wars 3 The Clone Wars: Asajj Ventress p. 1 Free play
- LEGO Star Wars 3 The Clone Wars: Asajj Ventress p. 2 Free play
- LEGO Star Wars 3 The Clone Wars: Asajj Ventress p. 3 Free play
- LEGO Star Wars 3 The Clone Wars: Asajj Ventress p. 4 Free play
- LEGO Star Wars 3 The Clone Wars: Asajj Ventress p. 5 Free play
- LEGO Star Wars 3 The Clone Wars: Asajj Ventress p. 6 Free play
- LEGO Star Wars 3 The Clone Wars: Asajj Ventress p. 7 Free play
- LEGO Star Wars 3 The Clone Wars: Epilogue Free play
- LEGO Star Wars 3 The Clone Wars: Separatist missions p. 1 Free play
- LEGO Star Wars 3 The Clone Wars: Separatist missions p. 2 Free play
- LEGO Star Wars 3 The Clone Wars: Separatist missions p. 3 Free play
- LEGO Star Wars 3 The Clone Wars: Separatist missions p. 4 Free play
- LEGO Star Wars 3 The Clone Wars: Free play
- LEGO Star Wars 3 The Clone Wars: Game Guide
You are not permitted to copy any image, text or info from this page. This site is not associated with and/or endorsed by the developers and the publishers. All logos and images are copyrighted by their respective owners.
Copyright © 2000 - 2025 Webedia Polska SA for gamepressure.com, unofficial game guides, walkthroughs, secrets, game tips, maps & strategies for top games.
