LEGO Star Wars 3 The Clone Wars: Separatist missions p. 1 Free play
Mission 1 - Hostage Crisis
True Jedi: 80,000
Minikits
 #1_1
|  #1_2
|
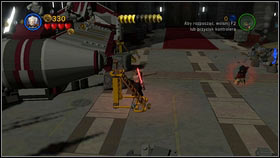
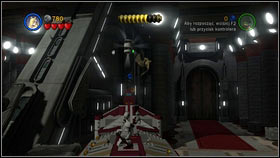
Once on the landing pad, jump onto the big ship on the left #1_1. The minikit will be floating above your head #1_2. Jump as Jar Jar Binks to collect it.
 #2_1
|  #2_2
|
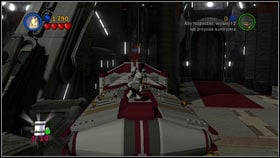
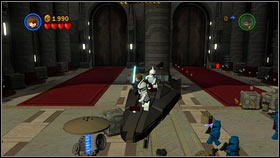
On the same ship, there are three cleaning clones #2_1. Kill them and jump onto the lesser machine on the right. There you will also find two characters in white uniforms #2_2. Eliminate them for the second minikit to appear.
 #3_1
|  #3_2
|
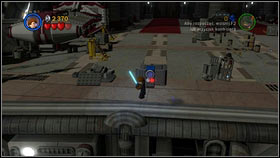
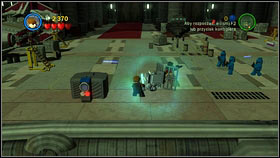
Now run south, where a pile of grey bricks is #3_1. Use them to build a panel and place the nearby satellite atop #3_2.
 #3_3
|  #3_4
|
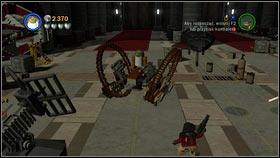
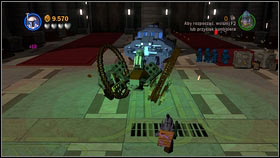
Once the panel is active, use is as R2-D2. A big brown vehicle will come from the sky #3_3. Enter it and destroy the ship in the middle #3_4. You will find the minikit under its fragments.
 #4_1
|  #4_2
|
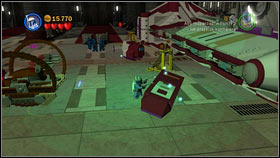
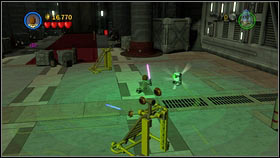
Now head to the right edge of the landing pad, where a big white-red ship is #4_1. Your task is to repair it with the nearby parts. Use the Force to move them onto the purple areas and you will receive the white container #4_2.
 #5_1
|  #5_2
|
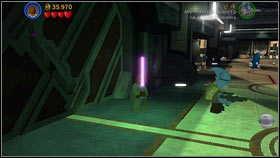
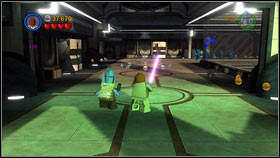
The next one is waiting for you in the corridor beyond the landing zone #5_1. In order to get it, you will have to destroy 5 small black droids. The first one can be found right at the beginning on the right #5_2.
 #5_3
|  #5_4
|
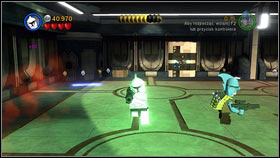
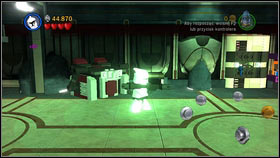
The second is hidden in the upper left corner of the location #5_3. The third is a bit further to the right. It will lean out of the stash in the wall #5_4.
 #5_5
|  #5_6
|
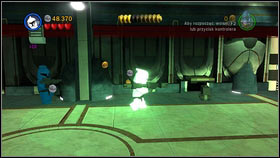
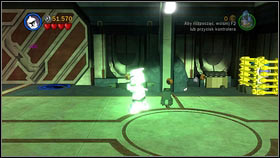
The fourth is hidden is a similar way, but even further to the east #5_5. The last one will appear at the right end of the corridor #5_6. The small droids can run away very fast, so if you can't find one of them, be sure to check the whole corridor and the nearby rooms.
 #6_1
|  #6_2
|
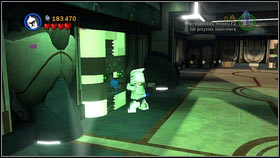
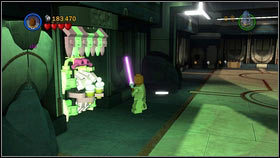
Your next task will require you to use the Force on 5 ice-cream machines in the corridor. The first one can be found right at the beginning on the left side #6_1. Use the Force on it #6_2.
 #6_3
|  #6_4
|
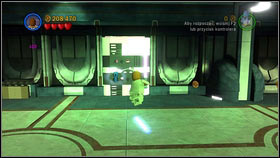
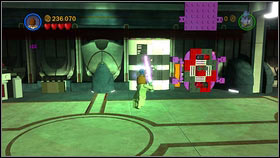
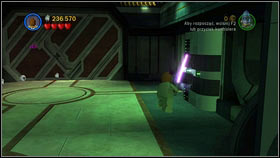
The second is a bit further to the north of the last one #6_3. Two more are in the east, in the north wall #6_4.
 #6_5
|  #6_6
|
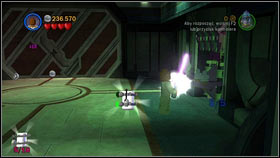
The last is to the right of the big metal gate #6_5. Use it and the minikit will appear #6_6.
- LEGO Star Wars III: The Clone Wars Game Guide
- LEGO Star Wars 3 The Clone Wars: Game Guide
- LEGO Star Wars 3 The Clone Wars: Free play
- LEGO Star Wars 3 The Clone Wars: Prologue Free play
- LEGO Star Wars 3 The Clone Wars: Count Dooku p. 1 Free play
- LEGO Star Wars 3 The Clone Wars: Count Dooku p. 2 Free play
- LEGO Star Wars 3 The Clone Wars: Count Dooku p. 3 Free play
- LEGO Star Wars 3 The Clone Wars: Count Dooku p. 4 Free play
- LEGO Star Wars 3 The Clone Wars: Count Dooku p. 5 Free play
- LEGO Star Wars 3 The Clone Wars: Count Dooku p. 6 Free play
- LEGO Star Wars 3 The Clone Wars: Count Dooku p. 7 Free play
- LEGO Star Wars 3 The Clone Wars: General Grievous p. 1 Free play
- LEGO Star Wars 3 The Clone Wars: General Grievous p. 2 Free play
- LEGO Star Wars 3 The Clone Wars: General Grievous p. 3 Free play
- LEGO Star Wars 3 The Clone Wars: General Grievous p. 4 Free play
- LEGO Star Wars 3 The Clone Wars: General Grievous p. 5 Free play
- LEGO Star Wars 3 The Clone Wars: General Grievous p. 6 Free play
- LEGO Star Wars 3 The Clone Wars: General Grievous p. 7 Free play
- LEGO Star Wars 3 The Clone Wars: General Grievous p. 8 Free play
- LEGO Star Wars 3 The Clone Wars: General Grievous p. 9 Free play
- LEGO Star Wars 3 The Clone Wars: General Grievous p. 10 Free play
- LEGO Star Wars 3 The Clone Wars: Asajj Ventress p. 1 Free play
- LEGO Star Wars 3 The Clone Wars: Asajj Ventress p. 2 Free play
- LEGO Star Wars 3 The Clone Wars: Asajj Ventress p. 3 Free play
- LEGO Star Wars 3 The Clone Wars: Asajj Ventress p. 4 Free play
- LEGO Star Wars 3 The Clone Wars: Asajj Ventress p. 5 Free play
- LEGO Star Wars 3 The Clone Wars: Asajj Ventress p. 6 Free play
- LEGO Star Wars 3 The Clone Wars: Asajj Ventress p. 7 Free play
- LEGO Star Wars 3 The Clone Wars: Epilogue Free play
- LEGO Star Wars 3 The Clone Wars: Separatist missions p. 1 Free play
- LEGO Star Wars 3 The Clone Wars: Separatist missions p. 2 Free play
- LEGO Star Wars 3 The Clone Wars: Separatist missions p. 3 Free play
- LEGO Star Wars 3 The Clone Wars: Separatist missions p. 4 Free play
- LEGO Star Wars 3 The Clone Wars: Free play
- LEGO Star Wars 3 The Clone Wars: Game Guide
You are not permitted to copy any image, text or info from this page. This site is not associated with and/or endorsed by the developers and the publishers. All logos and images are copyrighted by their respective owners.
Copyright © 2000 - 2025 Webedia Polska SA for gamepressure.com, unofficial game guides, walkthroughs, secrets, game tips, maps & strategies for top games.
