LEGO Star Wars 3 The Clone Wars: Asajj Ventress p. 6 Free play
Chapter 5 - Innocents of Ryloth
True Jedi: 105,000
Minikits
 #1_1
|  #1_2
|
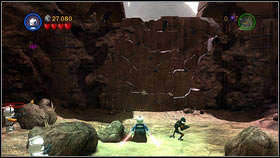
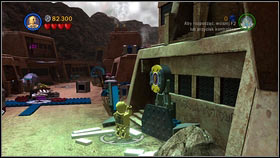
After destroying the stone wall #1_1, keep going straight until you reach a radar on the road. To the right of it there's a grey rectangle. Destroy it and you will find the panel #1_2.
 #1_3
|  #1_4
|
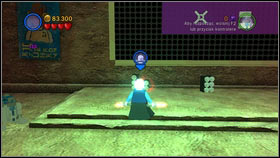
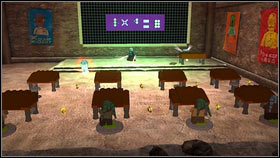
Use it as C3-PO and enter the unblocked room. Inside the classroom, approach the purple blackboard #1_3. Below it you will find three grey bricks. Use the Force to place them on the purple rectangle so that a true equation is created #1_4. 3 dots on the left, 2 in the middle and 6 on the right (3x2=6). Once you finish, a minikit will appear in the corner of the classroom.
 #2_1
|  #2_2
|
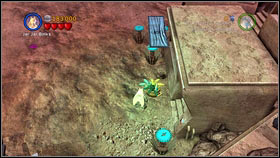
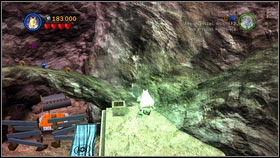
On the square with a large gate and silver barricades, change to Jar Jar Binks and jump onto the roof on the building on the right #2_1. Go further to the north to reach a small bridge #2_2.
 #2_3
|  #2_4
|
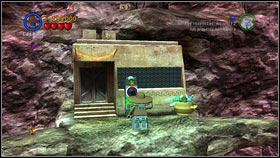
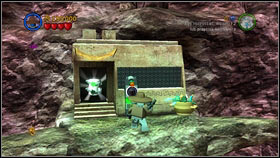
Cross it to the other side and use the panel with a Bounty Hunter #2_3. That way you will open the nearby door with a minikit behind them #2_4.
 #3_1
|  #3_2
|
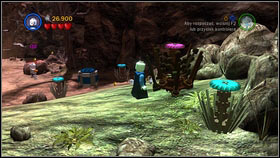
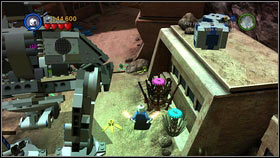
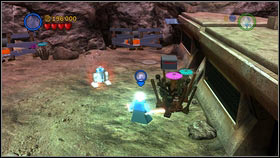
You will receive the next one for destroying the five pink flowers growing on the streets of the town. The first one is to the east of the starting point #3_1. The second north-east of the radar behind the stone wall #3_2.
 #3_3
|  #3_4
|
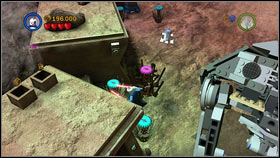
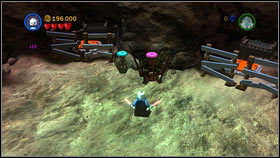
The third one is on the left side #3_3, right after entering the big square and the fourth a bit further to the north #3_4.
 #3_5
|  #4_1
|
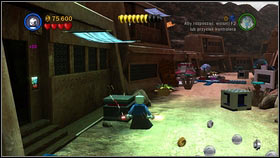
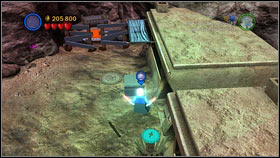
The last plant grows in the north-east corner of the same square #3_5. The fourth minikit will appear after hitting five grey boxes with a red stripe. The first is on the left side of the road, a bit after the stone wall #4_1.
 #4_2
|  #4_3
|
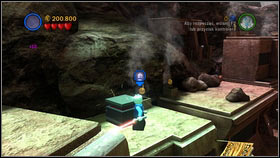
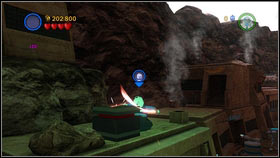
The second is on the roof of the building on the left side, right before the road blockade #4_2. The third is also hidden on the roof of the building on the left, this time before the iron gate #4_3.
 #4_4
|  #4_5
|
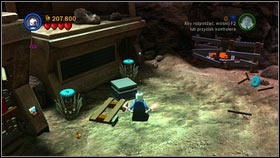
The fourth box is in the north-east #4_4 and the fifth in the north-west corner of the big square #4_5.
 #5_1
|  #5_2
|
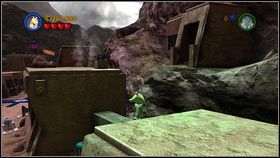
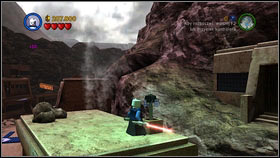
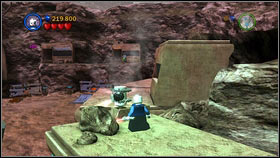
The fifth minikit is rewarded for cleaning five chimneys. The first one is on the roof of the building south-east of the radar #5_1. Use Sith Force on it and it will get cleaned #5_2. Use Jar Jar Binks' high jump to get onto the roof.
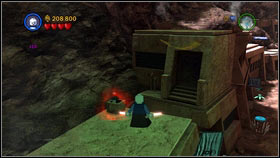 #5_3
| 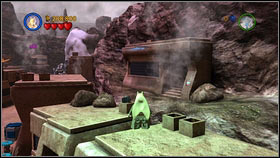 #5_4
|
The second chimney is on the building north of the first landing pad #5_3. The third is right of the last one, on the other side of the road #5_4.
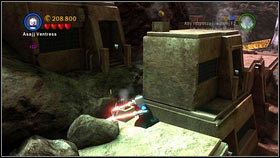 #5_5
| 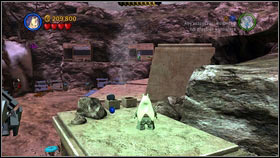 #5_6
|
Once again go to the left side and head north. That way you should reach the fourth chimney #5_5. The fifth is north-east of the last one, on a house right before the square #5_6.
 #5_7
|  #6
|
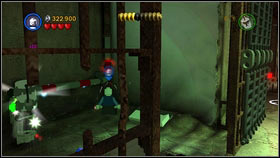
Clean it and pick up the minikit #5_7. You will receive the next one in the first cell on the left. use the Force to quickly turn 3 red pipe fragments #6 and the item you're looking for will appear.
 #7_1
|  #7_2
|
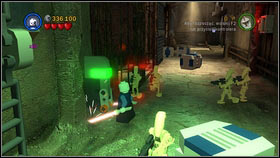
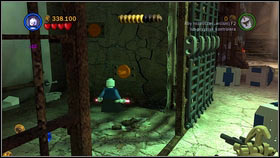
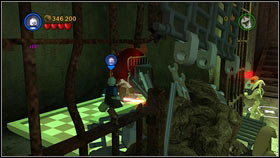
A bit further you will find a lever in the corridor #7_1. Pull it and enter the opened cell. On the northern wall there will be two orange grapple points #7_2. Pull them with the grappling hook.
 #7_3
|  #7_4
|
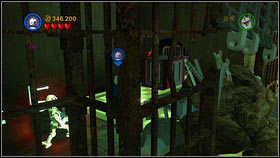
Inside the next room burn a hole in the wall #7_3 and pull out the chest using the Force #7_4. You will find the seventh minikit where it was standing.
 #8_1
|  #8_2
|
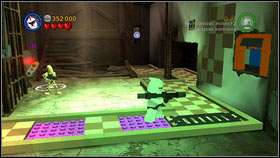
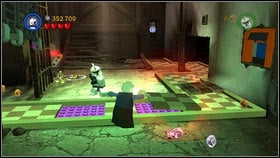
Return to the corridor, push down two plates from the eastern wall #8_1 and use the Force to place them on the purple squares #8_2.
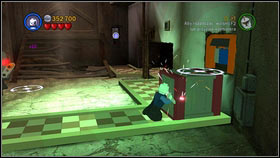 #8_3
| 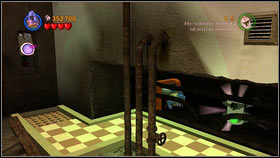 #8_4
|
Thanks to them you will be able to pull the chest from the cell to the narrow passage in the eastern wall #8_3. Enter the tunnel with a small character (example Yoda) and pick up the hidden minikit #8_4.
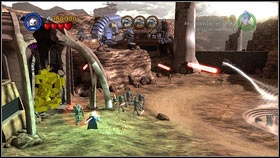 #9_1
| 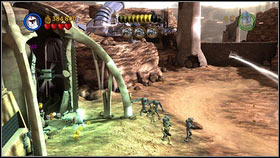 #9_2
|
At the spot where you fought the droids, head to the left edge of the square #9_1. There you will find a passage blocked by a pile of gold bricks. Destroy them with a machinegun and you will discover the ninth minikit #9_2.
 #10_1
|  #10_2
|
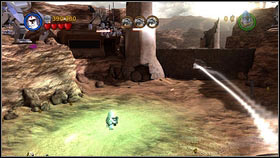
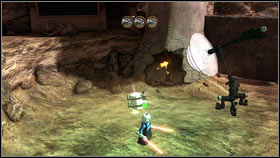
Now head to the north-west corner of the location and shoot the silver object above with a rocket launcher #10_1. Fragments of the machine will fall down to the ground. Use the Sith Force on them and a powerful magnifying glass will be created. It will set fire to the nearby campfire and the last minikit will fly out of the chimney #10_2.
- LEGO Star Wars III: The Clone Wars Game Guide
- LEGO Star Wars 3 The Clone Wars: Game Guide
- LEGO Star Wars 3 The Clone Wars: Free play
- LEGO Star Wars 3 The Clone Wars: Prologue Free play
- LEGO Star Wars 3 The Clone Wars: Count Dooku p. 1 Free play
- LEGO Star Wars 3 The Clone Wars: Count Dooku p. 2 Free play
- LEGO Star Wars 3 The Clone Wars: Count Dooku p. 3 Free play
- LEGO Star Wars 3 The Clone Wars: Count Dooku p. 4 Free play
- LEGO Star Wars 3 The Clone Wars: Count Dooku p. 5 Free play
- LEGO Star Wars 3 The Clone Wars: Count Dooku p. 6 Free play
- LEGO Star Wars 3 The Clone Wars: Count Dooku p. 7 Free play
- LEGO Star Wars 3 The Clone Wars: General Grievous p. 1 Free play
- LEGO Star Wars 3 The Clone Wars: General Grievous p. 2 Free play
- LEGO Star Wars 3 The Clone Wars: General Grievous p. 3 Free play
- LEGO Star Wars 3 The Clone Wars: General Grievous p. 4 Free play
- LEGO Star Wars 3 The Clone Wars: General Grievous p. 5 Free play
- LEGO Star Wars 3 The Clone Wars: General Grievous p. 6 Free play
- LEGO Star Wars 3 The Clone Wars: General Grievous p. 7 Free play
- LEGO Star Wars 3 The Clone Wars: General Grievous p. 8 Free play
- LEGO Star Wars 3 The Clone Wars: General Grievous p. 9 Free play
- LEGO Star Wars 3 The Clone Wars: General Grievous p. 10 Free play
- LEGO Star Wars 3 The Clone Wars: Asajj Ventress p. 1 Free play
- LEGO Star Wars 3 The Clone Wars: Asajj Ventress p. 2 Free play
- LEGO Star Wars 3 The Clone Wars: Asajj Ventress p. 3 Free play
- LEGO Star Wars 3 The Clone Wars: Asajj Ventress p. 4 Free play
- LEGO Star Wars 3 The Clone Wars: Asajj Ventress p. 5 Free play
- LEGO Star Wars 3 The Clone Wars: Asajj Ventress p. 6 Free play
- LEGO Star Wars 3 The Clone Wars: Asajj Ventress p. 7 Free play
- LEGO Star Wars 3 The Clone Wars: Epilogue Free play
- LEGO Star Wars 3 The Clone Wars: Separatist missions p. 1 Free play
- LEGO Star Wars 3 The Clone Wars: Separatist missions p. 2 Free play
- LEGO Star Wars 3 The Clone Wars: Separatist missions p. 3 Free play
- LEGO Star Wars 3 The Clone Wars: Separatist missions p. 4 Free play
- LEGO Star Wars 3 The Clone Wars: Free play
- LEGO Star Wars 3 The Clone Wars: Game Guide
You are not permitted to copy any image, text or info from this page. This site is not associated with and/or endorsed by the developers and the publishers. All logos and images are copyrighted by their respective owners.
Copyright © 2000 - 2026 Webedia Polska SA for gamepressure.com, unofficial game guides, walkthroughs, secrets, game tips, maps & strategies for top games.
