LEGO Star Wars 3 The Clone Wars: Asajj Ventress p. 3 Free play
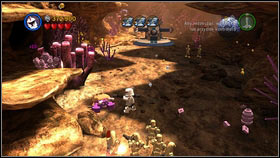 #5_1
| 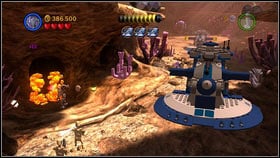 #5_2
|
Once you reach the first Separatist tank #5_1, destroy the gold plants to the left of the vehicle #5_2 with a machinegun.
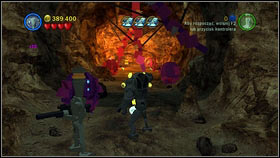 #5_3
| 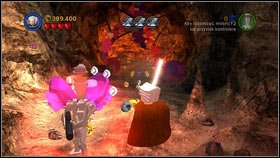 #5_4
|
Inside of the unblocked cave you will see tentacles hanging from the ceiling #5_3. Use the Force on the nearby crystals to neutralise them #5_4.
 #5_5
|  #5_6
|
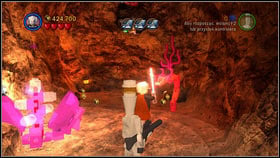
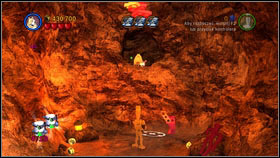
At the end of the corridor #5_5 change to Jar Jar Binks and jump up for the next minikit #5_6.
 #6_1
|  #6_2
|
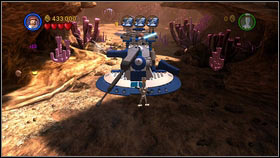
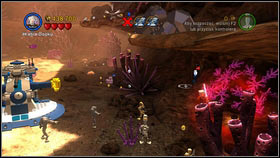
Once you reach the second Separatist tank #6_1, go to the right, where you will find purple bushes #6_2. Draw them aside with the Sith Force and enter the cave.
 #6_3
|  #6_4
|
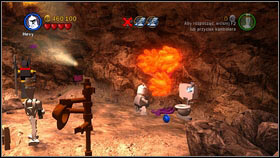
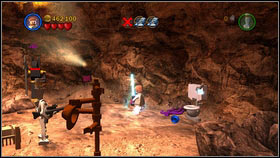
In the upper right corner of the cave there are three gold plants #6_3. Destroy them with a machinegun and the first purple crystal element will appear on the ground. Push it with the Force onto the small same-coloured plate below the gold plate on the left #6_4.
 #6_5
|  #6_6
|
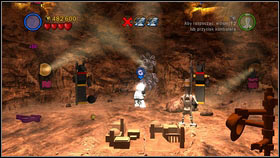
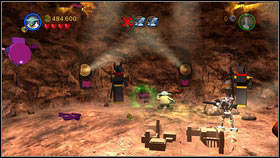
A bit further you will find two silver growths #6_5. Blow them up the a rocket launcher and you will discover the next gold plate #6_6. Move it onto the purple brick on the left.
 #6_7
|  #6_8
|
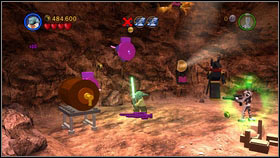
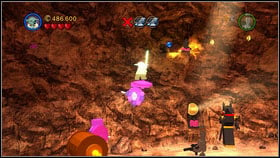
On the western wall of the cave there are two round platforms #6_7. Turn them using the Force and jump up. you have to be quick, as the bricks will hide after a bit. The last crystal is on top of the rock #6_8.
 #6_9
|  #6_10
|
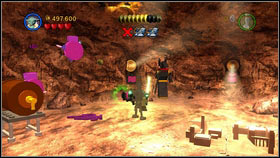
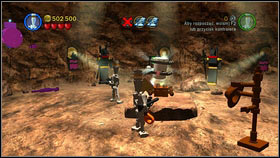
Push it down and place on the third gold plate #6_9. A gold chest will appear in the middle of the room. Open it with the grappling hook and pick up the minikit #6_10.
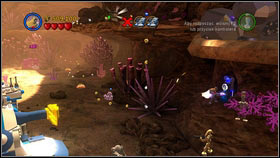 #7_1
| 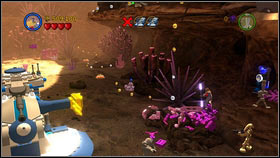 #7_2
|
After destroying the second Separatist tank, approach the console on the right #7_1. Use it with a character like Robonino and a pile of purple bricks will appear on the ground #7_2.
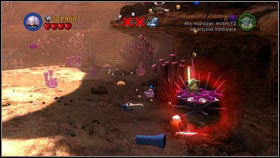 #7_3
| 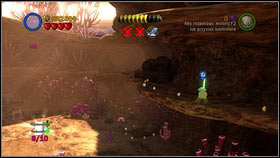 #7_4
|
Use them to build a round platform and jump onto it with a Jedi #7_3. Change the second character to a Jedi as well and use the Force to raise the platform. Above you will find the seventh minikit #7_4.
 #8_1
|  #8_2
|
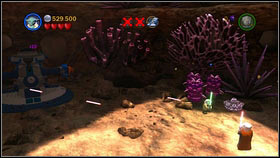
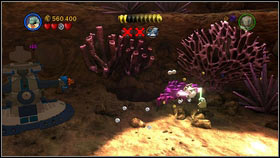
To the right of the third tank you should find three tall plants #8_1. Destroy them with the Light Saber and build a giant crab from its fragments. It will pull out a minikit from the nearby hole and put it right beside you #8_2.
 #9_1
|  #9_2
|
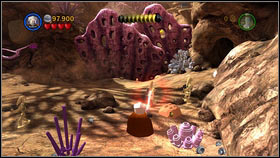
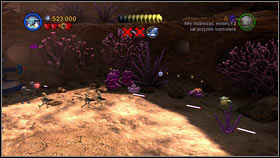
You will receive the next one for killing 5 crabs hiding below the rocks. The first can be found on the eastern edge of the first location. The second is hidden below the rocks at the beginning of the canyon (before the first tank) #9_2.
 #9_3
|  #9_4
|
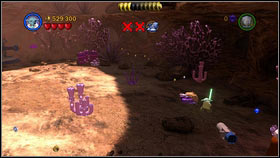
The third is north-east of the second Separatist vehicle #9_3. The fourth is a few steps further to the north #9_4.
 #9_5
|  #9_6
|
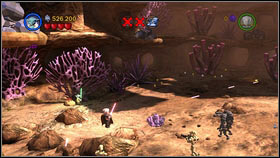
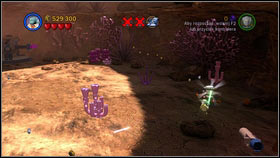
The last crab is hidden to the west of the third one, on the other side of the canyon #9_5. Destroy it and the next minikit will appear #9_6.
 #10_1
|  #10_1
|
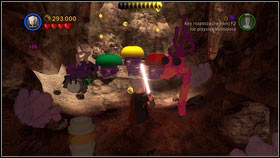
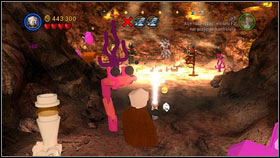
The last treasure can be received after destroying five purple worms that hide under plants of the same colour. Just hit the stalk and the creature will put out its head. The first can be found inside the cave with colourful mushroom #10_1, the same in which the third minikit was. The second is at the end of the tunnel with the fifth minikit #10_2, a bit before the lever.
 #10_3
|  #10_4
|
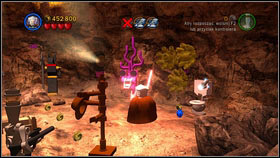
Three last worms are hiding in the cave with gold plates (where the sixth minikit is). One is right beside the entrance #10_3 and the second in the right side of the cave #10_4.
 #10_5
|  #10_6
|
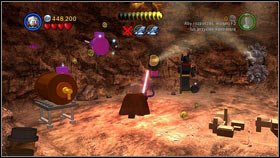
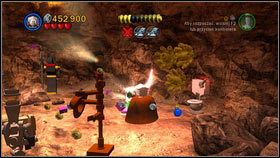
The last one is on the left side of the room #10_5. Destroy it and you will receive the last minikit #10_6.
- LEGO Star Wars III: The Clone Wars Game Guide
- LEGO Star Wars 3 The Clone Wars: Game Guide
- LEGO Star Wars 3 The Clone Wars: Free play
- LEGO Star Wars 3 The Clone Wars: Prologue Free play
- LEGO Star Wars 3 The Clone Wars: Count Dooku p. 1 Free play
- LEGO Star Wars 3 The Clone Wars: Count Dooku p. 2 Free play
- LEGO Star Wars 3 The Clone Wars: Count Dooku p. 3 Free play
- LEGO Star Wars 3 The Clone Wars: Count Dooku p. 4 Free play
- LEGO Star Wars 3 The Clone Wars: Count Dooku p. 5 Free play
- LEGO Star Wars 3 The Clone Wars: Count Dooku p. 6 Free play
- LEGO Star Wars 3 The Clone Wars: Count Dooku p. 7 Free play
- LEGO Star Wars 3 The Clone Wars: General Grievous p. 1 Free play
- LEGO Star Wars 3 The Clone Wars: General Grievous p. 2 Free play
- LEGO Star Wars 3 The Clone Wars: General Grievous p. 3 Free play
- LEGO Star Wars 3 The Clone Wars: General Grievous p. 4 Free play
- LEGO Star Wars 3 The Clone Wars: General Grievous p. 5 Free play
- LEGO Star Wars 3 The Clone Wars: General Grievous p. 6 Free play
- LEGO Star Wars 3 The Clone Wars: General Grievous p. 7 Free play
- LEGO Star Wars 3 The Clone Wars: General Grievous p. 8 Free play
- LEGO Star Wars 3 The Clone Wars: General Grievous p. 9 Free play
- LEGO Star Wars 3 The Clone Wars: General Grievous p. 10 Free play
- LEGO Star Wars 3 The Clone Wars: Asajj Ventress p. 1 Free play
- LEGO Star Wars 3 The Clone Wars: Asajj Ventress p. 2 Free play
- LEGO Star Wars 3 The Clone Wars: Asajj Ventress p. 3 Free play
- LEGO Star Wars 3 The Clone Wars: Asajj Ventress p. 4 Free play
- LEGO Star Wars 3 The Clone Wars: Asajj Ventress p. 5 Free play
- LEGO Star Wars 3 The Clone Wars: Asajj Ventress p. 6 Free play
- LEGO Star Wars 3 The Clone Wars: Asajj Ventress p. 7 Free play
- LEGO Star Wars 3 The Clone Wars: Epilogue Free play
- LEGO Star Wars 3 The Clone Wars: Separatist missions p. 1 Free play
- LEGO Star Wars 3 The Clone Wars: Separatist missions p. 2 Free play
- LEGO Star Wars 3 The Clone Wars: Separatist missions p. 3 Free play
- LEGO Star Wars 3 The Clone Wars: Separatist missions p. 4 Free play
- LEGO Star Wars 3 The Clone Wars: Free play
- LEGO Star Wars 3 The Clone Wars: Game Guide
You are not permitted to copy any image, text or info from this page. This site is not associated with and/or endorsed by the developers and the publishers. All logos and images are copyrighted by their respective owners.
Copyright © 2000 - 2025 Webedia Polska SA for gamepressure.com, unofficial game guides, walkthroughs, secrets, game tips, maps & strategies for top games.
