LEGO Star Wars 3 The Clone Wars: General Grievous p. 2 Free play
 #5_1
|  #5_2
|
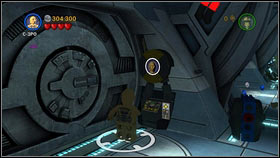
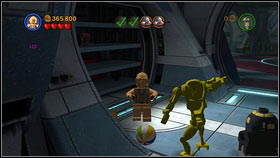
To destroy the next minikit, find a panel for robots like C-3PO in each corridor connecting round rooms #5_1. Use it for a door to appear and beach balls to fall out #5_2. The first and second corridor will have two such balls and the third a single. Destroy all five for a minikit to appear.
 #6_1
|  #6_2
|
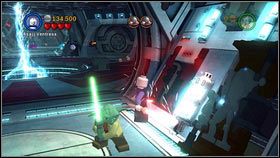
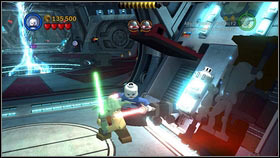
Your next task will be to smash 5 little black robots hidden in various parts of the location. The first is inside the stash on the right side, just before the entrance to the first round room #6_1. Use Sith Force to open it and the droid will jump out #6_2. Kill it quickly and move on.
 #6_3
|  #6_4
|
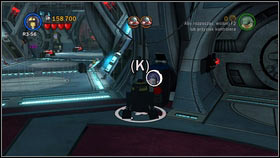
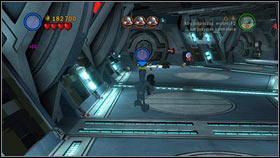
The next robot is driving through the corridor between the first and second room #6_3. The third is doing the same, just between the second and third #6_4.
 #6_5
|  #6_6
|
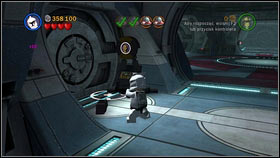
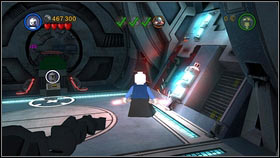
The fourth is inside the third room. Usually he hides on the right side of the location #6_5. The last robot can be found after unlocking the two side corridors. Head into the one on the left and find the stashes in the right wall #6_6. Use Sith Force to open it and destroy the robot. As it explodes, you will receive the sixth minikit.
 #7_1
|  #7_2
|
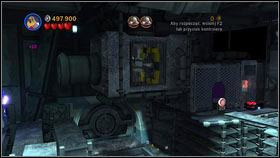
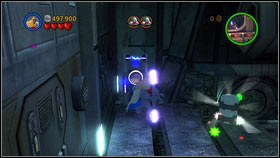
After fighting General Grievous, jump up as R2-D2 and fly to the other side of the room #7_1. You will find a panel there, which can be used by characters like Robonino #7_2. Use it and the minikit will come to you itself.
 #8_1
|  #8_2
|
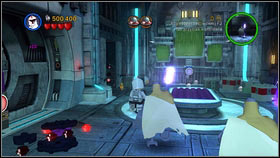
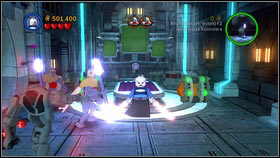
Collect it and change to the second team. Burn through the iron door and you will reach a room with a purple plate #8_1. A bit further on the left there's a stash, which can be opened with Sith Force. Do it for two barrels to appear #8_2.
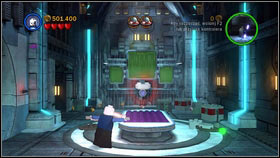 #8_3
| 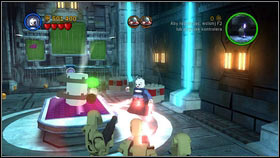 #8_4
|
Destroy them both. That way you will unveil four parts of a minikit #8_3. Place them on the purple plate in the proper order #8_4 and pick up the treasure. Starting from the bottom: the white average-sized brick, the grey with a lever and the biggest white. After that another grey one and the smallest white.
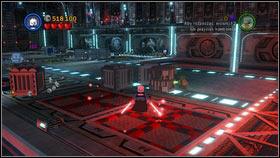 #9_1
| 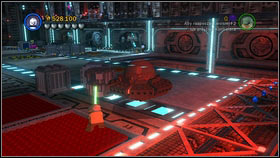 #9_2
|
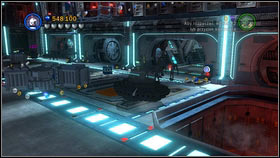
In the lower right corner of the hangar you will find two locked holes in the floor on which you have to use the Sith Force #9_1. Once you do that, parts to build an UFO will appear #9_2.
 #9_3
|  #9_4
|
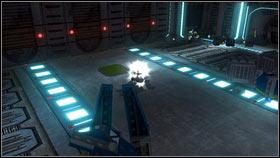
Jump into the vehicle and drive it through all the orange plates in the floor #9_3. The minikit will appear in the west part of the room #9_4.
 #10_1
|  #10_2
|
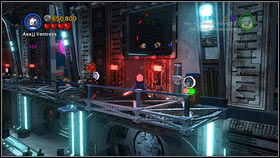
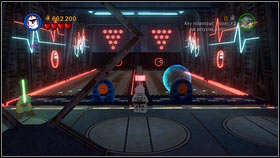
The last can be found in the hangar as well. With R2-D2 on the balcony, switch to a Jedi and jump into the demolished vent shaft #10_1. On the other side you will find a small bowling alley #10_2. Pull the levers there and afterwards use the grappling hook on the balls on the sides. You have use them to knock down all the pins. If you don't make it the first time, push the ball and try again. Pick up the last minikit once you're done.
- LEGO Star Wars III: The Clone Wars Game Guide
- LEGO Star Wars 3 The Clone Wars: Game Guide
- LEGO Star Wars 3 The Clone Wars: Free play
- LEGO Star Wars 3 The Clone Wars: Prologue Free play
- LEGO Star Wars 3 The Clone Wars: Count Dooku p. 1 Free play
- LEGO Star Wars 3 The Clone Wars: Count Dooku p. 2 Free play
- LEGO Star Wars 3 The Clone Wars: Count Dooku p. 3 Free play
- LEGO Star Wars 3 The Clone Wars: Count Dooku p. 4 Free play
- LEGO Star Wars 3 The Clone Wars: Count Dooku p. 5 Free play
- LEGO Star Wars 3 The Clone Wars: Count Dooku p. 6 Free play
- LEGO Star Wars 3 The Clone Wars: Count Dooku p. 7 Free play
- LEGO Star Wars 3 The Clone Wars: General Grievous p. 1 Free play
- LEGO Star Wars 3 The Clone Wars: General Grievous p. 2 Free play
- LEGO Star Wars 3 The Clone Wars: General Grievous p. 3 Free play
- LEGO Star Wars 3 The Clone Wars: General Grievous p. 4 Free play
- LEGO Star Wars 3 The Clone Wars: General Grievous p. 5 Free play
- LEGO Star Wars 3 The Clone Wars: General Grievous p. 6 Free play
- LEGO Star Wars 3 The Clone Wars: General Grievous p. 7 Free play
- LEGO Star Wars 3 The Clone Wars: General Grievous p. 8 Free play
- LEGO Star Wars 3 The Clone Wars: General Grievous p. 9 Free play
- LEGO Star Wars 3 The Clone Wars: General Grievous p. 10 Free play
- LEGO Star Wars 3 The Clone Wars: Asajj Ventress p. 1 Free play
- LEGO Star Wars 3 The Clone Wars: Asajj Ventress p. 2 Free play
- LEGO Star Wars 3 The Clone Wars: Asajj Ventress p. 3 Free play
- LEGO Star Wars 3 The Clone Wars: Asajj Ventress p. 4 Free play
- LEGO Star Wars 3 The Clone Wars: Asajj Ventress p. 5 Free play
- LEGO Star Wars 3 The Clone Wars: Asajj Ventress p. 6 Free play
- LEGO Star Wars 3 The Clone Wars: Asajj Ventress p. 7 Free play
- LEGO Star Wars 3 The Clone Wars: Epilogue Free play
- LEGO Star Wars 3 The Clone Wars: Separatist missions p. 1 Free play
- LEGO Star Wars 3 The Clone Wars: Separatist missions p. 2 Free play
- LEGO Star Wars 3 The Clone Wars: Separatist missions p. 3 Free play
- LEGO Star Wars 3 The Clone Wars: Separatist missions p. 4 Free play
- LEGO Star Wars 3 The Clone Wars: Free play
- LEGO Star Wars 3 The Clone Wars: Game Guide
You are not permitted to copy any image, text or info from this page. This site is not associated with and/or endorsed by the developers and the publishers. All logos and images are copyrighted by their respective owners.
Copyright © 2000 - 2025 Webedia Polska SA for gamepressure.com, unofficial game guides, walkthroughs, secrets, game tips, maps & strategies for top games.
