LEGO Star Wars 3 The Clone Wars: General Grievous p. 7 Free play
 #8_1
|  #8_2
|
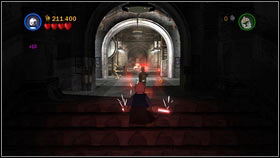
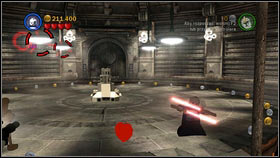
You will get the next one for hitting 10 lamps with the Light Saber. First two can be found in the corridor behind the second lava pit #8_1. A bit further there's a big room, where a short cutscene plays during the story mode. Four more lamps can be found there #8_2.
 #8_3
|  #8_4
|
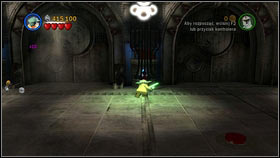
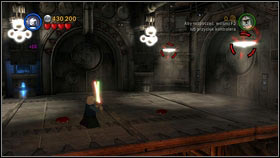
Once you destroy them, move on until you find buttons in the ground #8_3. To the right and left of them there are two lamps #8_4. Hit them with the Saber and the minikit will appear.
 #9_1
|  #9_2
|
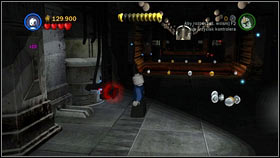
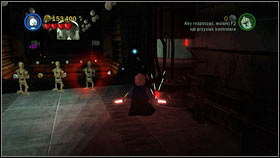
You will get the second to last by using Sith Force on ten red tubes and destroying them. After entering the building, turn to the north. The first item can be found right behind the first turn, on the left side #9_1. The second is behind the lava pit, this time on the right side #9_2.
 #9_3
|  #9_4
|
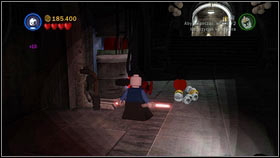
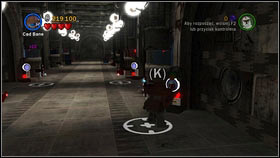
The third is behind the second lava pit, sticking out of the left wall #9_3. Destroy it and keep going forward until you reach a corridor where the fourth minikit was hidden #9_4.
 #9_5
|  #9_6
|
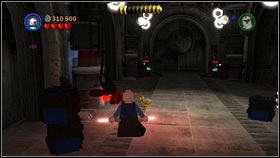
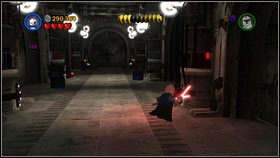
You will find four further tubes there. Two on the left #9_5 and two on the right side #9_6.
 #9_7
|  #9_8
|
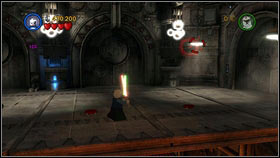
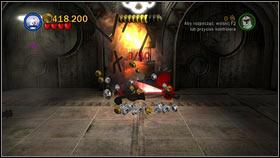
Inside the room with buttons on the ground #9_7, approach the northern wall. The next tube is there #9_8.
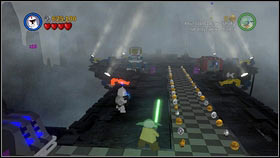 #9_9
| 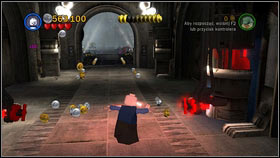 #9_10 |
Two last ones are sticking out of the wall of the corridor leading to the landing pad #9_9. They're attached opposite to each other #9_10.
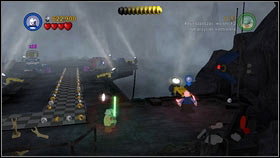 #10_1
| 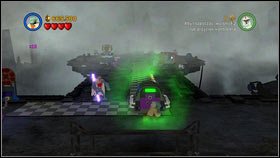 #10_2
|
For the last minikit, head to the landing pad mentioned before #10_1 and push the generator found there to the other side of the chessboard #10_2.
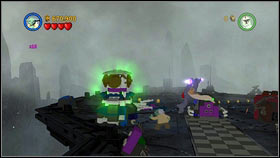 #10_3
| 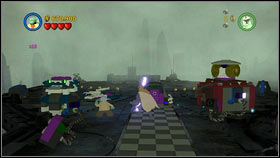 #10_4
|
Once you're done, use the Force to move the piece of the probe on the left #10_3 onto the cube on the right #10_4.
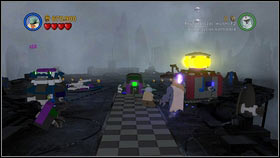 #10_5
| 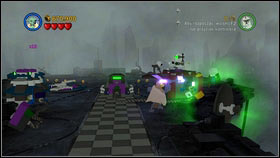 #10_6
|
Now you just need to connect the purple plug on the right to generator #10_5 and the last minikit will appear #10_6.
- LEGO Star Wars III: The Clone Wars Game Guide
- LEGO Star Wars 3 The Clone Wars: Game Guide
- LEGO Star Wars 3 The Clone Wars: Free play
- LEGO Star Wars 3 The Clone Wars: Prologue Free play
- LEGO Star Wars 3 The Clone Wars: Count Dooku p. 1 Free play
- LEGO Star Wars 3 The Clone Wars: Count Dooku p. 2 Free play
- LEGO Star Wars 3 The Clone Wars: Count Dooku p. 3 Free play
- LEGO Star Wars 3 The Clone Wars: Count Dooku p. 4 Free play
- LEGO Star Wars 3 The Clone Wars: Count Dooku p. 5 Free play
- LEGO Star Wars 3 The Clone Wars: Count Dooku p. 6 Free play
- LEGO Star Wars 3 The Clone Wars: Count Dooku p. 7 Free play
- LEGO Star Wars 3 The Clone Wars: General Grievous p. 1 Free play
- LEGO Star Wars 3 The Clone Wars: General Grievous p. 2 Free play
- LEGO Star Wars 3 The Clone Wars: General Grievous p. 3 Free play
- LEGO Star Wars 3 The Clone Wars: General Grievous p. 4 Free play
- LEGO Star Wars 3 The Clone Wars: General Grievous p. 5 Free play
- LEGO Star Wars 3 The Clone Wars: General Grievous p. 6 Free play
- LEGO Star Wars 3 The Clone Wars: General Grievous p. 7 Free play
- LEGO Star Wars 3 The Clone Wars: General Grievous p. 8 Free play
- LEGO Star Wars 3 The Clone Wars: General Grievous p. 9 Free play
- LEGO Star Wars 3 The Clone Wars: General Grievous p. 10 Free play
- LEGO Star Wars 3 The Clone Wars: Asajj Ventress p. 1 Free play
- LEGO Star Wars 3 The Clone Wars: Asajj Ventress p. 2 Free play
- LEGO Star Wars 3 The Clone Wars: Asajj Ventress p. 3 Free play
- LEGO Star Wars 3 The Clone Wars: Asajj Ventress p. 4 Free play
- LEGO Star Wars 3 The Clone Wars: Asajj Ventress p. 5 Free play
- LEGO Star Wars 3 The Clone Wars: Asajj Ventress p. 6 Free play
- LEGO Star Wars 3 The Clone Wars: Asajj Ventress p. 7 Free play
- LEGO Star Wars 3 The Clone Wars: Epilogue Free play
- LEGO Star Wars 3 The Clone Wars: Separatist missions p. 1 Free play
- LEGO Star Wars 3 The Clone Wars: Separatist missions p. 2 Free play
- LEGO Star Wars 3 The Clone Wars: Separatist missions p. 3 Free play
- LEGO Star Wars 3 The Clone Wars: Separatist missions p. 4 Free play
- LEGO Star Wars 3 The Clone Wars: Free play
- LEGO Star Wars 3 The Clone Wars: Game Guide
You are not permitted to copy any image, text or info from this page. This site is not associated with and/or endorsed by the developers and the publishers. All logos and images are copyrighted by their respective owners.
Copyright © 2000 - 2025 Webedia Polska SA for gamepressure.com, unofficial game guides, walkthroughs, secrets, game tips, maps & strategies for top games.
