Fallout 76 Wastelanders: Hunter for Hire walkthrough
Last update:
This page of the Fallout 76 Wastelanders guide contains a guide for the Hunter for Hire quest. This is the second quest of the expansion - you receive it automatically after completing the previous one, Wayward Souls. Read our guide to learn how to build a sign and how to deal with Roper, the gang's leader.
- Start the quest
- Craft the Crane Treasure Hunting, Inc. sign
- Go to Relay Tower EM-B1-27
- Return to your camp
- Talk to the Duchess and Mort
- Go to the gang leader
- Finishing the quest
Start the quest
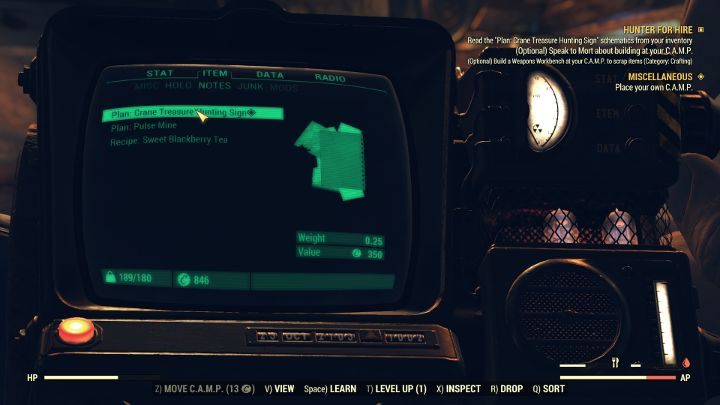
The Hunter for Hire quest begins immediately after the Wayward Souls. During the conversation with Duchess, you will receive a blueprint for Crane Treasure Inc. sign. Open the inventory, read it, and then head to a place where you can build a camp.
HOW TO USE THE CAMP SYSTEM?
The process of building a camp is explained in detail on another page of our guide - "CAMP - building a base".
Craft the Crane Treasure Hunting, Inc. sign
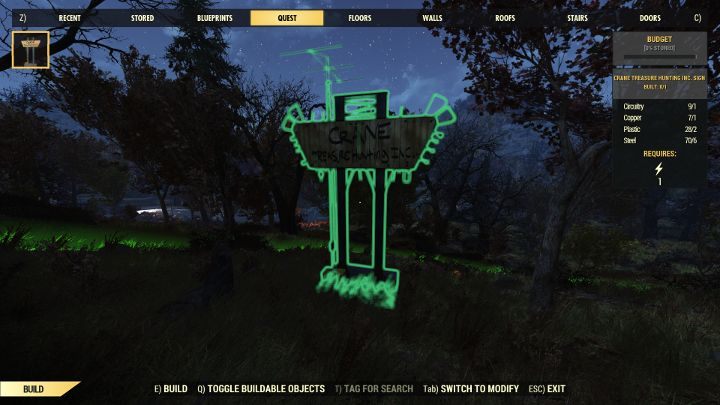
Find a suitable location and start crafting the Crane Treasure Hunting, Inc. sign. The object can be found in the tab with quest objects. Once the sign is built, you will receive a new objective.
Go to Relay Tower EM-B1-27
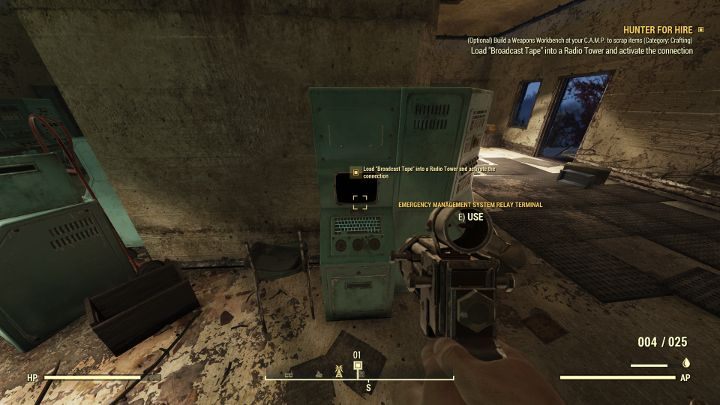
Your next destination is the location called Relay Tower EM-B1-27. It is located near Wayward - it will be marked on your map. When you reach the destination, go inside the building and use the terminal. Insert the received tape and then activate the connection.
Return to your camp
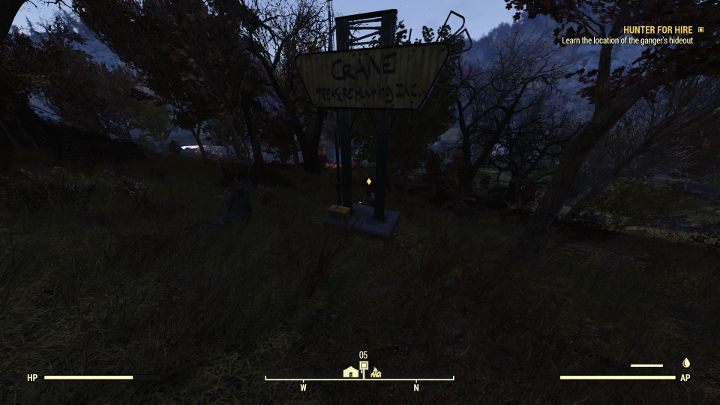
Now go back to your camp (you can teleport to it for free) and observe the sign you built earlier. After a while, a character will approach it - talk to her and ask about the location of the treasure.
Talk to the Duchess and Mort
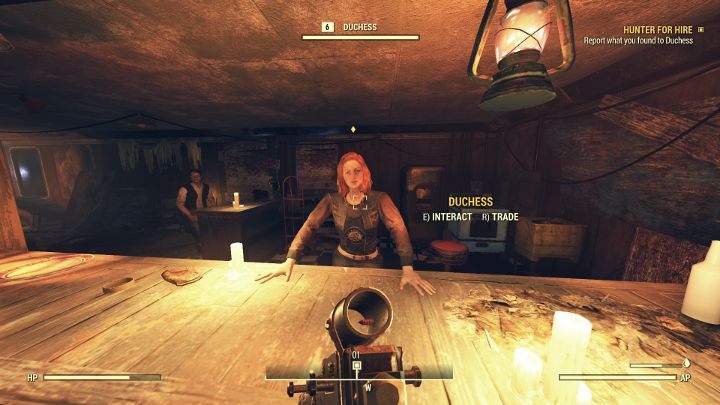
Head back to Wayward, the place where the Duchess and Mort are staying. Talk to both characters - you will receive new information and be directed to the next location in Fallout 76 Wastelanders.
Go to the gang leader
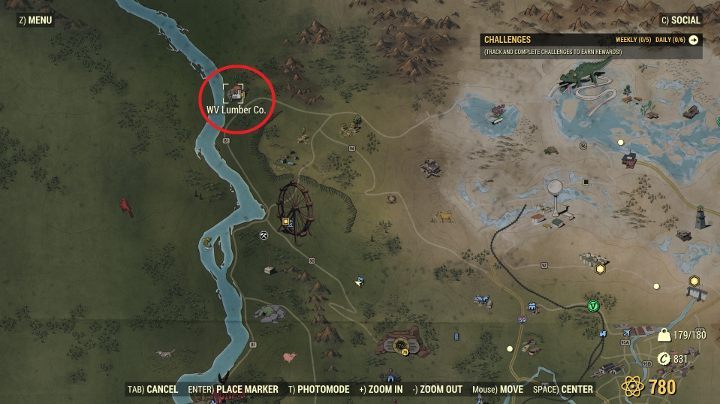
Before you head to the gang leader, you can visit two optional locations along the way and talk to the characters to get more information about the Wastelanders plot. These locations are Tyler County Fairgrounds and Anchor Farm.
The final objective of this quest is to go to Roper, the leader of the gang at the WV Lumber Co. It is a remote location north of Vault 76 - the exact location is shown in the picture above.
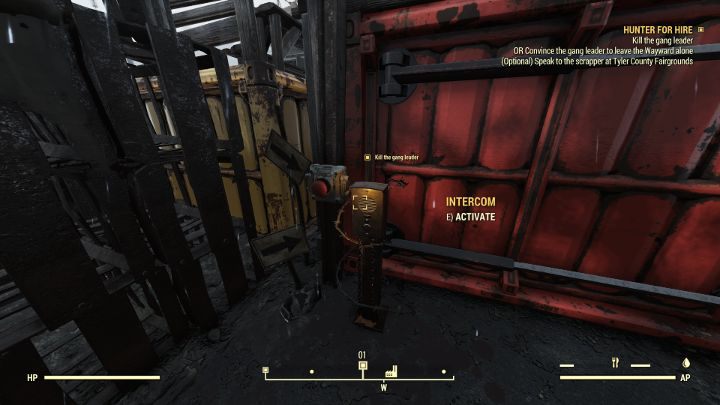
You will see a sizable bandit headquarters. You can get close to the gate without fear - the guard won't attack you. Use the intercom and choose Blue Danube password to get inside. Now follow the mission indicator - enter the building and descend to the lower part of the room. There you will meet Roper - you can end the meeting in two ways:
Kill the gang leader
You can attack the bandit leader right away. Remember, there are other bandits in the building. This option will give you better weapons than the standard guns found along the way, plenty of ammunition, and a few Stimpaks - if you've just started Fallout 76 Wastelanders, you'd better choose the peaceful solution.
Talk to the gang leader
You can solve the situation without bloodshed by talking to Roper. You can end the quest in three ways with dialogue alone:
- Use the intimidation option - you need Strength 8+ attribute.
- Convince the leader that you are Crane - you need Charisma +8 attribute.
- Offer to join the gang. You must prove your worth by using dialog options that require Agility 4+, Strength 4+ or Intelligence 4+.
Finishing the quest
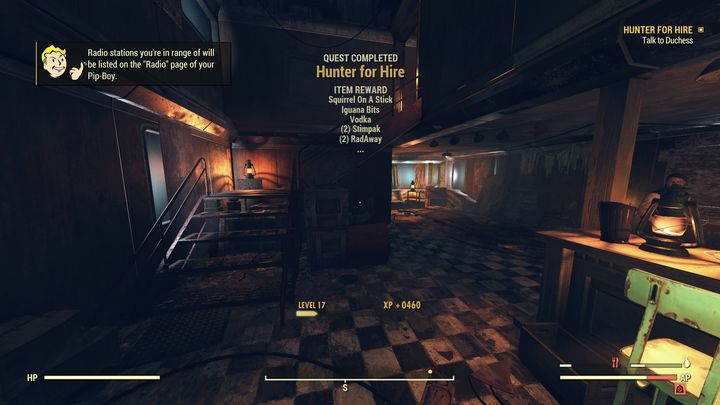
Regardless of how you ended the meeting with the bandit leader, go back to the Duchess. This will complete Hunter for Hire quest in Fallout 76 Wastelanders. As a reward, you will receive medicines, alcohol, food, and almost 500 experience points. You will also start the next quest - Strength in Numbers.
You are not permitted to copy any image, text or info from this page. This site is not associated with and/or endorsed by the Bethesda Softworks or Bethesda Softworks. All logos and images are copyrighted by their respective owners.
Copyright © 2000 - 2025 Webedia Polska SA for gamepressure.com, unofficial game guides, walkthroughs, secrets, game tips, maps & strategies for top games.
