First Contact - Fallout 76 Walkthrough
Last update:
This page contains walkthrough for the second main quest in Fallout 76. First Contact starts automatically after your character leaves Vault 76 - this happens after Reclamation Day main quest. Your new objective is to find the Overseer's camp.
Path to the camp
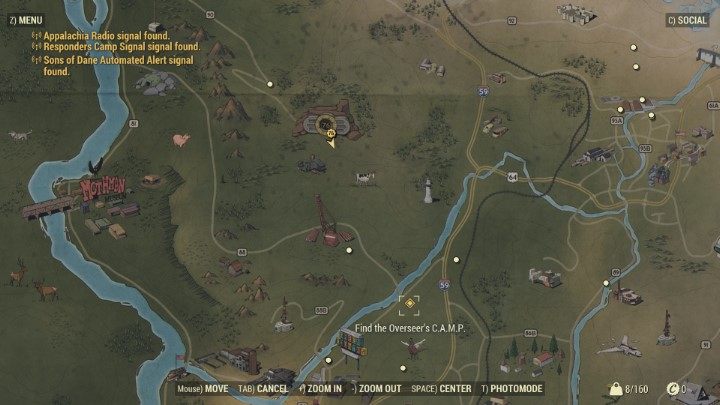
This quest is simple - go to the place marked on the map. However, you should think about having a few stops, and collect items that will make your first few hours with the game easier.
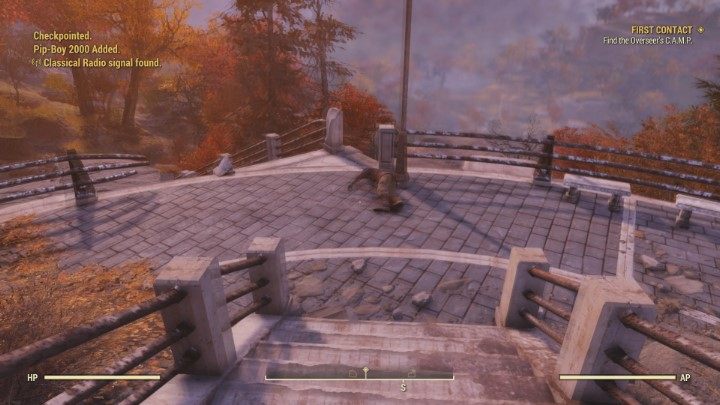
Go left of the Vault 76's exit, and go down the stairs. Stop near the corpse and pick up a machete - this is a great starting weapon. Equip it immediately - your character will soon be attacked by aggressive robots. Then, follow the path that goes near the hill.
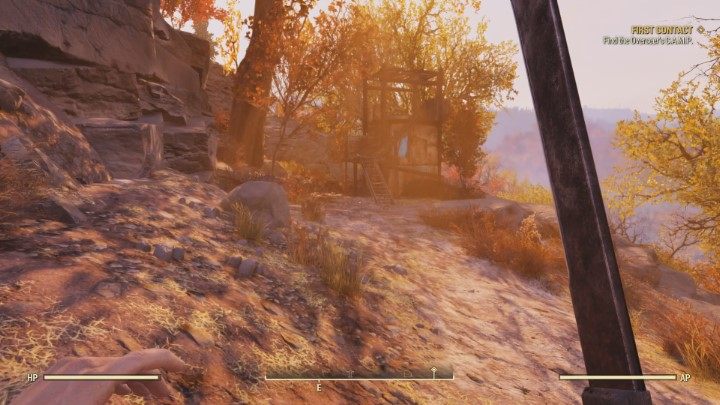
On your way, you will come across a wooden building. Examine it - although you won't find anything valuable, you will still get a few medicaments and bottles of alcohol. Once you are done, leave the building and follow the path. Soon, you will reach the main road.
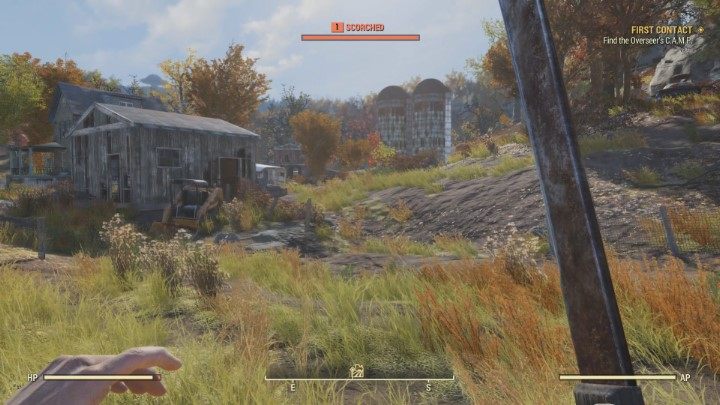
A destroyed sawmill is near the main road. Examine this place. Here, you will come across multiple Scorched. The machete you have recently acquired should be enough to defeat them. Loot their corpses - you will find pistols and ammo. These will be your first firearms. Don't forget to examine the sawmill - you will find Stimpacks and a lot of junk useful in crafting.
Overseer's C.A.M.P.
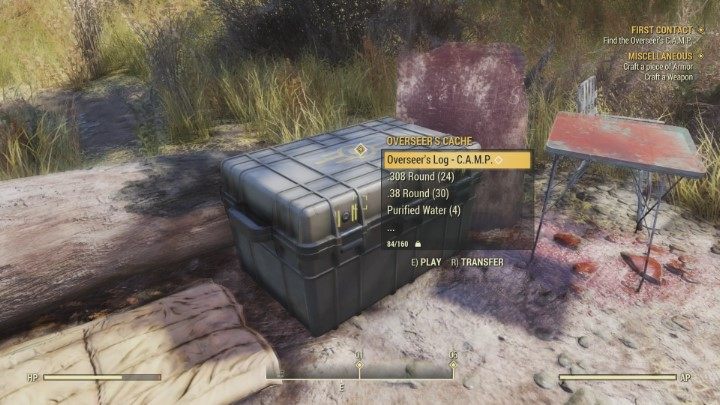
Head to the Overseer's camp. Go back on the main road and cross the river. Check the Overseer's Cache - inside, you will find Overseer's Log - C.A.M.P., ammo, purified water and crafting materials. Two workbenches are nearby - one is for armor, the second is for weapons. You can use them to craft armor and weapons - this will allow you to complete two side quests.
Flatwoods
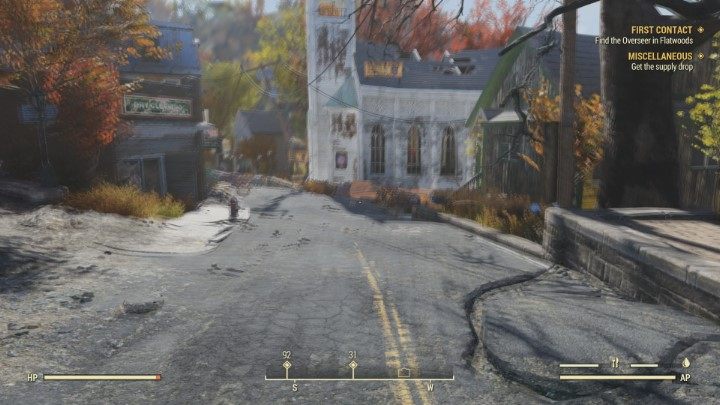
You now have to go to Flatwoods - this small town is nearby. Leave the Overseer's camp and go back on the main road. Head right - you will quickly reach the town. Find a white church - the building is near the exit from the town. It stands right next to the main road.
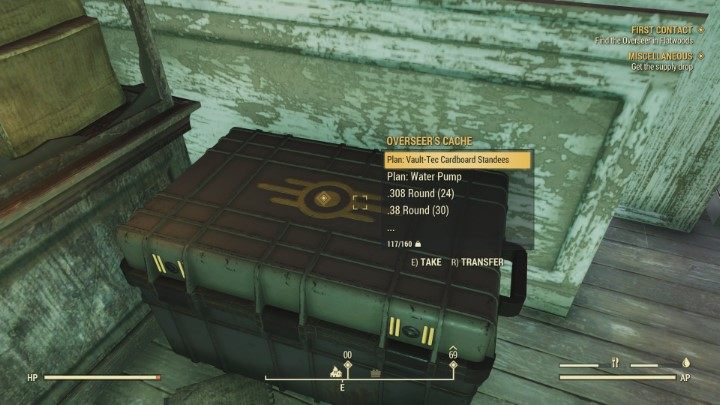
Enter the church and go left. Another Overseer's Cache is standing near the wall. Inside, you will find the next holotape and a few other items. Take everything from the cache.
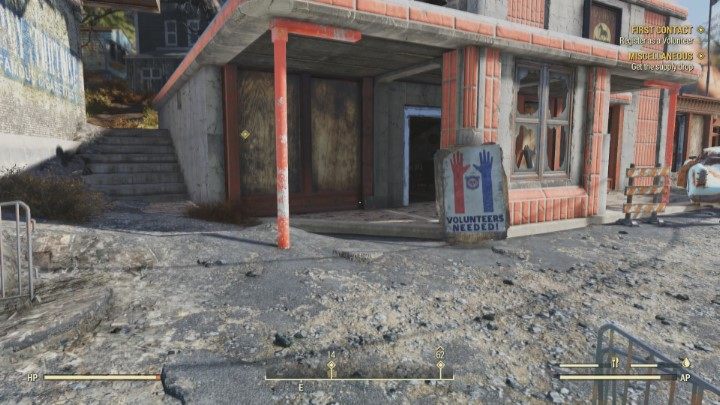
Leave the church (search it before you go - you can find a few useful items). Go to the opposite building. Use the computer and choose the option to volunteer. This completes First Contact quest and starts the next one called Thirst Things First.
You are not permitted to copy any image, text or info from this page. This site is not associated with and/or endorsed by the Bethesda Softworks or Bethesda Softworks. All logos and images are copyrighted by their respective owners.
Copyright © 2000 - 2025 Webedia Polska SA for gamepressure.com, unofficial game guides, walkthroughs, secrets, game tips, maps & strategies for top games.
