Dungeons and Dragons Dragonshard: Chapter 5 An Unexpected Threat
Main Quests:
#1 - Claim the Third Seal of Light
#1a - Defeat Woven and his Army
#1b - Defeat the Illithid Army
Side Quests:
#1 - Ressurect the Fallen Phoenix
#1a - Use the Torch of Honor
#1b - Use the Torch of Justice
#1c - Use the Torch of Righteous
#2 - Aid the Redbloods
#2 - Aid the Greenbloods
#3 - Save the Tortured Spirit
#4 - Gain Access to the Warden's Treasury
#4a - Find the Left Half of the Warden's Key
#4b - Find the Right Half of the Warden's Key
#4c - Return to the Warden's Treasury
#5 - Defeat Taen'cradus
#6 - Bonus - Horde Robber
#7 - Destroy the Elder Brain
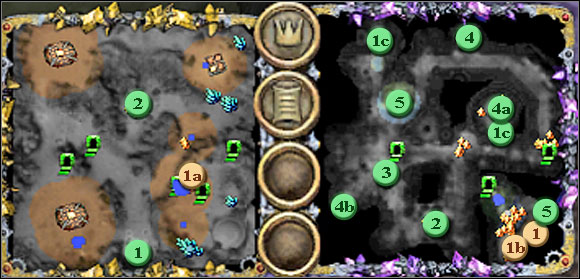
Intro of this chapter says everything - Lizards wanting hide from us last Seal of Light, dumped it to undergrounds. We have to go down to lost City of Qalatesh facing new threat - Umbragen and horrifying creatures, Mind Flayers.
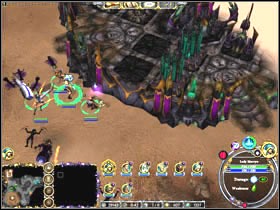
This chapter is more demanding than previous, so you need more leadership talents and the strategist's vein. The Umbragen base is located to the north of our base and Lizards have their post on the north-east. I advise initially not to take care of them since they are quite well guarded and fortified, however both nations don't like each other and they lead fights with themselves. So we are able to wait to their mutual bleeding oneself and to attack enemies weakened this way. I also not recommend to leave the base alone since the Umbragen have the ugly practice attacking at the not very suitable moment. So we move after Seal of Light.
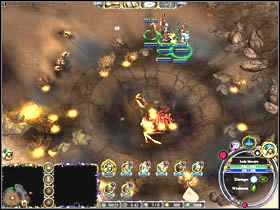
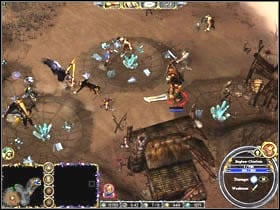
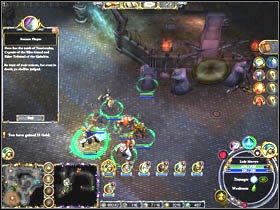
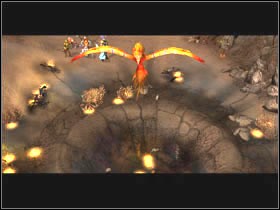
We encounter the huge crater on southern east from our camp with remainders of the phoenix. We are able after the short fight to talk with Elderly Wizard who tells us about the possibility of reviving this legendary #1 beast. We have to find 3 torches in undergrounds. We move to the canyon on the north-east. We defeat Bugbears forces capturing some gold and the access to the another shard deposits and we make for westward where after a while the village of insectlike Redbloods appears. Here is small tip - we will meet Redbloods and Greenbloods (underground) in this mission who fight each other. Execution of the task for one of them automatically makes us the enemy to other. Additionally the task given from Greenbloods is tied with killing Beholder (look further) and it will make in turn us not obtain one of gratuities for the end of the mission. Returning to the game, Redbloods call us for help in destruction of Umbragen #2 village - it is personal vengeance, since their leader, Satros, killed the leader of the tribe. I not advise the attack at this moment (unless you got a really strong army) and I invite to go into the world of undergrounds - the entrance is located in the near distance from our base (in the northern direction).
 |  |
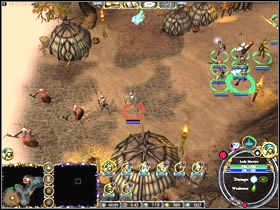
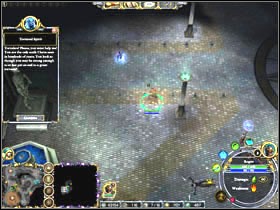
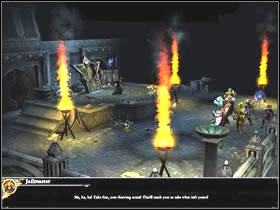
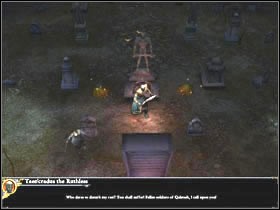
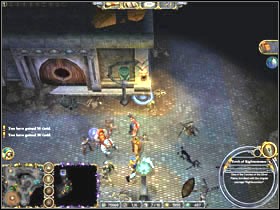
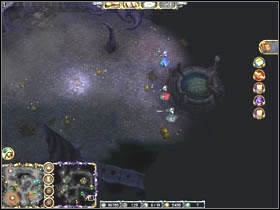
Once after leaving down we encounter Tortured Spirit, tortured from years by Jailmaster. The spirit asks us for killing his oppressor and restoring calm. Jailmaster is located in the chamber westward from our current position - the short fight finishes his #3 life. As a reward we are given the way to enter the chamber with the equipment located on the east (the door will open automatically when we approach to them). We find the cemetery to the north of the passage. The short glance at the message tells us that there is rest place of Taen'cradus, captain of the elitist Quabalrin guard. Blow in the gong calls him to the vivid world, unfortunately with his servants. After defeating #5 them we are able to collect gold and objects being located on the cemetery.
 |  |
 |  |
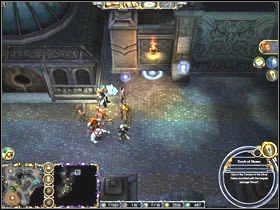
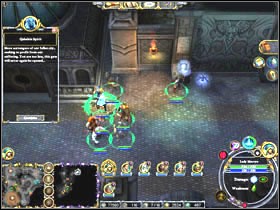
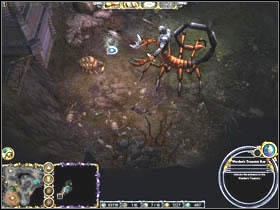
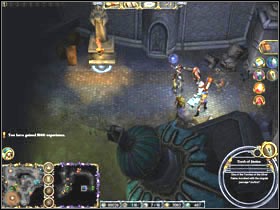
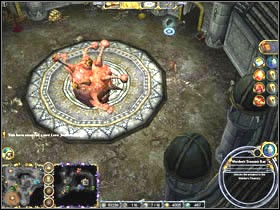
We move further to the north and after struggling through a few enemies' units we find one of #1c torches. With corridor leading on the east we reach the mysterious, blocked door, with the next #1a torch is burning at. It turns out that the door bares the way to the Warden's #4 vault. In order to get to vault, it is necessary to collect two halves of the key - unfortunately, every of them is located in the powerful enemy's hands. The scorpion possesses first one, other rests in Beholder's lair. We will find the scorpion in south western corner of the map - he defends the right half of #4b and the Beholder Lord possessing the left half is located in the arena more or less in the center of the #4a map (tip: there is the trap in the entry). We will also find the last torch necessary to revive the #1b phoenix there. However we have to remember that if we want to get gratuity after the chapter it isn't allowed to kill none of #6 monsters. Having completed both halves of the key, we return to the vault and we collect #4 objects found there.
 |  |
 |  |
 |  |
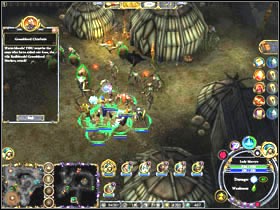
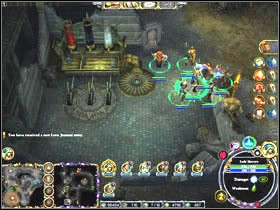
We will find Greenbloods #2 on the south who will attack us (if we have accomplished a task for Redbloods already) or will offer execution task for them. In the westward chamber we'll find the ancient laboratory. In Lore Journal we can see recipes for elixirs which we may execute using the laboratory. It will be sufficient to blend components in the suitable order and pulling levers. In the order from left there are Elven Blood, Blackseed Extract and Ashroot Mulch. (With creating elixirs gratuity is being bound after the end of the chapter, unfortunately despite many attempts i couldn't execute it positive. First pulling of any lever was showing up a text about "for breaking down" of elixir. Then I was managing to do 3 elixirs and the machine was going bad).
 |  |
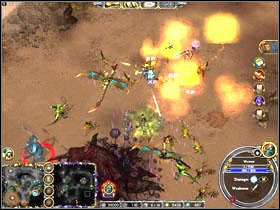
Now we ca revive the #1 phoenix. If we haven't done it earlier we are able to check whether Umbragen already weakened and to attack their town, executing the task charged by Redbloods. This is the last phase of searching Seal of Light. I recommend to strengthen forces - Lizards army is leaded by Woven, their Champion. Suitably prepared we output the attack on Lizards #1a positions. After defeating them we are able to clear teleport and leave again under earth. The other enemy's army, Illithid lurk there, #7 strengthened by Elder Brain holding power above Khyber. We take up fights against Mind Flyers (Illusionist is also being found here, of whom killing without destruction of none of his illusory forms should give the extra gratuity - unfortunately, this task was also left in spite of a few attempts not-executed - probably error of the application). After knocking all enemies out we move for last Seal of Light #1. When we reach it however it turns out, Satros takes it away from us and we have to look for the last seal again.
 |  |
 |  |
- Dungeons & Dragons: Dragonshard Game Guide
- Dungeons and Dragons Dragonshard: Game Guide
- Dungeons and Dragons Dragonshard: Order of the Flame
- Dungeons and Dragons Dragonshard: Order of the Flame Buildings
- Dungeons and Dragons Dragonshard: Order of the Flame Army
- Dungeons and Dragons Dragonshard: Chapter 1 Entering the Ring
- Dungeons and Dragons Dragonshard: Chapter 2 The Forgotten City
- Dungeons and Dragons Dragonshard: Chapter 3 Hostile Natives
- Dungeons and Dragons Dragonshard: Chapter 4 Citadel of Scales
- Dungeons and Dragons Dragonshard: Chapter 5 An Unexpected Threat
- Dungeons and Dragons Dragonshard: Chapter 6 Redemption
- Dungeons and Dragons Dragonshard: Chapter 7 Claiming the Heart of Siberys
- Dungeons and Dragons Dragonshard: Order of the Flame
- Dungeons and Dragons Dragonshard: Game Guide
You are not permitted to copy any image, text or info from this page. This site is not associated with and/or endorsed by the developers and the publishers. All logos and images are copyrighted by their respective owners.
Copyright © 2000 - 2025 Webedia Polska SA for gamepressure.com, unofficial game guides, walkthroughs, secrets, game tips, maps & strategies for top games.
