Dungeons and Dragons Dragonshard: Chapter 4 Citadel of Scales
Main Quests:
#1 - Acquire the Seal of Light
#1a - Find the Hidden Passage
#1b - Destroy the Lizard Citadel
#1c - Complete the Trials of Darroc
Side Quests:
#1 - Repair the City Walls
#2 - Cleanse the Ancient Graveyard
#3 - Plight of the Ancients
#3a - Investigate the Dwarven Shrine
#3b - Destroy the Umbragen
#3c - Illuminate the Dwarven Shrine
#4 - Free the Duergar
#5 - The Fortified River Fort
#6 - Free the Petrified Sorcerers
#7 - Build a new Sorcerer's Tower
#8 - Collect Reagents for the Elderly Wizard
#8a - Fire Toad Tongues
#8b - Bonecrafted Pauldrons
#8c - Duergar Bracers
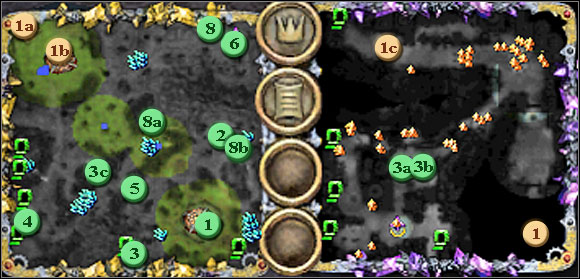
After finding first Seal of Light, Order went in direction where may be located the second one, and then reached swamps. The ruined base there was discovered - scoring the remainder of the previous efforts the Order to gain control over Heart of Siberys. Traces point to the fact that the camp was looted by creatures who imprisoned Lady Marryn - Lizards. It turns out additionally that Lizardmen set up a camp on the north-west in the clear way guarding something - according to maps, this is entrance leading to other Seal of Light.
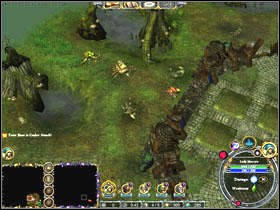
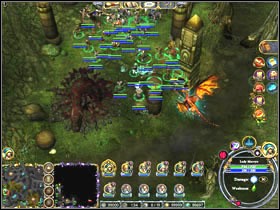
We start the mission in the destroyed base. The first secondary task is to repair #1 walls however if you are able to stop the enemy's attacks I suggest to hold the repair otherwise you will lose the extra gratuity after completing the mission. After amassing the reliable quantity of resources and creation of the small army we proceed to the north where you will find the ancient burial ground. I suggest to watch out of the shard cluster - the golem rises from it, who can quite pretty well mess up with our army. At the burial we receive the task of removing Night Skins from it and to destroy their Burial Grounds #2. Tip: monsters restores themselves as long as we don't destroy the building entirely. After killing them there should remain a Scroll of Stone is Flesh - Mass and 2 Bonecrafted Pauldrons (#8b necessary for execution).
 |  |
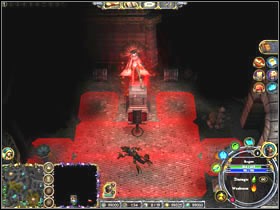
We return to base and the proceed in the westward direction, where we meet mages, calling us for help in examining their #3 ancestors' temple. There is an entrance down to undergrounds nearby mages, which we use to get to Khyber. Being underground we collect gold located there (it's good to have a Rogue in a team, at least on 2nd level of experience). There is a statue of Queen Blood being found to the north of the entrance, but we have to be careful because the room is stuffed with traps. Collecting all treasures amassed there and avoiding traps will be rewarded with the gratuity after the end of the mission. We are moving westward.
 |  |
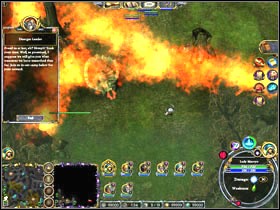
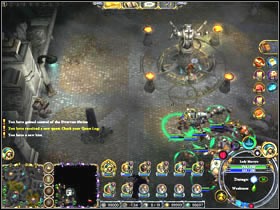
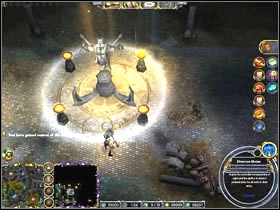
We reach the place where the exit to the surface is being found however it is blocked with some shrubbery. So we collect gold and we go to the north. After a few fights and the disarmament of traps we come across the next exit to the surface, which we use. We are being attacked by the enemy's small unit. After defeating them we proceed to the south where we find the reason of blocking the previous passage with the shrubbery. There is a group of Duergar jailed by Lizards in "beetling" circle who ask us for #4 help. Grateful for freeing them they offer their wealth for us however it has been stolen by Lizards. Greedy Duergars join us. Somewhat strengthened we proceed to the east, towards the temple pointed by mages previously. It turns out that it is come over by Umbragen - we know what to do #3a,#3b. Apart from obtaining the control of Dwarven Shrine (increased range of all units) our army is enriched itself with next allies whom we are able to recruit - Deathless Guardians.
 |  |
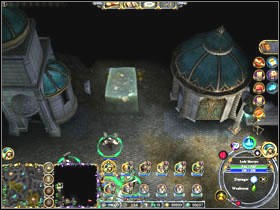
We return to the main corridor and we make for maximum to the north. After a few fights (among other things with gelatinous cube) we reach the next exit to the surface, which we use. Again we are being attacked by the enemy's unit, but after defeating it we are able to destroy roots which infected the teleport visible close by. Thanks to this operation, we have the open way to quick handspring our army to the enemy's backs. We return to mages to report execution of the #3 task.
 |  |
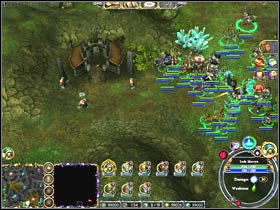
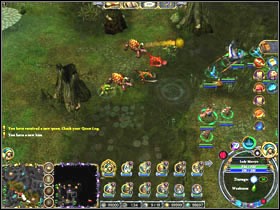
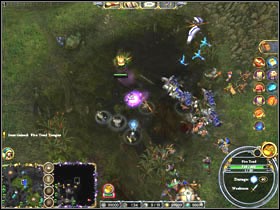
The next moves depend on you - I chose the frontal attack of the enemy. We move in the direction where enemy's attacks on our base has been taken out from (west). We reach the only passage through the river, where Lizards #5 forces fortified themselves. It is abounding in the piranha additionally in the chin so I not recommend to take here units with low health. After short (or longer) fight, the enemy withdraws on positions singled out in advance and in the meantime we are able to destroy the watch-tower blocking the access of the light into the underground #3c temple. Having the calm moment we proceed to the north-east, where we can find a small lake nested by fire toads. We kill them all (5 pieces, they are restoring themselves), after which we continue the march to the direction of the main Lizards's fortress.
 |  |
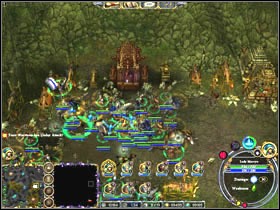
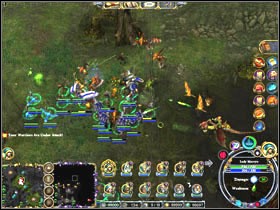
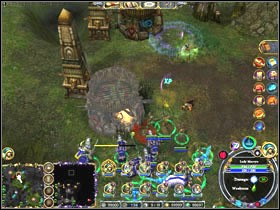
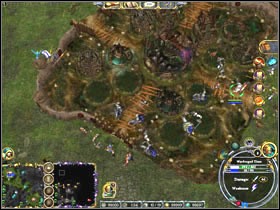
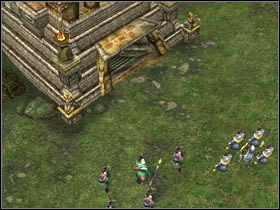
We have to prepare ourselves for really tough fights, since the enemy's units are leaded by the Redfang, their Champion. After defeating the enemy's army we move to destroy his #1b base. I recommend to send Duergars first - I know such a procedure isn't humanitarian, but look at secondary tasks charged by the wizard - it is necessary to bring 4 bracers of Duergars, and we have 4 of them in our army - the quick connection of facts is resulting in one effect - it is necessary to devote them in order to execute the #8c task. The next passage to #1a undergrounds opens up after destruction of the enemy's base.
 |  |
 |  |
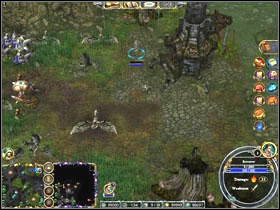
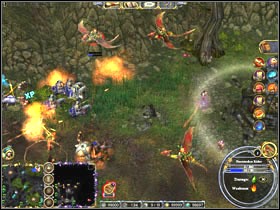
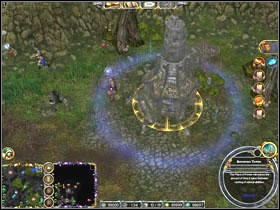
Then we proceed to the east reaching the destroyed tower and the group of the figure turned to the stone. We cast the spell found previously on the Sorcerer #6 statue and... we begin the fight against Pteranadon Raiders. Sorcerer thanks for the help and joins our army however asks us to build Sorcerer's Tower #7. Only the conversation with Elderly Wizard #8 is left for us and giving necessary components to him.
 |  |
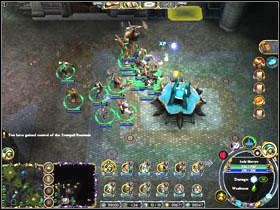
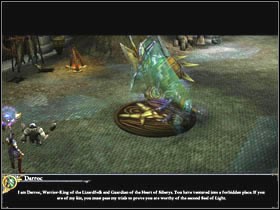
Now with simple, but not necessarily easy way, we move for other Seal of Light. We go down under earth and we move the corridor right ahead. We meet Darroc, the Lizardfolk warrior and guard of Heart of Siberys. In order to prove that we are worth winning the second seal we have to pass his attempts.
 |  |
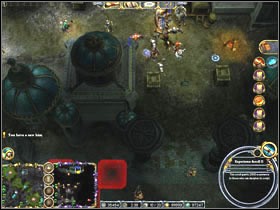
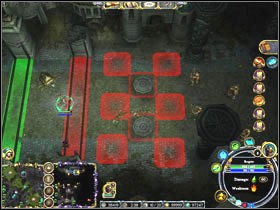
First test waits for us from under the shape of the trap. I suggest not to disarm the trap at once, but go to the passage to the north in front of the trap - we will find Lizards at the end of the corridor who were preparing the surprise for us - crumbling columns. We are able now to get rid of undeads who wait for us - it will be sufficient to pull the lever. Then we have to disarm traps and knock out remaining enemies. First test is done.
 |  |
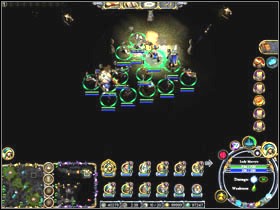
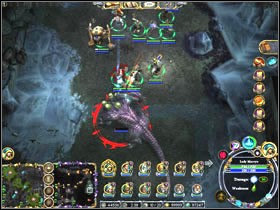
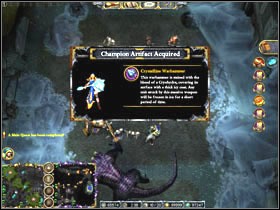
The fight against vampires is our next test - they die from the daylight and such one is located in this chamber so it will be sufficient to move them to the glittering circle and voila. The other test is accomplished. The third and last test is the challenge for true hardcore gamers - I recommend to rest and to prepare the good strategy - we are in to the fight with Cryohydra ("poor" 12,000 life points and hits at about 100, not resistant to fire). After defeating her, our Champion will receive the improved weapon (is freezing the enemy at the strike) and we will get second Seal of Light.
 |  |
 |  |
- Dungeons & Dragons: Dragonshard Game Guide
- Dungeons and Dragons Dragonshard: Game Guide
- Dungeons and Dragons Dragonshard: Order of the Flame
- Dungeons and Dragons Dragonshard: Order of the Flame Buildings
- Dungeons and Dragons Dragonshard: Order of the Flame Army
- Dungeons and Dragons Dragonshard: Chapter 1 Entering the Ring
- Dungeons and Dragons Dragonshard: Chapter 2 The Forgotten City
- Dungeons and Dragons Dragonshard: Chapter 3 Hostile Natives
- Dungeons and Dragons Dragonshard: Chapter 4 Citadel of Scales
- Dungeons and Dragons Dragonshard: Chapter 5 An Unexpected Threat
- Dungeons and Dragons Dragonshard: Chapter 6 Redemption
- Dungeons and Dragons Dragonshard: Chapter 7 Claiming the Heart of Siberys
- Dungeons and Dragons Dragonshard: Order of the Flame
- Dungeons and Dragons Dragonshard: Game Guide
You are not permitted to copy any image, text or info from this page. This site is not associated with and/or endorsed by the developers and the publishers. All logos and images are copyrighted by their respective owners.
Copyright © 2000 - 2025 Webedia Polska SA for gamepressure.com, unofficial game guides, walkthroughs, secrets, game tips, maps & strategies for top games.
