Diablo 3: Tactics on the battlefield Demon Hunter
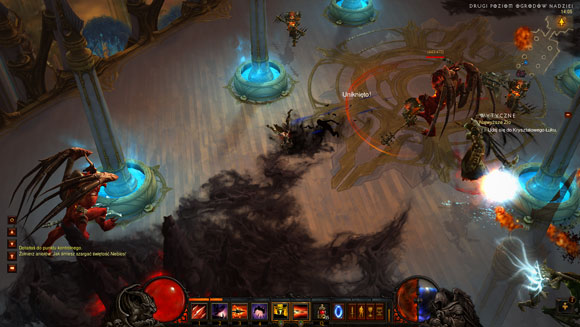
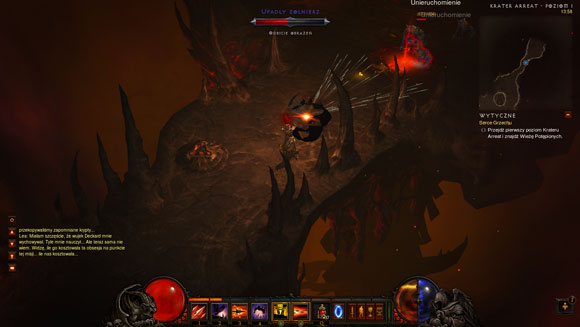
The most important thing about the build recommended by this guide, and this applies to all difficulty levels, is to keep a safe distance from enemy units, especially if Steady Aim passive skill was chosen. This tactic is called kiting and it's about avoiding enemy hits and being on a constant move.
Depending on a type of enemy you've encountered, you may want to start the battle with the Elemental Arrow skill followed by the Rapid Fire skill or move back to create a larger distance between the opponent and the main character. This can be achieved by using Vault / Evasive Fire skills or by leaving the Caltrops behind the Demon Hunter. If an enemy is capable of pulling the main character towards him you should have Smoke Screen / Vault ready to be used. Don't forget to collect health orbs while moving on the battlefield. This should be done even when your Life bar is full, because you can still regenerate Hatred.

Towards the end of the Expert difficulty level I slowly started to abandon the Multishot skill. When I didn't have to fight a group of small enemies I prefer the Fan of Knives + Retaliate (32) combination. This combination is very useful when the Demon Hunter gets surrounded and obviously it happens very often. It also comes in handy when you can't use Smoke Screen or Vault. If you want to follow a different path you may delete the Fan of Knives skill from the list and choose the Preparation + Battle Scars (35) combination, especially when the Caltrops skill was replaced by Smoke Screen (read the next paragraph).
It's worth adding a few lines about modifying this build so that it can respond better to certain types of situations when playing on the Hell difficulty level. If you notice that you're using the Vault too often, then you may consider replacing the Caltrops skill with Smoke Screen. You may also start using the Preparation skill instead of Multishot. Starting at level 35, the Preparation skill offers the Battle Scars rune which regenerates 60 percent of your Life. Once you have this combination the tactics are simple: use the Smoke Screen each time you've found yourself in a dangerous situation and then activate Preparation when the smoke disappears to regain Life and Discipline points. The next step is to activate the shield or jump away, waiting for the Preparation skill or some other ability to recharge. The last phase may be expanded by drinking a health potion. Another tactic for resolving the problem of dying too often is to replace Cull the Weak / Steady Aim with Brooding which regenerates Life outside of combat, but it should be treated only as last resort.

When using this build on the higher difficulty levels it becomes obvious that you must equip your Demon Hunter with items which increase attack speed (almost all quivers among other things), and increase movement speed (boots, amulets etc). I was also collecting items which at the same time increase Dexterity / Vitality, guarantee health regeneration (when striking an enemy and a result of killing enemies) and recharge one of the energy sources. Once you've advanced to the highest difficulty levels it's good to ensure that all parts of the Demon Hunter's gear add bonuses to both attributes mentioned above. Good jewels are also priceless, especially amethysts (more Vitality and Life points), emeralds (more Dexterity and greater chances of scoring critical hits) and rubies (more weapon damage).
All Demon Hunter builds based on slowing down enemy units, including this one, are very good if you're playing with a team. Slowing the opponents will allow your allies to gain valuable seconds needed to eliminate large groups without receiving too much damage. The Multishot may often save Barbarians and Monks from being surrounded by a lot of enemy units.
If during your time spent playing as a Demon Hunter you'll notice that some of the skills I've ignored are suited to your style of play, then don't hesitate to use them. As always, this build is merely an example and thousands more can be created. There's also no such thing as an ideal build. Still, if you'll follow my instructions you shouldn't be disappointed.
You are not permitted to copy any image, text or info from this page. This site is not associated with and/or endorsed by the developers and the publishers. All logos and images are copyrighted by their respective owners.
Copyright © 2000 - 2025 Webedia Polska SA for gamepressure.com, unofficial game guides, walkthroughs, secrets, game tips, maps & strategies for top games.
