Batman Arkham City: Shot in the Dark - p. 2
Examining the substations
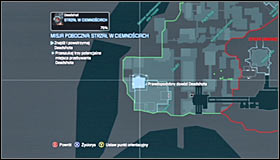 | 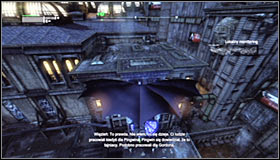 |
Start off by heading to the Museum substation, in the south-west part of Arkham City #1. Land on the Museum's roof #2.
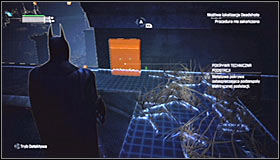 | 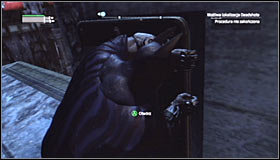 |
Follow the game's suggestion and turn on the Detective Mode. You have to interact with three maintenance hatches found in the area #1, pulling out each of them by rhythmically pressing A #2. By doing so Batman will be able to determine that Deadshot was never here.
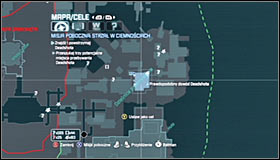 | 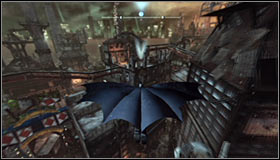 |
Now you can head to the Industrial District substation in the south-east part of Arkham City #1. Your destination is one of the local demolished buildings #2.
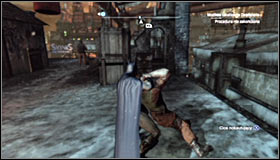 | 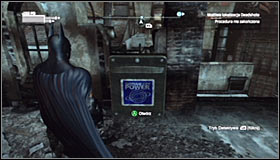 |
Be careful, as the top floor is likely to be patrolled by two guards equipped with firearms. Luckily, if only you stay careful, you will be able to silently eliminate both of them #1. Just like before, you need to search for three maintenance hatches #2 and pull out each of them. Batman won't come across any traces here either.
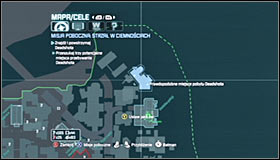 | 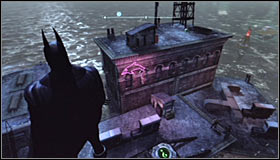 |
Your next objective is reaching the Amusement Mile substation in the north-east corner of Arkham City #1. The building you're looking for is one of those surrounded by water #2.
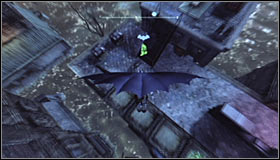 | 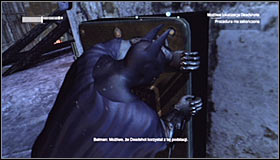 |
Just like with the second substation, you have to take into account that the area is patrolled by armed enemies #1. Surprising all of them might be difficult, but you can always quickly retreat should problems occur. Afterwards start pulling out the hatches #2.
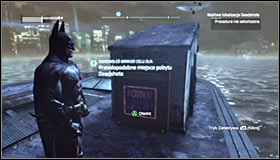 | 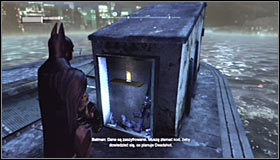 |
Pulling out the fourth one #1 should lead to discovering that this is the substation that Deadshot has been using and finding his equipment inside #2.
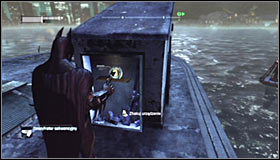 | 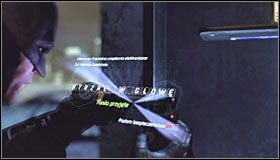 |
In accordance with the received information, prepare the Cryptographic Sequencer and find start hacking into Deadshot's PDA. The password here should be HEADSHOT #2. Batman will be able to determine that Deadshot has three targets left on his list - Batman, Bruce Wayne and Jack Ryder. Rather obviously, you will have to take care of saving the last one.
Saving Jack Ryder
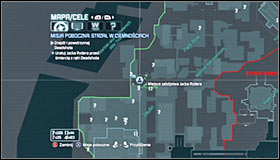 | 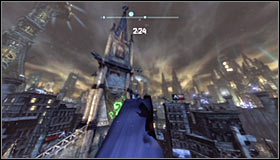 |
Open the map and find the Jack Ryder Assassination Location in the Bowery, in the western part of Arkham City #1. Note that a counter has started, though three minutes is enough time to reach the target. Of course you should use the Grapnel Gun to your advantage #2, maintaining high speed.
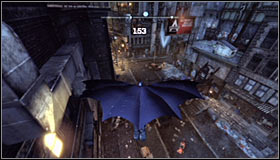 | 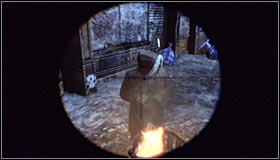 |
Lower the altitude after getting nearby the target #1. A cutscene should start, showing Batman saving Jack Ryder #2.
Arresting Deadshot
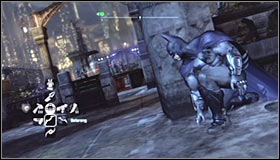 | 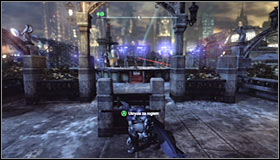 |
The game will automatically move to a new spot #1 and you will be forced to defeat Deadshot. Don't try leaning out, as a single bullet will instantly kill Batman. Don't use any gadgets as well, as you won't need them here. Note however, that Deadshot turns 180 degrees from time to time. Wait until he turns his back on you and quickly move to the next wall #2.
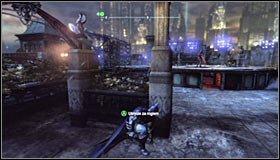 | 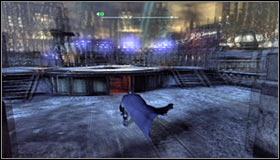 |
Afterwards you will have to repeat the same action, so wait until Deadshot turns around and move to the next cover #1. Eventually enter the crate running underneath the platform on which Deadshot is standing #2.
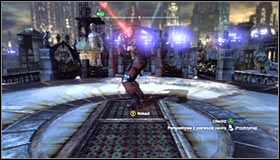 | 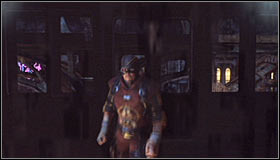 |
Stop directly below Deadshot #1 and press Y to knock out and arrest him #2. It will also end the mission.
- Batman: Arkham City Game Guide
- Batman Arkham City: Game Guide
- Batman Arkham City: Side missions
- Batman Arkham City: Introduction
- Batman Arkham City: Watcher in the Wings
- Batman Arkham City: Fragile Alliance - p. 1
- Batman Arkham City: Fragile Alliance - p. 2
- Batman Arkham City: AR Training
- Batman Arkham City: Shot in the Dark - p. 1
- Batman Arkham City: Shot in the Dark - p. 2
- Batman Arkham City: Identity Theft
- Batman Arkham City: Remote Hideaway
- Batman Arkham City: The Tea Party
- Batman Arkham City: Heart of Ice
- Batman Arkham City: Hot and Cold
- Batman Arkham City: Enigma Conundrum (riddles 1-9)
- Batman Arkham City: Enigma Conundrum (riddles 10-15)
- Batman Arkham City: Enigma Conundrum (riddles 16-17)
- Batman Arkham City: Cold Call Killer
- Batman Arkham City: Acts of Violence
- Batman Arkham City: Side missions
- Batman Arkham City: Game Guide
You are not permitted to copy any image, text or info from this page. This site is not associated with and/or endorsed by the developers and the publishers. All logos and images are copyrighted by their respective owners.
Copyright © 2000 - 2026 Webedia Polska SA for gamepressure.com, unofficial game guides, walkthroughs, secrets, game tips, maps & strategies for top games.
