Batman Arkham City: Batman trophies (09-16) Industrial District
TROPHY 9
Gadgets used: Explosive Gel, Remote Electrical Charge
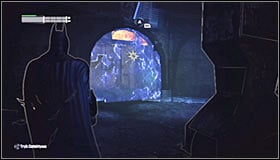 | 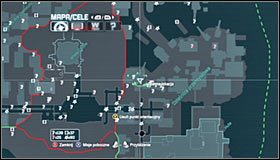 |
Stand east of the Trophy and locate a destructible wall on the lower level #1 #2. Of course use the Explosive Gel to destroy it.
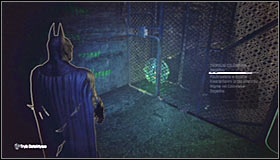 |  |
Go inside and familiarize yourself with the assumptions of this riddle. You will have to push the Trophy sphere from the starting point #1 to the destination point, i.e. the hole #2. You will use the two electromagnets to complete it.
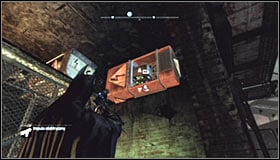 | 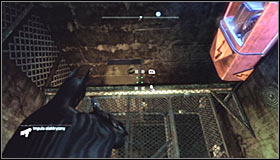 |
Take out the Remote Electrical Charge and aim at the right electromagnet #1, causing the second to move left #2.
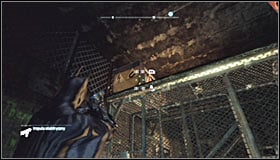 | 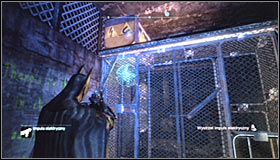 |
Aim at the electromagnet you have just moved (it should be in the upper left corner now) #1. Send a charge, so that the sphere moves towards the magnet #2.
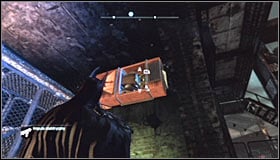 | 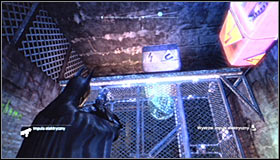 |
QUICKLY turn right and once again shoot at the right magnet #1. The idea here is moving the magnet which is "holding" the sphere back right #2, although you need to do it before it stops working and lets go of the sphere.
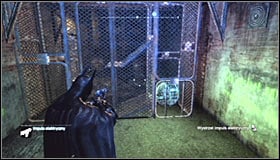 | 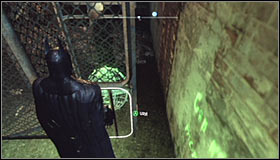 |
If you have made everything in time, the electromagnet you have moved will let go of the sphere only after reaching the right side #1. Approach the hole and take the Trophy out of the sphere #2.
TROPHY 10
Gadgets used: Explosive Gel, Line Launcher
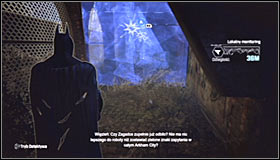 | 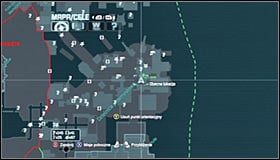 |
Jump over the metal barrier and stand south of where the Trophy is hidden #1 #2.
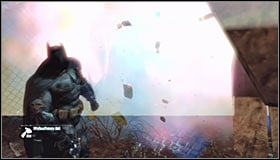 | 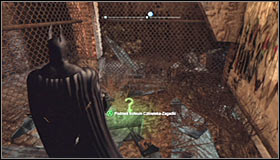 |
There are three weak wall separating you from the secret and depending on your likings you can either use the Explosive Gel #1 or break through them with the Line Launcher. Regardless of the chosen method you will reach the Trophy #2.
TROPHY 11
Gadgets used: Batclaw
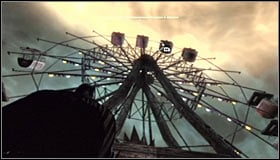 |  |
Start climbing up the large ferries wheel #1, using the Grapnel Gun. The Trophy is inside one of the higher cars. Land on the roof of the lower cart and grab the secret with the Claw #2.
TROPHY 12
Gadgets used: Cryptographic Sequencer
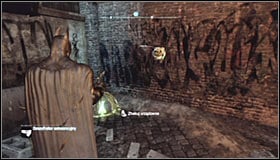 | 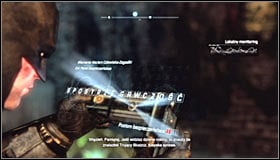 |
Jump over the small wall and equip the. Use it on the control panel found right beside the secret #1 and create the password #2. Pick up the Trophy afterwards.
TROPHY 13
Used skills: Dive Bomb
Gadgets used: Explosive Gel, Batclaw
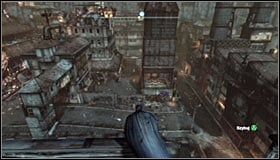 | 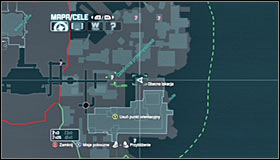 |
Start on one of the higher vantage points, east of the tower in which the Trophy is #1 #2.
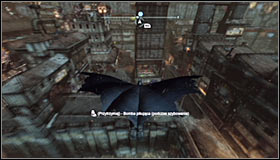 | 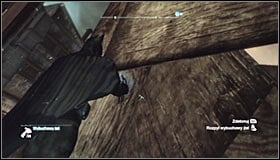 |
Jump off and glide towards the destructible wooden wall #1. Batman should break through it, though if you won't destroy it all you can always use the Explosive Gel to take care of the rest #2.
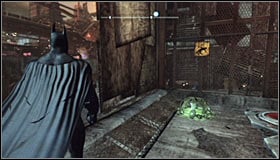 |  |
Note that you have ended up nearby the Trophy cage #1 and in order to open it you will have to touch the plate on the wall #2.
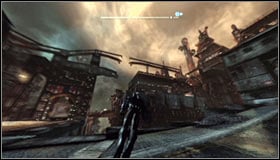 | 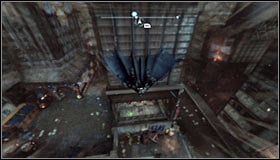 |
Return to the previous vantage point #1. Once again jump off the ledge, but this time use the Dive Bomb while gliding #2. You can activate it by pressing the right trigger.
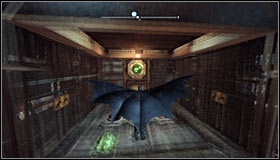 | 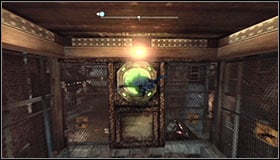 |
Be ready to let go of the right trigger and leaning out the left analog stick back once Batman reaches the hole #1. Glide towards the pressure plate from which you need to bounce off #2 by letting go of A in the last moment and pressing X for a change.
 |  |
Afterwards you will have to once again press and hold down A. It's very important, as you have to get away without touching the red tiles #1. Land anywhere else and return to the opened cage to collect your reward #2.
TROPHY 14
Gadgets used: Explosive Gel, Remote Controlled Batarang
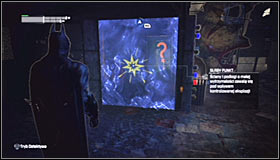 | 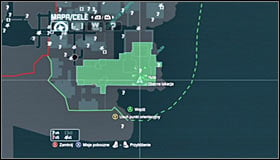 |
Stand south of the Trophy and locate a destructible wall #1 #2. You of course need to use the Explosive Gel to destroy it.
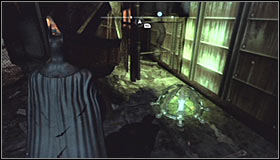 | 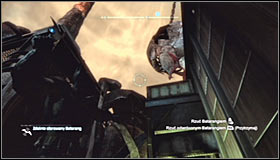 |
For now ignore the question mark in the distance and head north, stopping beside the Trophy cage #1. Turn north, equip the Remote Controlled Batarang and throw it #2.
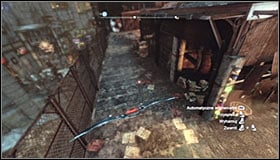 | 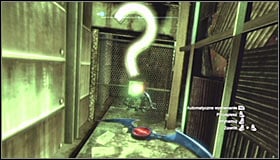 |
Direct it towards the destroyed passage #1 and afterwards into the previously mentioned question mark #2. Right after the Batarang hits the question mark, you will only have a few second to collect the Trophy from the cage, though it shouldn't be hard considering that you're standing right beside it.
TROPHY 15
Gadgets used: Batclaw
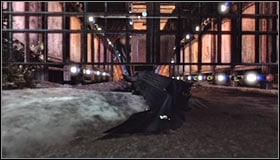 | 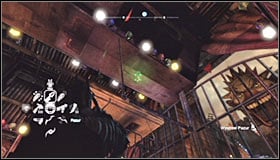 |
Stand east of where the Trophy is, start running towards the partially raised gate and slide underneath it #1. After reaching the new area, look up and grab the Trophy hanging from the ceiling with the Claw #2.
TROPHY 16
Gadgets used: Batclaw, Freeze Blast

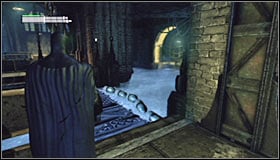
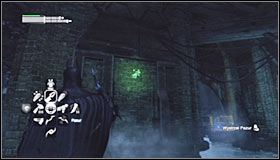
The Trophy is hidden inside the building in which Zsasz had his hideout. You can find more details regarding that location in the walkthrough of the Cold Call Killer side mission. Use the door leading into the hideout (screen above).
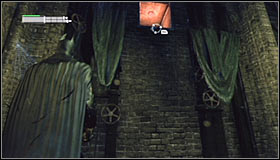 |  |
Go down the stairs, turn right and use the Grapnel Gun to get into the ventilation shaft #1. Go through it to reach the balcony you already know from the previous visit #2.
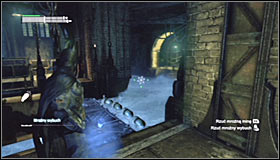 | 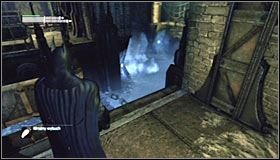 |
Approach the bridge which raises with the water level and turn right. Take out the Freeze Blast and shoot into the water #1. At the same time try to create the ice float as far away from the ledge you're currently on as possible. Wait for the water level to lower and glide towards the ice #2.
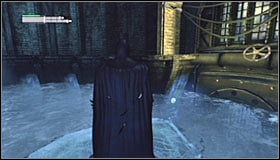 |  |
If you have done everything properly, you should end up in a spot far away from the main room #1. Turn left and use the Claw to grab the Trophy attached to the wall #2.
- Batman: Arkham City Game Guide
- Batman Arkham City: Game Guide
- Batman Arkham City: Secrets & Challenges
- Batman Arkham City: Industrial District
- Batman Arkham City: Location info & maps Industrial District
- Batman Arkham City: Batman trophies (01-08) Industrial District
- Batman Arkham City: Batman trophies (09-16) Industrial District
- Batman Arkham City: Batman trophies (17-25) Industrial District
- Batman Arkham City: Batman trophies (26-37) Industrial District
- Batman Arkham City: Riddles Industrial District
- Batman Arkham City: TYGER cameras Industrial District
- Batman Arkham City: Balloons Industrial District
- Batman Arkham City: Catwoman trophies Industrial District
- Batman Arkham City: Industrial District
- Batman Arkham City: Secrets & Challenges
- Batman Arkham City: Game Guide
You are not permitted to copy any image, text or info from this page. This site is not associated with and/or endorsed by the developers and the publishers. All logos and images are copyrighted by their respective owners.
Copyright © 2000 - 2026 Webedia Polska SA for gamepressure.com, unofficial game guides, walkthroughs, secrets, game tips, maps & strategies for top games.
