Batman Arkham City: Batman trophies (01-14) Park Row
TROPHY 1
Gadgets used: Disruptor - Jam Firearm
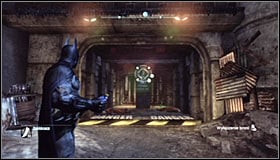 | 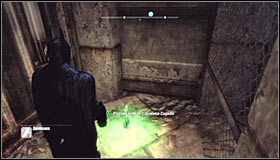 |
Start south-east of where the Trophy is. Note that the passage is guarded by a turret. Take out the Disruptor and use it on the turret to make in unable to attack #1. Walk past it and collect the Trophy #2.
TROPHY 2
Gadgets used: Remote Controlled Batarang
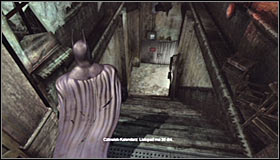 | 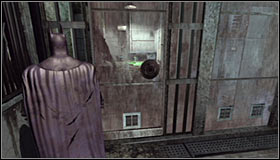 |
The Trophy can be found in the Courthouse basement, accessible through the stairs in the northern part of the building #1. Unfortunately upon reaching it you will find out that the door leading to the cell is locked #2.
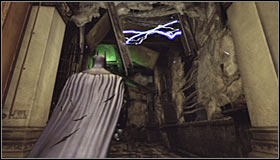 | 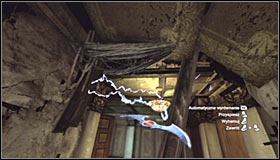 |
Go out of the basement and check the corridor nearby the northern Courthouse exit. You should see electric discharges above you #1. Take out the Remote Controlled Batarang and throw it at the discharges #2 to electrify it.
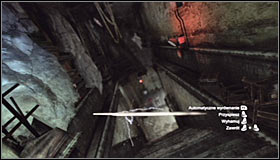 | 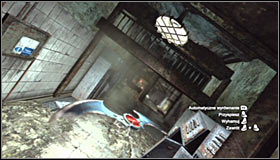 |
Now you need to steer the Batarang to the basement, so lead it towards the stairs #1 and afterwards turn right #2.
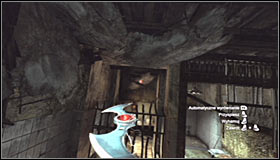 | 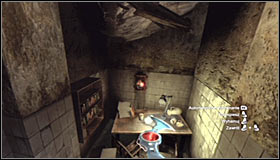 |
Don't steer it towards the cell, instead fly straight and fly above the grate #1. Eventually you will note a fuse box which you have to hit #2.
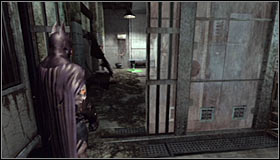 | 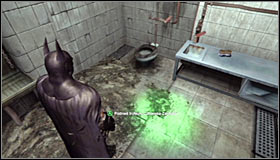 |
You can return down, use the newly unlocked cell entrance #1 and pick up the Trophy #2.
TROPHY 3
Gadgets used: Batarang
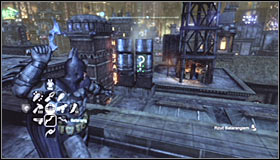 | 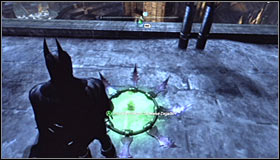 |
Stand beside the Trophy cage, turn west and walk forward a bit. In the distance you should see an interactive question mark, hit it with an ordinary Batarang #1. By doing it you will open the cage #2.
TROPHY 4
Gadgets used: Batclaw
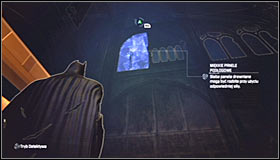 | 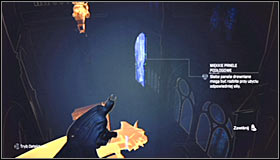 |
Examine the walls beside where the Trophy is and you should note that one of them can be destroyed #1. Use the Batclaw to reach one of the nearby vantage points #2.
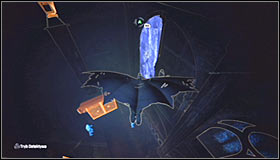 | 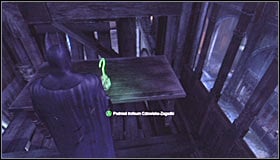 |
Glide towards the wooden wall #1, hitting it will cause Batman to break through it. Notice! If you don't want to use gliding, you can also look for an upper balcony and shoot at the wall with the Line Launcher. Regardless of the chosen method, you will be able to collect the Trophy #2.
TROPHY 5
Gadgets used: Remote Electrical Charge, Explosive Gel
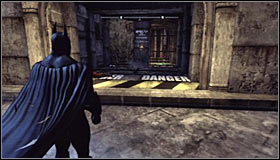 | 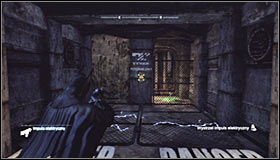 |
Move towards where the Trophy is hidden from the north-east. After getting there #1 you should note that electrical discharges block access to the Trophy. Equip the Remote Electrical Charge and shoot at the fuse box visible in the distance #2.
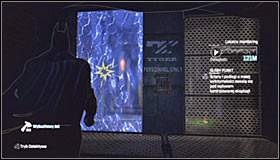 | 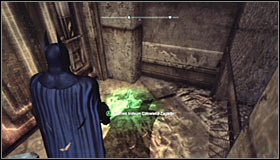 |
Afterwards you will be able to move on. Use the Explosive Gel to destroy the left wall #1. It will let you reach the Trophy #2.
TROPHY 6
Gadgets used: Explosive Gel
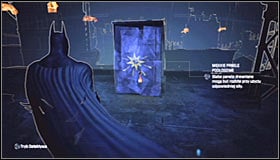 | 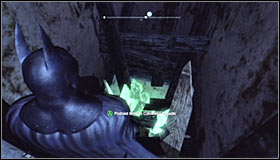 |
Turn on the Detective Mode to note that you can destroy the wooden obstacle with the Explosive Gel #1. Detonate and pick up the Trophy #2.
TROPHY 7
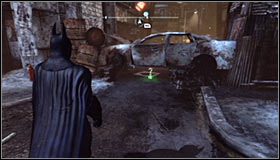 | 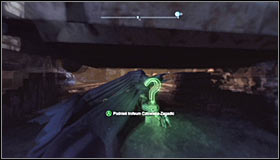 |
The Trophy can be found below the car wreck #1. You can't pick it up by only crouching, so slide underneath the car and grab it then #2.
TROPHY 8
Gadgets used: Freeze Blast
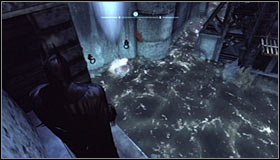 | 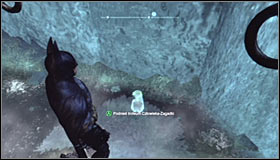 |
Stop by the edge nearby where the Trophy is hidden. Equip the Freeze Blast and create an ice raft by aiming at the Trophy #1. Glide there and collect the Trophy after landing on the ice float #2. Notice! If the ice float is at the bad spot, you can use the Batclaw to grab onto grapple points and push yourself towards it.
TROPHY 9
Gadgets used: Explosive Gel, Remote Electrical Charge
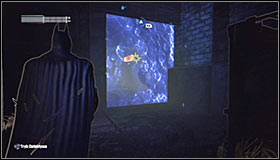 | 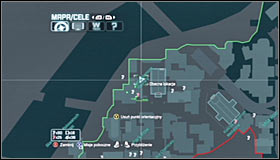 |
Jump to the lower level and locate a destructible wall north-east of the Trophy #1 #2. Use the Explosive Gel to bring it down.
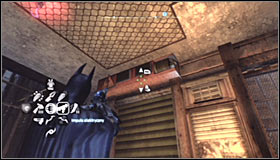 | 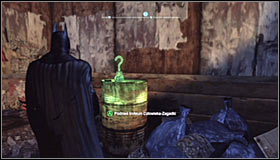 |
Head to the south-west. Locate a closed gate and raise it by shooting with the Electrical Charge in the engine #1. Afterwards you will be able to enter the small room and take the Trophy #2.
TROPHY 10
Gadgets used: Disruptor - Jam Firearm, Explosive Gel
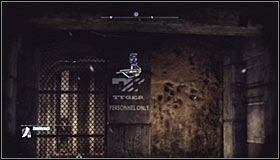 | 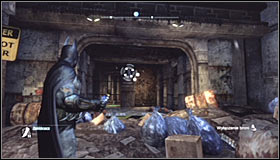 |
Start off south-east of where the Trophy is. Note that the passage is guarded by a turret #1. Take out the Disruptor and use it on the turret to disable it #2.
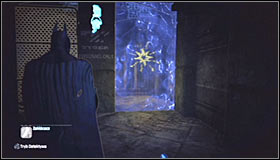 | 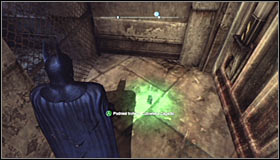 |
Head towards the Trophy and use the Explosive Gel to bring down the wall on your way #1. Pick up the collectible #2.
TROPHY 11
Gadgets used: Freeze Blast
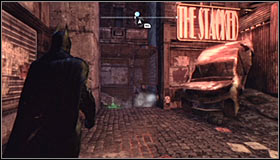 | 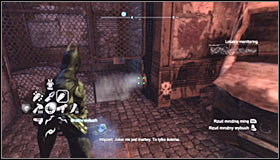 |
The Trophy is hidden left of the big neon sign #1. Go there and equip the Freeze Blast. Shoot at the pipe to seal it #2, crouch and collect the Trophy.
TROPHY 12
Gadgets used: Batclaw
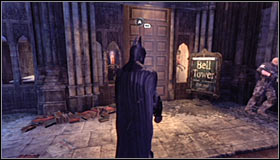 | 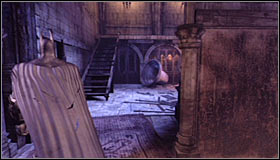 |
Use the door leading to the Bell Tower #1 #2.
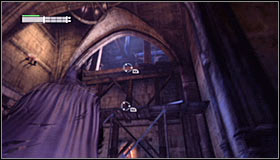 | 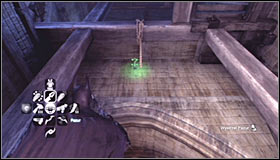 |
After reaching the new room, start climbing up by grabbing the upper ledge with the Batclaw #1. After reaching the next room, turn around and look up. the Trophy is hanging from the side wall #2, use the Batclaw to grab it.
TROPHY 13
Gadgets used: Cryptographic Sequencer
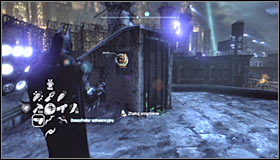 | 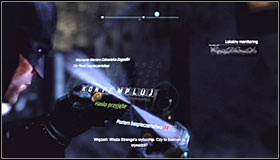 |
Use the Cryptographic Sequencer on the control panel #1 and hack it #2. Afterwards you will be able to collect the Trophy from the place previously blocked by grates.
TROPHY 14
Gadgets used: Batarang
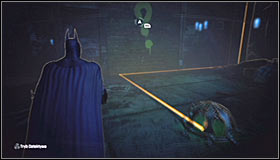 | 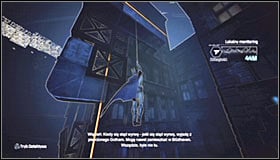 |
The Trophy is inside a cage. Turn on the Detective Mode to note that the cage is connected with a different device #1. Turn around towards the closest building and start climbing #2.
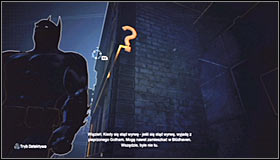 | 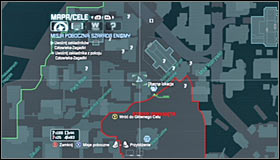 |
You need to reach the device that the cage is connected with. It will turn out to be an interactive question mark #1 #2.
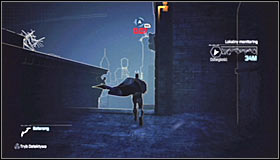 | 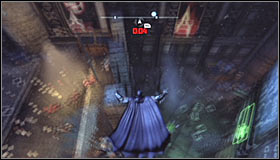 |
Throw a Batarang at the question mark and QUICKLY start running towards the cage #1. As you don't have much time to reach the Trophy, jump down #2 and use Dive Bomb. Quickly collect the Trophy before the cage locks again.
- Batman: Arkham City Game Guide
- Batman Arkham City: Game Guide
- Batman Arkham City: Secrets & Challenges
- Batman Arkham City: Park Row
- Batman Arkham City: Location info & maps Park Row
- Batman Arkham City: Batman trophies (01-14) Park Row
- Batman Arkham City: Batman trophies (15-24) Park Row
- Batman Arkham City: Batman trophies (25-36) Park Row
- Batman Arkham City: Riddles Park Row
- Batman Arkham City: TYGER cameras Park Row
- Batman Arkham City: Catwoman trophies Park Row
- Batman Arkham City: Park Row
- Batman Arkham City: Secrets & Challenges
- Batman Arkham City: Game Guide
You are not permitted to copy any image, text or info from this page. This site is not associated with and/or endorsed by the developers and the publishers. All logos and images are copyrighted by their respective owners.
Copyright © 2000 - 2026 Webedia Polska SA for gamepressure.com, unofficial game guides, walkthroughs, secrets, game tips, maps & strategies for top games.
