Batman Arkham City: Batman trophies (01-09) Bowery
TROPHY 1
Gadgets used: Explosive Gel
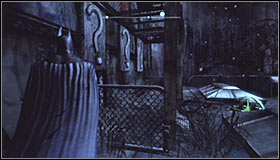 | 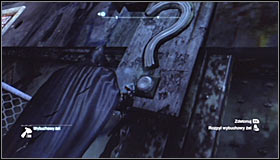 |
This puzzle is far more complicated than it might seem at first, so carefully complete the successive moves. Ignore the pressure plate for now and jump over the small fence #1 to reach three interactive question marks. Equip the Explosive Gel and spray it on each of them #2. Don't however detonate the charges yet.
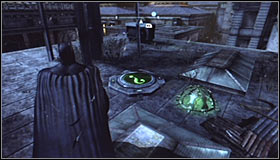 |  |
Now return to the Trophy cage and stand on the pressure plate #1. Note that by doing so you have lit only the middle question mark #2.
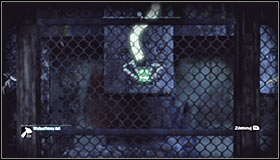 | 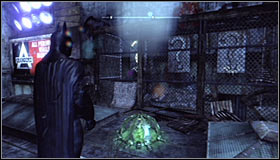 |
Zoom in on the middle question mark (by pressing the right analog stick) #1 and only afterwards press the RB button to detonate. By doing so you should cause only the middle one to explode. The left question mark should be the next one to lit #2.
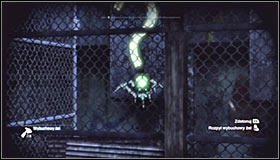 | 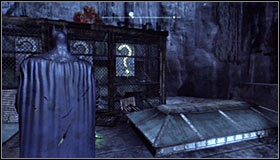 |
Just like before, zoom in and detonate only the left charge #1. The question mark on the right will be the last on to activate #2.
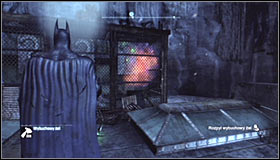 | 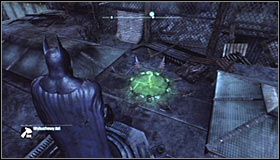 |
This time you don't need to zoom in, but only detonate the last charge in a traditional way #1. Afterwards you will be able to collect the Trophy from the open cage #2.
TROPHY 2
Gadgets used: Batclaw
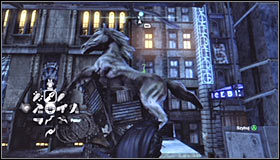 | 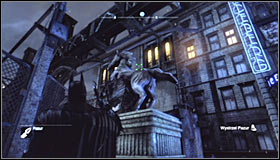 |
Search for a horse statue nearby the northern Museum entrance #1. The Trophy is on the animal's back and is best grabbed with the Claw #2.
TROPHY 3
Gadgets used: Batclaw
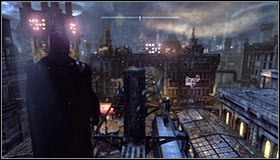 | 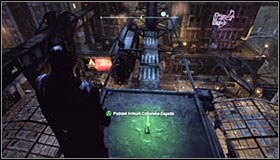 |
Examine the pillars north of the Museum, reaching it with the help of the Grapnel Gun #1. On top of one of them you will find the Trophy #2.
TROPHY 4
Gadgets used: Disruptor - Mine Detonator, Explosive Gel
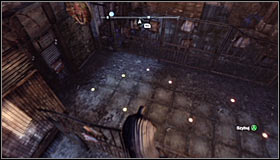 | 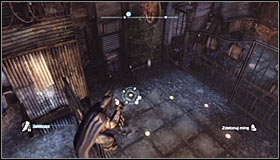 |
Approach the Trophy from the north-east side. Climb the fence #1, but don't jump down, as there's a minefield below you. As a result choose the Disruptor and use it to destroy two proximity mines closest to the left wall #2.
 |  |
After detonating the mines, glide towards the spot where they were. The wall #1 there is fragile, so spray Explosive Gel onto it. Detonate it and take the Trophy #2.
TROPHY 5
Gadgets used: Explosive Gel, Batarang
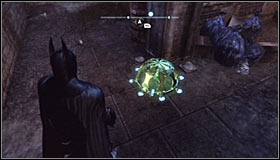 | 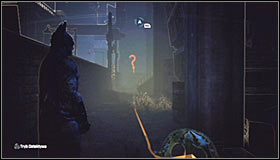 |
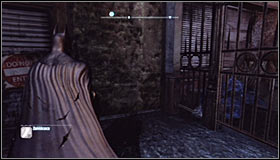
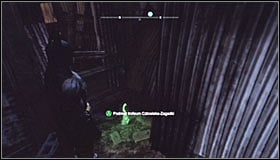
The puzzle connected with this Trophy #1 is quite complicated. If you turn on Detective Mode, you should note that there are cables coming out of the secret cage #2, leading to two question marks. The idea behind this riddle is switching them both off in a short period of time.
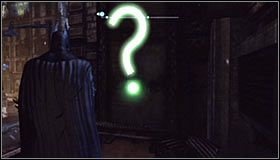 | 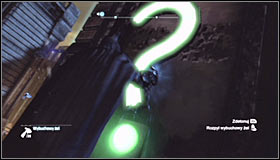 |
Start off by heading to the question mark north of the Trophy cage #1. Equip the Explosive Gel and spray it #2, but DON'T detonate it at once.
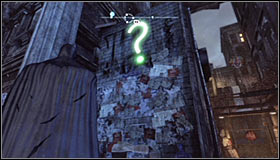 | 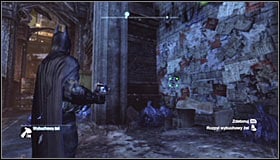 |
Now head to the question mark east of the Trophy cage #1. Prepare the detonator and activate the charge planted by the first question mark now #2. Note that therefore you have activated a timer.
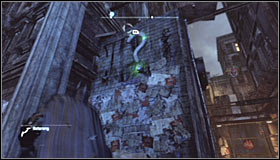 | 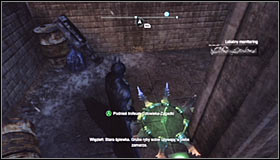 |
Quickly turn towards the second question mark and throw a Batarang at it (best done by tapping the left trigger) #1. If you have made it quick enough, you will be able to take the Trophy from the opened cage #2.
TROPHY 6
Gadgets used: Explosive Gel
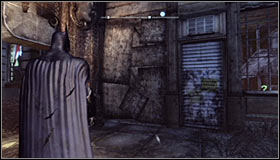 | 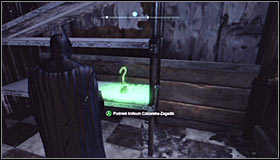 |
Start exploring the corridors located below the main Museum entrance. On the lowest level you should come across a destructible wall #1. Spray the Explosive Gel onto it and after detonating enter the small room and pick up the Trophy #2.
TROPHY 7
Gadgets used: Remote Controlled Batarang
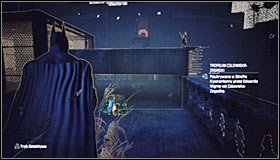 | 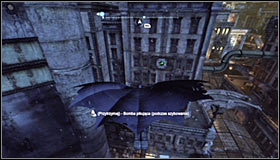 |
After reaching the destination, take some time to familiarize yourself with the puzzle. In order to obtain the Trophy, you will have to hit the question mark in the south #1. It's however impossible to do normally, as it's behind a fence. Therefore head west, towards the roof of the building #2.
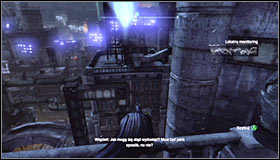 | 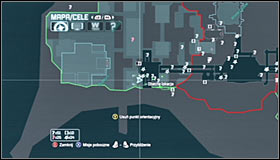 |
As I have mentioned before, you should land on the roof west of the Trophy's location #1 #2. Turn towards it and equip the Remote Controlled Batarang.
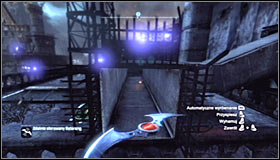 | 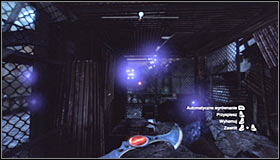 |
Throw the Batarang, aiming at the ventilation shaft entrance found beside the Trophy cage #1. Be sure to slow it down by pressing the left trigger to avoid hitting any environment elements. The Batarang should eventually reach a small fenced area #2.
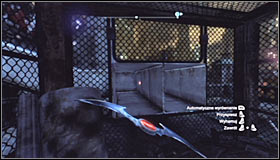 |  |
Press the left and right trigger at the same time to turn the Batarang around and afterwards direct it towards the entrance to the left ventilation shaft #1. Be ready for a sharp turn left #2.
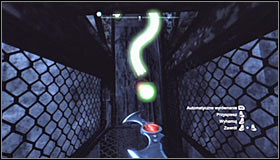 | 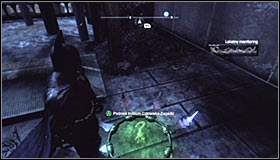 |
Now you just need to lead the Batarang into hitting the question mark #1. Afterwards glide back east and collect the Trophy from the opened cage #2.
TROPHY 8
Gadgets used: Remote Electrical Charge, Freeze Blast, Batclaw
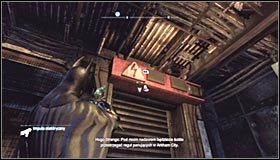 | 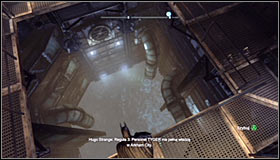 |
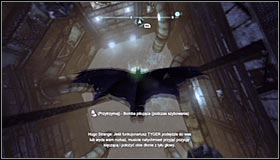
After reaching the Arkham City Processing Center, use the Electrical Charge to open the nearby door #1. It will let you reach the partially flooded room #2.
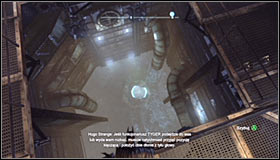 |  |
Now equip the Freeze Blast and shoot it at the water to create an ice float #1. Carefully land on it #2.
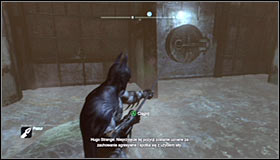 | 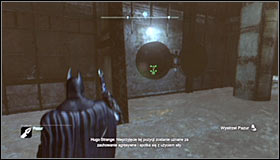 |
Turn south and find the interactive hatch. Equip the Batclaw and use it to open the hatch #1. Afterwards use it again, this time to grab the Trophy from a distance #2.
TROPHY 9
Gadgets used: Line Launcher
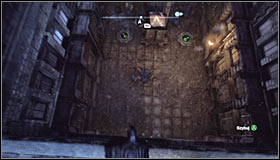 | 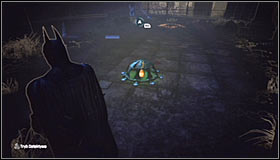 |
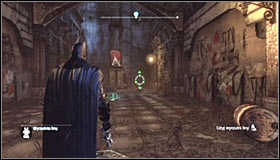
In order to reach the Trophy, it's best to start off north of the Museum building and search for a balustrade which you can jump over and then reach the lower level #1. Here it will turn out that the Trophy is inside a cage #2 and in order to open it you have to land on three nearby pressure plates. The basic problem here is that you won't be able to touch any other objects and ground elements.
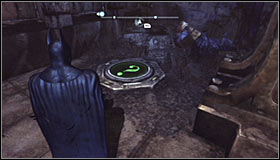 | 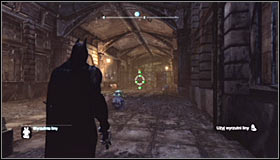 |
I'd suggest starting off by standing on the pressure plate south-west of the Trophy cage #1. Equip the Line Launcher and turn towards the second pressure plate, east of your location #2.
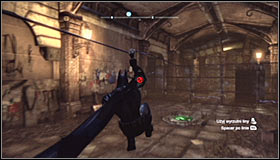 |  |
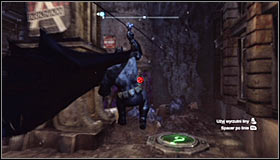
Shoot a line and right after starting the ride hold down the left trigger to slow down. You have to let go of the line at the right moment and land on the second platform #1. What's more, you need to carry out the whole process perfectly, ass otherwise you will have start off from the beginning. After landing, turn around and aim at the last pressure plate, located north-west of the cage #2.
 | 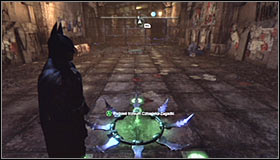 |
Just like before, you have to perfectly choose the moment to land on the plate #1. If you perform everything according to plan, all three plates should deactivate. Take the Trophy from the opened cage #2.
- Batman: Arkham City Game Guide
- Batman Arkham City: Game Guide
- Batman Arkham City: Secrets & Challenges
- Batman Arkham City: Bowery
- Batman Arkham City: Location info & maps Bowery
- Batman Arkham City: Batman trophies (01-09) Bowery
- Batman Arkham City: Batman trophies (10-21) Bowery
- Batman Arkham City: Batman trophies (22-30) Bowery
- Batman Arkham City: Batman trophies (31-39) Bowery
- Batman Arkham City: Riddles Bowery
- Batman Arkham City: TYGER cameras Bowery
- Batman Arkham City: Catwoman trophies Bowery
- Batman Arkham City: Bowery
- Batman Arkham City: Secrets & Challenges
- Batman Arkham City: Game Guide
You are not permitted to copy any image, text or info from this page. This site is not associated with and/or endorsed by the developers and the publishers. All logos and images are copyrighted by their respective owners.
Copyright © 2000 - 2026 Webedia Polska SA for gamepressure.com, unofficial game guides, walkthroughs, secrets, game tips, maps & strategies for top games.
