Batman Arkham City: Rescue remaining undercover GCPD officers in the Museum
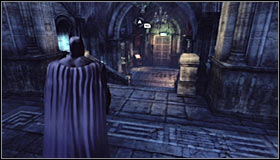 | 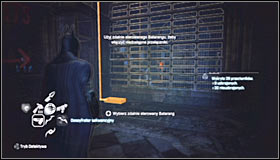 |
Choose the corridor leading west #1 and open the nearest door. After reaching the crossroads with a painted sign turn right #2 and note the corridor behind the grate.
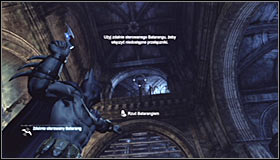 | 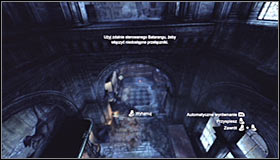 |
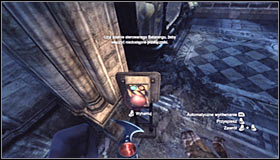
Choose the Remote Controlled Batarang aim at the hole above the grate (left trigger) #1 and throw it (right trigger). You have to control the Batarang as it flies, slowing time (left trigger) makes it much easier. You have to fly it through the hole and then lead downwards #2.
 | 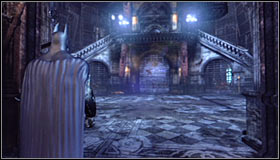 |
Hitting the control panel #1 with the Batarang shouldn't be too hard and afterwards you will be able to move on. Shortly after you should reach The Gladiator Pit #2. Here you will see Penguin murdering officer Best. It's not the end of trouble, as a few tough fights await you.
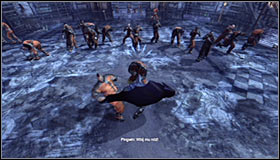 | 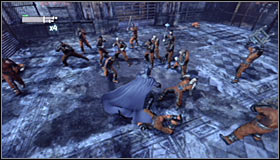 |
The first wave will consist of a big group of inmates #1. Remember about countering often, but also look out the enemies throwing big items at you #2, as they can easily break your flow. You can destroy those objects in mid-air, throw them out of the enemies' hands or just dodge often.
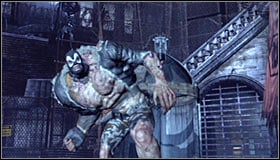 |  |
Defeating all the enemies won't be enough, as you will then be forced to fight an Titan infected thug #1. For now he can only you a charged attack #2 which can be quite easily avoided by dodging in advance.
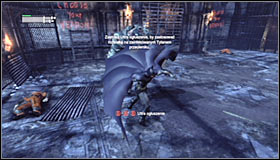 | 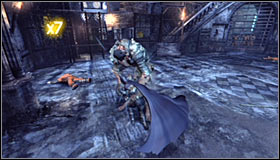 |
Trying to damage the infected thug using common methods won't do any good, so you will have to use a proper tactic. Wait for the beast to end one of its charges, quickly approach it and press B three times #1 to perform the Ultra stun. When the Titan is stunned, start rhythmically pressing X (Beat down) #2 to execute a quick series of attacks.
 | 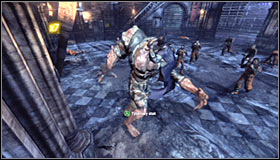 |
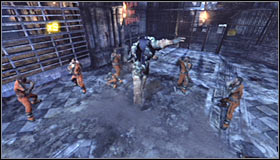
A successful series of attack will end with Batman jumping onto the boss' back #1. New inmates will come in and you will be able to use the boss to eliminate at least some of them #2.
 | 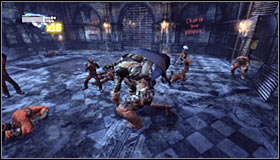 |
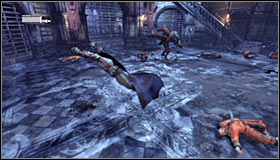
Apart from waving arms, it's also worth to test out the Titan's two other skills, i.e. the attack (A) #1 and shock wave (B; you should be standing somewhere nearby enemies) #2.
 |  |
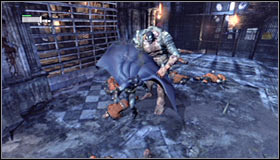
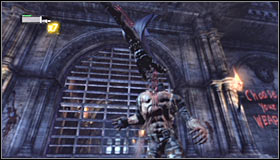
After some time the beast will throw you off its back and the second phase of the fight will begin. Start attacking the enemies yourself #1. It's important to look out for the Titan's attacks, especially that apart from the charges he can also throw bodies of the defeated enemies at you #2. Dodge them if he does.
 |  |
Keep fighting until you get rid of all the enemies and focus your attention on the Titan afterwards. you have to repeat the above actions, i.e. stun the boss (3x B) #1 and afterwards start attacking him (by rhythmically pressing X). Leading out successful attack will eventually bring the Titan down #2. Listen to the conversation with Alfred and the Oracle.
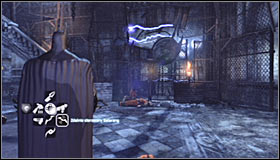 | 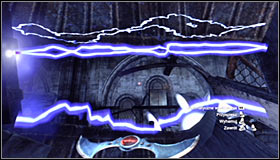 |
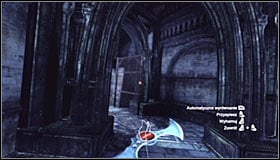
Your next task is getting out of The Gladiator Pit, as only that way you will be able to reach the other hostages. Approach the electrified gate #1 and prepare the Remote Controlled Batarang. Throw the Batarang and make it fly through the small hole above the gate (discharges can be seen around it) #2.
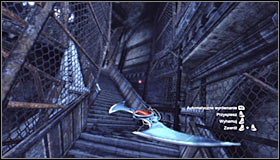 |  |
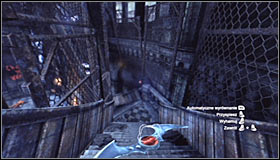
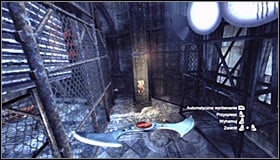
Turn the Batarang left and up through the first staircase #1. After reaching the corridor, fly straight #2, towards the second staircase.
 |  |
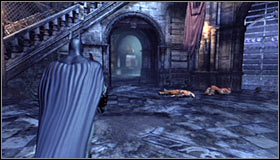
Now turn the Batarang a bit down #1. After a few second you should reach the switch #2.
 | 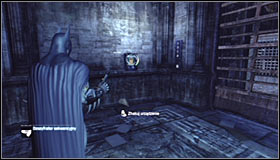 |
Note that hitting the switch caused the gate on the left to unlock #1. Head there and after reaching the new location examine the area on the left side. Equip the Cryptographic Sequencer and use it on the new control panel #2.
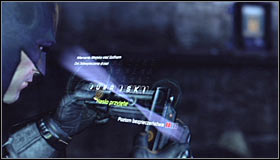 | 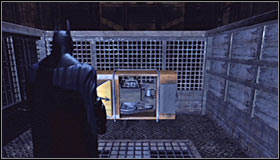 |
As you have probably guessed, you will have to solve a mini-game to create a password #1. Approach the newly unlocked passage and jump into the elevator #2.
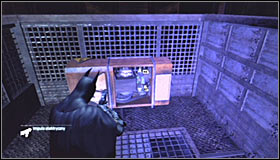 | 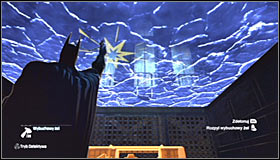 |
Now prepare the Remote Electric Charge and use it on the nearby industrial engine #1 to set the elevator in motion. Wait for it to take you onto the higher level. It's not the end, as now you will have to use the explosive gel on the fragile part of the ceiling #2.
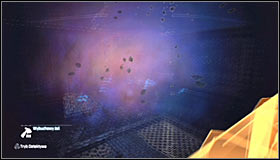 | 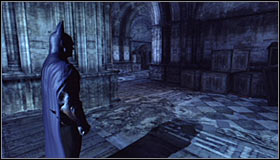 |
Depending on your liking, you can either ride the elevator down or just stand in the corner and detonate the charge at once #1. Now you can climb up #2, reaching the upper level of The Gladiator Pit.
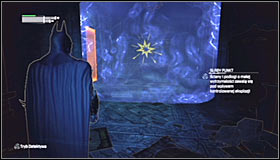 | 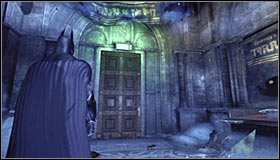 |
Head north and on your way you will come across one more weak wall #1 on which you have to use the explosive gel. After detonating the charge, choose the newly unlocked passage and you should reach the western door #2 leading to The Torture Chamber.
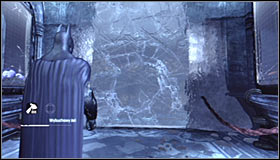 | 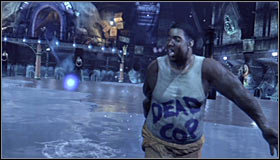 |
Head west and soon enough you should reach a wall of ice #1 - as you have probably guessed, you will have to use the explosive gel. A cutscene will start, during which it will turn out that Penguin #2 has obtained Freeze's gun. He will also use it to freeze three cops inside the room.
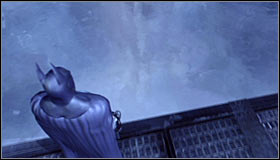 | 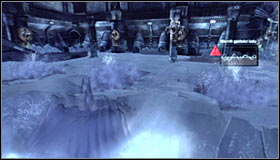 |
Try jumping off the upper ledge #1 and you will be informed of some very nasty handicap. The majority of the room has been covered with a thin layer of ice, meaning you cannot make any fast moves. Ignoring it will end with falling into the water and in this particular case Batman won't return onto the nearest ledge, but will be eaten by the shark Tiny #2.
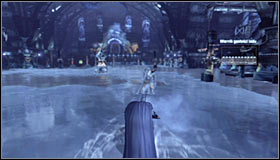 | 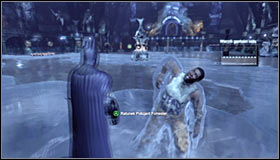 |
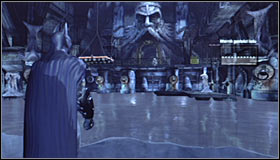
Carefully head west #1. In order to stay as safe as possible, I'd recommend crouching with the right trigger and leading the analog stick only halfway. Also keep an eye on the ice density meter and stop or slow down considerably when the red exclamation mark appears. Approach the first frozen cop, officer Forrester #2. Pressing A will automatically get him to safety.
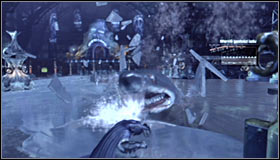 |  |
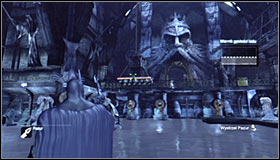
Once again jump down and head west. Don't let Tiny scare you #1, as the shark won't hurt you as long as you stick to the hint above. Stop around the middle of the torture chamber and face north #2.
 | 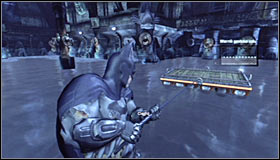 |
Prepare and shoot the Grapnel Gun towards the platform hanging above the water #1. Afterwards start rhythmically pressing A to bring it down and then repeat the same action to push it towards you #2. Afterwards you can jump onto it.
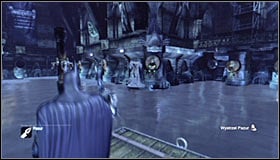 | 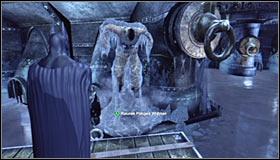 |
You will have to use the Grapnel Gun again , this time aiming at one of the grapple points #1. Choose any north-west of here, which will let you approach the frozen officer Whitman #2. Press A to set him free.
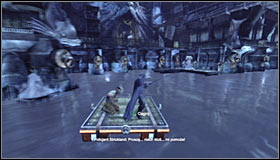 | 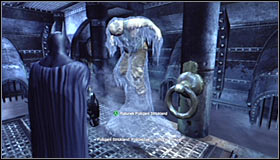 |
Stay on the platform and for a change use the Grapnel Gun to move north-east #1. Jump onto land and approach the last frozen cop #2, officer Strickland. Pressing A will set him free.
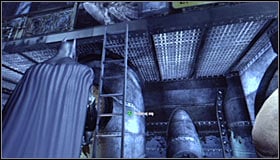 |  |
Three more officers are imprisoned inside the room north of here, so you have to use the nearby ladder #1. Keep heading north until you reach a door leading to the War Room #2.
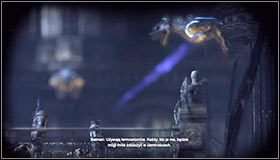 | 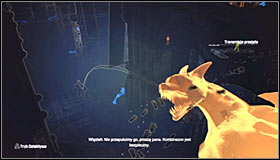 |
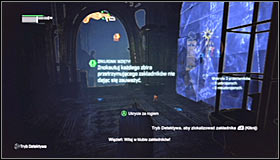
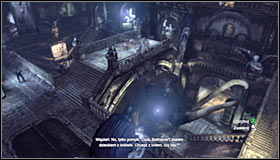
There are six armed Thugs inside this room, plus there's an additional difficulty involved, as they are all equipped with thermal goggles #1. It makes using the vantage points much more difficult, as they will often scan them #2. As a result, you should even consider not using them at all. If however you decide to make use of them, you have to be very cautious of what the enemies are doing and quickly run away from the vantage points that are going to be scanned if needed. The only exception is when you have the heat signature conceal, allowing Batman to stay invisible in thermovision (as long as he stays motionless during the scanning).
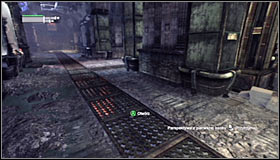 | 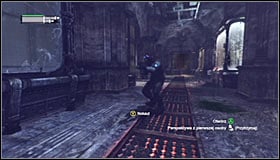 |
A better way of surprising an eliminating the enemies here is using the grates on the lowest level #1. Depending on what you prefer, you can either use them as hideout or perform full-time takedowns (Y) #2. Other tactics I already mentioned in the guide, like using the explosive gel, will also work well here. Remember to quickly get away from any eliminated guard, as they all have transmitters.
 |  |
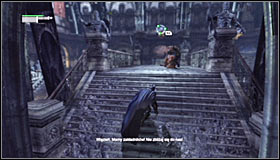
If you don't mess up too much, eliminating enemies shouldn't cause you any major problems. However it might happen that one of the Thugs will panic and put a gun against the hostage's head #1. In such a situation you will have to plan your next moves very carefully, as the death of a hostage will end the mission. I'd suggest moving to one of the nearest vantage points #2.
 | 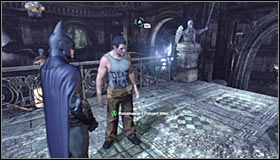 |
Note that the thug holding the hostage at gunpoint sometimes turns around with him. It's important to wait for the right moment, quickly jump down onto the balcony #1, and silently take him down from behind (Y). After eliminating all of the enemies, you can head to the highest level of the War Room, locate the officers and talk with officer Miller #2. He will inform you of the need to save two more cops taken hostage by Penguin.
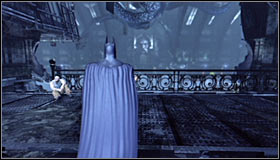 | 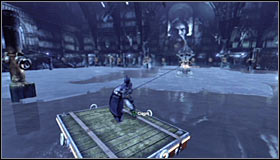 |
Follow the same route back to the Torture Chamber #1. Once again use the floating platform and the Grapnel Gun to reach the frozen middle part of the area #2.
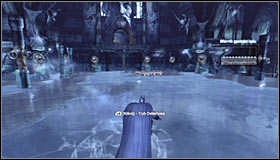 | 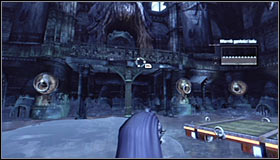 |
Ignore the map, showing that the last two hostages are east of here and head south for now #1. Stop only after reaching the southern exit from the room. Use the Grapnel Gun to reach the upper balcony #2.
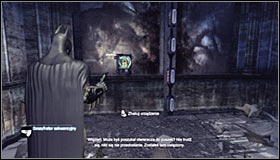 | 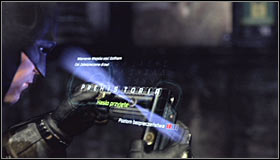 |
Go up the stairs and for now ignore the Thugs in the distance, as there's a new puzzle waiting to be solved. Turn on the Detective Mode and note that there's a new laser barrier here. Prepare the Cryptographic Sequencer and use it on the nearby control panel #1 to break the password #2.
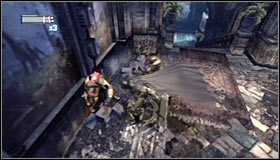 | 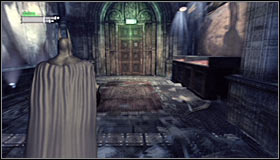 |
Now you can attack the enemies who have been making fun of you up until now. Throughout the fight, you will have to especially look out for the armoured one #1. To be specific, it's best to first stun him (B) and then use Beat down (by rhythmically pressing X). After finishing off them all, use the southern door #2 to reach the War Room.
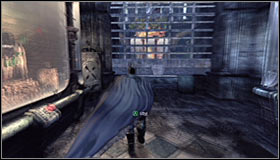 | 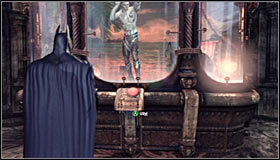 |
Head west. After reaching the partially locked gate #1, start running and slide underneath it. Approach the big glass window and press A #2 to learn that Freeze has not only been imprisoned by Penguin, but also robbed of his armour. Freeing him will become your next objective.
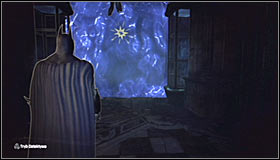 | 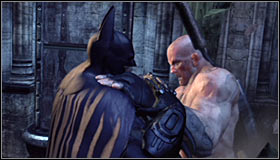 |
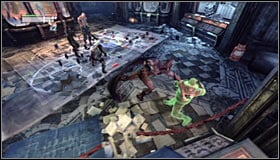
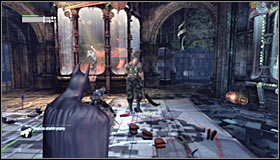
Approach the wall in the north-west part of the room and spray Explosive Gel onto it #1. Detonating it will lead to a fight with a few Thugs, including a mini-boss Abramovici #2. The enemy is very similar to Mr. Hammer that you've already fought during Break into Joker's office in the Loading Bay. Therefore you have to avoid his standard hits and charged jumps.
 |  |
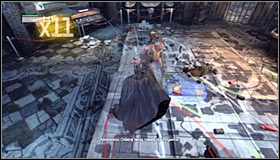
During the first part of the fight it's of course worth to take care of the normal enemies #1, at the same time avoiding the boss' attacks. Keep fighting until Abramovici is the last enemy still standing and use the Electrical Charge to temporarily stun him #2.
 |  |
After you manage to stun him, approach the enemy and perform the Beat down by rhythmically pressing X #1. It should be enough to defeat the boss. Afterwards you will be able to use the passage which you unlocked by blowing up the wall #2.
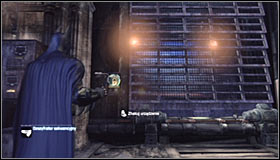 | 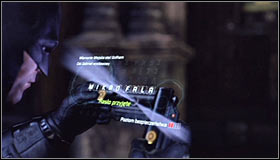 |
Turn to the south and stop after reaching the back of Mister Freeze's cage #1. Prepare the Cryptographic Sequencer and use it on the left control panel to break the password #2. A cutscene with Mister Freeze will start. From it you will learn that the chip which can deactivate the weapon stolen by Penguin is inside Freeze's suit. Finding it will of course become your next objective.
- Batman: Arkham City Game Guide
- Batman Arkham City: Game Guide
- Batman Arkham City: Main story
- Batman Arkham City: Prologue
- Batman Arkham City: Climb to higher ground to contact Alfred
- Batman Arkham City: Climb to the top of the ACE Chemical building to collect your equipment
- Batman Arkham City: Locate and enter Two-Face's Courthouse
- Batman Arkham City: Save Catwoman from Two-Face
- Batman Arkham City: Scan the crime scene for ballistic evidence
- Batman Arkham City: Locate the source of the sniper shot
- Batman Arkham City: Scan the sniper rifle for forensic evidence
- Batman Arkham City: Track down the source of the radio signal to locate Joker
- Batman Arkham City: Access the Sionis Steel Mill through the main chimney
- Batman Arkham City: Save the doctor from Joker's thugs
- Batman Arkham City: Break into Joker's office in the Loading Bay
- Batman Arkham City: Track Freeze's location by identifying the coldest point in Arkham
- Batman Arkham City: Locate Mister Freeze and recover the cure
- Batman Arkham City: Rescue Mister Freeze from Penguin in the Museum
- Batman Arkham City: Disable Penguin's Communications Disruptors
- Batman Arkham City: Disable Penguin's Final Communications Disruptor underground
- Batman Arkham City: Rescue Mister Freeze from Penguin in the Museum (part 2)
- Batman Arkham City: Rescue remaining undercover GCPD officers in the Museum
- Batman Arkham City: Collect the security override from Freeze's suit to disable the Freeze Gun
- Batman Arkham City: Confront Penguin in the Iceberg Lounge
- Batman Arkham City: Defeat Solomon Grundy
- Batman Arkham City: Defeat Penguin
- Batman Arkham City: Analyse the assassin's blood to follow her trail
- Batman Arkham City: Follow assassin using tracker device to locate Ra's al Ghul
- Batman Arkham City: Analyze the assassin's bandages for new evidence
- Batman Arkham City: Catch assassin and plant tracking device
- Batman Arkham City: Follow assassin using tracer device to locate Ra's al Ghul
- Batman Arkham City: Reconstruct video data from the Mechanical Guardian
- Batman Arkham City: Locate more Mechanical Guardians to fully reconstruct the video data
- Batman Arkham City: Locate the secret entrance using the video data
- Batman Arkham City: Follow assassin using tracer device to locate Ra's al Ghul (part 2)
- Batman Arkham City: Locate Ra's al Ghul and obtain a sample of his blood
- Batman Arkham City: Defeat Ra's al Ghul
- Batman Arkham City: Return to the GCPD to deliver the blood of Ra's al Ghul to Mister Freeze
- Batman Arkham City: Interrogate Quincy Sharp for information on Hugo Strange
- Batman Arkham City: Return to the GCPD to deliver the blood of Ra's al Ghul to Mister Freeze (part 2)
- Batman Arkham City: Defeat Mister Freeze
- Batman Arkham City: Infiltrate the Steel Mill
- Batman Arkham City: Rescue Vicki Vale from chopper crash site
- Batman Arkham City: Infiltrate the Steel Mill (part 2)
- Batman Arkham City: Locate Joker in the Steel Mill
- Batman Arkham City: Defeat Joker
- Batman Arkham City: Scan the TYGER helicopter to locate the Master Control Program
- Batman Arkham City: Retrieve Master Control Program transmitter from Primary Helicopter
- Batman Arkham City: Gain access to Wonder Tower
- Batman Arkham City: Climb the observation deck to stop Protocol 10
- Batman Arkham City: Follow tracker to save Talia from Joker
- Batman Arkham City: Get the cure from Joker and stop him from becoming immortal
- Batman Arkham City: Main story
- Batman Arkham City: Game Guide
You are not permitted to copy any image, text or info from this page. This site is not associated with and/or endorsed by the developers and the publishers. All logos and images are copyrighted by their respective owners.
Copyright © 2000 - 2026 Webedia Polska SA for gamepressure.com, unofficial game guides, walkthroughs, secrets, game tips, maps & strategies for top games.
