Batman Arkham City: Batman trophies (19-28) Amusement Mile
TROPHY 19
Gadgets used: Disruptor - Mine Detonator
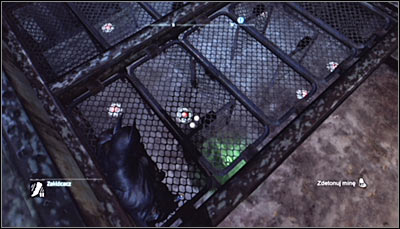
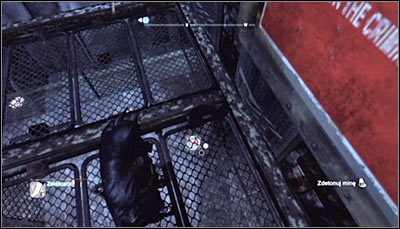
The while fenced area around the Trophy is a minefield which you have to pass through. In order to make it safe, start off by detonating the two proximity mines marked on the screen above. You of course have to use the Disruptor in both cases.
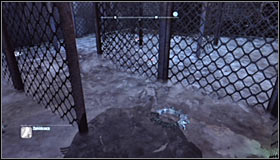 | 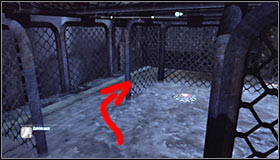 |
Now you can enter the labyrinth, starting with a turn to the right (where the first mine was) #1. After reaching the spot showed on the screen #2, turn slightly to the left and afterwards right.
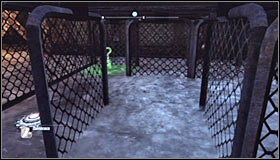 | 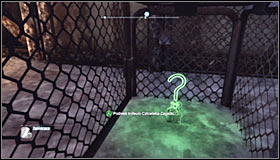 |
After reaching the corner of the labyrinth of course turn right. Go pass the recently destroyed mine and turn right once again #1. You should note the Trophy now and you can safely head for it #2. Afterwards safely leave the minefield following the same way. Luckily in case you make a mistake, the explosion will only hurt Batman and not kill him.
TROPHY 20
Gadgets used: Remote Electrical Charge
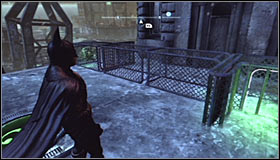 | 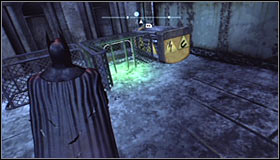 |
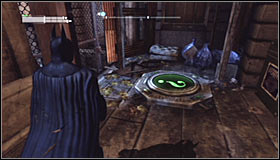
After reaching the destination point, take some time to familiarize yourself with the assumptions of this riddle. Your task is to push the sphere with the Trophy from the starting point #1 to the destination, i.e. the hole #2. For that you will use the electromagnet and the pressure plate.
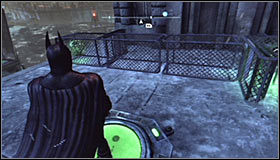 | 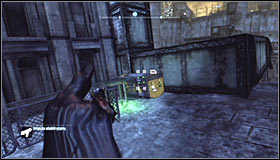 |
Stand on the pressure plate #1 thanks to which you will move the grate right in front of the sphere. Take out the Remote Electrical Charge and shoot at the magnet #2.
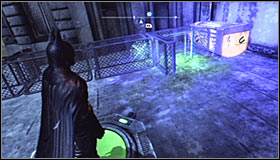 | 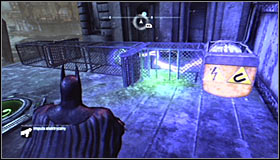 |
Sending the charge will cause the electromagnet to attract the sphere #1. Wait for the sphere to move maximally to the right and quickly get off the pressure plate, thanks to which after bouncing off the barrier it won't return to the starting point, but will stop around the middle of the road. Send another charge towards the magnet #2.
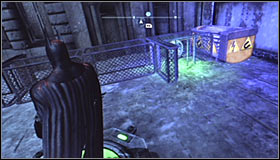 | 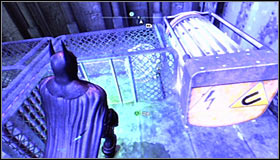 |
When the sphere gets right beside the magnet, get onto the pressure plate #1 which will cause the barrier to move out and stop it. Fire a charge at the magnet for the last time. Quickly run to the sphere before the magnet stops working and take out the Trophy #2.
TROPHY 21
Gadgets used: Batclaw
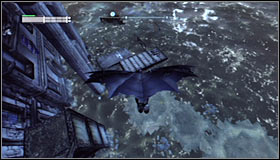 | 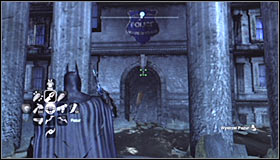 |
Head to the back of the GCPD building and glide towards the platform east of the Trophy #1. Turn towards the police station, locate the Trophy hanging from the wall and catch it with the Batclaw #2.
TROPHY 22
Used skills: Dive Bomb
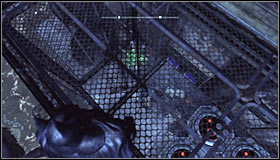 | 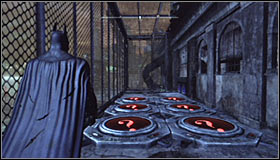 |
After reaching the destination you should note that the Trophy is inside a big cage #1 and that the access is blocked by red pressure plated that you cannot touch #2. As the game won't allow you to use the Line Launcher here, the only solution will be flying above the pressure plates.
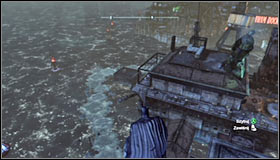 | 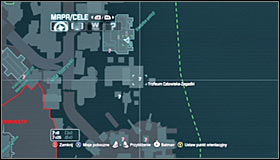 |
Head north and find a high vantage point on the roof of the GCPD building #1 #2. Turn south so that you see the spot you have to fly to.
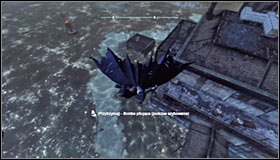 | 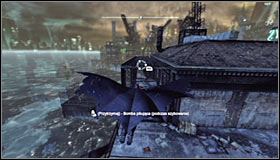 |
Jump off the ledge, but don't use normal gliding as it probably won't let you reach the destination without touching the pressure plates. Instead, use the Dive Bomb #1 by pressing the right trigger. Soon afterwards let go of the trigger and lean the analog stick down, which will cause Batman to gain altitude #2.
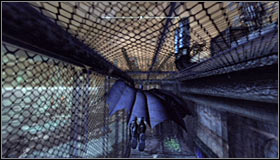 | 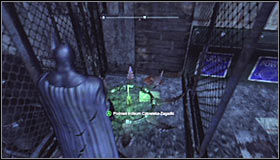 |
If you manage to pull off the above actions properly, you will be able to fly into the cage nearby its ceiling #1. Therefore you will be able to fly above the pressure plates. Land nearby the Trophy and pick it up #2
TROPHY 23
Gadgets used: Batclaw
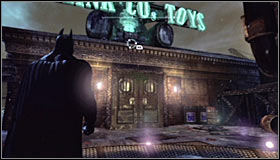 | 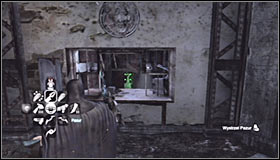 |
In order to reach the area where the Trophy is hidden, you need to enter the Krank Co. Toys building #1. Head to the main room and look for a Trophy visible behind one of the windows #2. Grab it using the Batclaw.
TROPHY 24
Gadgets used: Line Launcher
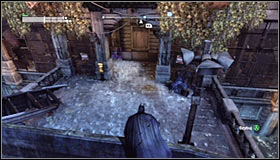 | 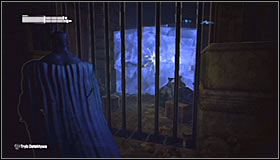 |
Find the small balcony south-east of the Trophy #1. Note that approaching it will cause the grate to lower #2.
 | 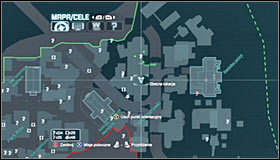 |
Go south, find another pressure plate #1 #2 and of course stand on it.
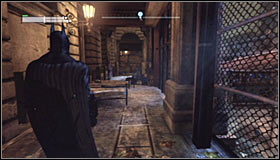 | 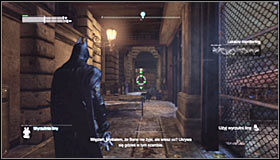 |
Turn north (towards the Trophy) #1 and equip the Line Launcher. Shoot at the wooden wall in the distance #2.
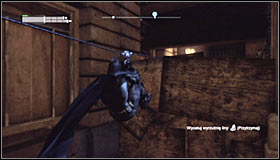 | 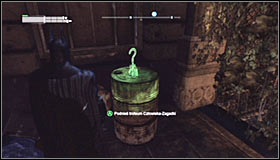 |
Start riding the line and Batman will automatically break through wooden walls #1. Eventually you should land nearby the place where the Trophy is #2.
TROPHY 25
Gadgets used: Batclaw
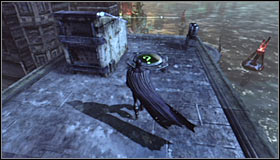 | 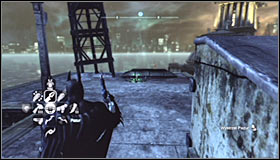 |
Search for the pressure plate nearby the Trophy cage and stand on it #1. Turn around towards the Trophy and grab it using the Batclaw (you can't get off the plate, as it will cause the cage to close again) #2.
TROPHY 26
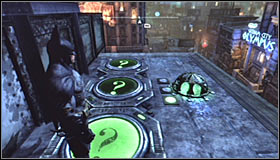 | 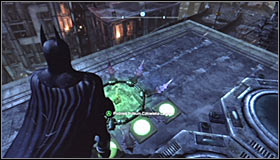 |
The puzzle behind the Trophy is very easy. Run through the three pressure plates before the cage #1 and it should open as a result #2.
TROPHY 27
Gadgets used: Batclaw
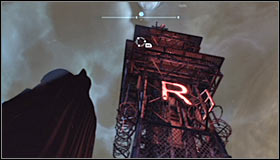 | 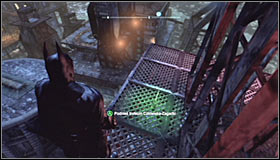 |
Use the Grapnel Gun or the gliding to reach the upper balconies of the leaned radio tower #1. On one of the balconies you will come across a Trophy #2.
TROPHY 28
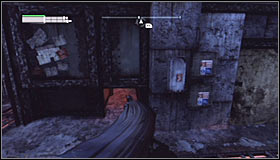 | 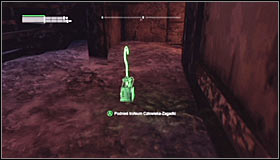 |
Examine the upper balconies in the GCPD building to find a ventilation shaft entrance #1. Use it and collect the Trophy hidden there #2.
- Batman: Arkham City Game Guide
- Batman Arkham City: Game Guide
- Batman Arkham City: Secrets & Challenges
- Batman Arkham City: Amusement Mile
- Batman Arkham City: Location info & maps Amusement Mile
- Batman Arkham City: Batman trophies (01-10) Amusement Mile
- Batman Arkham City: Batman trophies (11-18) Amusement Mile
- Batman Arkham City: Batman trophies (19-28) Amusement Mile
- Batman Arkham City: Batman trophies (29-37) Amusement Mile
- Batman Arkham City: Riddles Amusement Mile
- Batman Arkham City: TYGER cameras Amusement Mile
- Batman Arkham City: Balloons Amusement Mile
- Batman Arkham City: Catwoman trophies Amusement Mile
- Batman Arkham City: Amusement Mile
- Batman Arkham City: Secrets & Challenges
- Batman Arkham City: Game Guide
You are not permitted to copy any image, text or info from this page. This site is not associated with and/or endorsed by the developers and the publishers. All logos and images are copyrighted by their respective owners.
Copyright © 2000 - 2026 Webedia Polska SA for gamepressure.com, unofficial game guides, walkthroughs, secrets, game tips, maps & strategies for top games.
