Batman Arkham City: Enigma Conundrum (riddles 16-17)
16th riddle
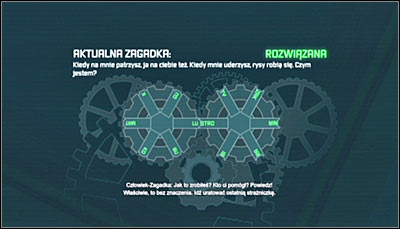
You will be able to approach the 16th riddle only after obtaining at least 320 Riddler's collectibles (collectibles + challenges). A new section will be unlocked in Batman's computer which you can access by pressing BACK. The riddle once again makes use of the Enigma Machine. Use both analog sticks to create the password MIRROR and accept with A. The solution can be seen on the screen above.
17th riddle
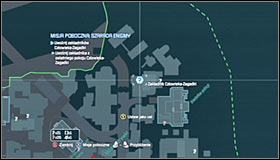 | 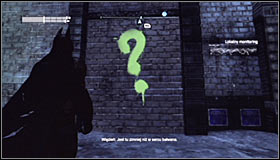 |
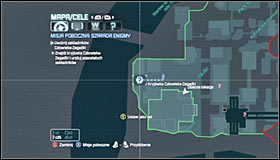
Note that a new point has appeared on the Arkham City map #1. It points the location of the fifth Riddler room, inside of which another hostage is being held. Saving him is the 17th riddle. Head to the spot, found in the Amusement Mile district north of the GCPD building. after getting there, look for a water tower and you should see a wall with a green question mark #2.
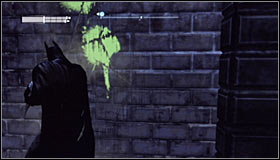 | 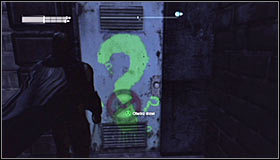 |
Just like before, you need to approach the question mark #1 and press A to destroy the fragile wall fragment. Afterwards use the door leading inside the building #2, make a few steps and listen out to what the Riddler has to say.
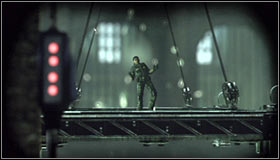 | 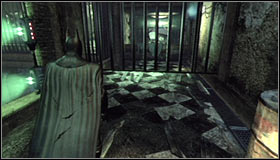 |
Go to the next room and note the woman imprisoned on the platform #1. She will be electrocuted from time to time, though you don't have to worry about her dying prematurely. Start off by turning right #2.
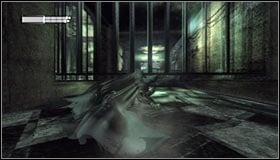 | 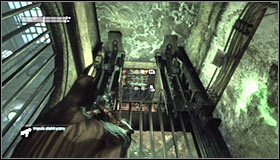 |
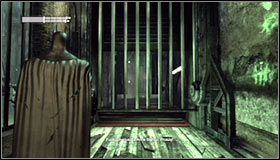
As you have probably guessed, you need to gain momentum and slide (right trigger) underneath the partially opened grate #1. Turn left. after reaching the new gate note the crusher blocking the further path. Take out the Electrical Charge and shoot at the magnet by the ceiling #2.
 | 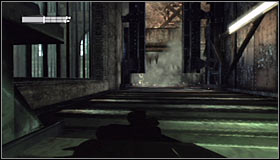 |
Sending the charge will result in raising the crusher #1. It however won't stay that way for long, so you need to hurry and perform another slide #2.
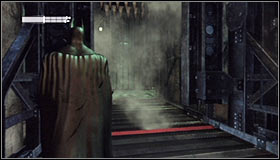 | 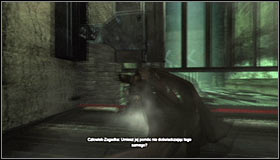 |
Stop after reaching the red line #1, so that you end up between two working crushers. Wait for the crusher in front of you to raise and QUICKLY run forward. Be ready to perform the last slide #2.
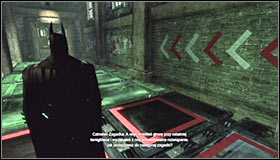 | 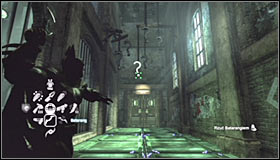 |
Turn left and stand on the red tiles #1. Listen to what the Riddler has to say and start throwing Batarangs in the lit question marks #2.
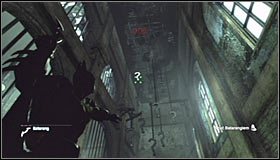 | 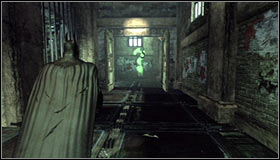 |
You need to be fast about doing that, as otherwise Batman will get electrocuted. Keep an eye on those high up, as they might be hard to notice at first #1. You also don't have to manually aim at each on, as using the shortcut (left trigger x2) is fine as well. After completing this puzzle, head to the newly unlocked passage #2.
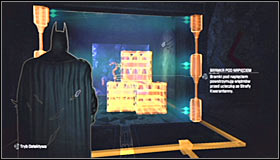 | 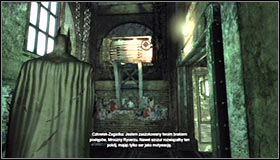 |
Go up and note that there are steel pallets and a destructible wall behind the barrier #1. Turn around and note the electromagnet on the wall #2. Use the Electrical Charge to set the pallets in motion and break through the wall as a result.
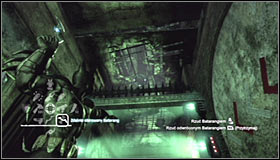 | 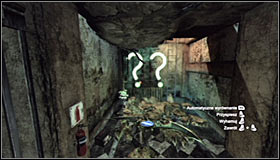 |
Once again approach the barrier and this time equip the Remote Controlled Batarang. Aim at the big hole above the gate #1 and throw it. You need to make it hit one of the question marks #2, which will turn off the force field.
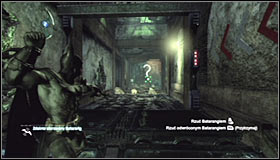 | 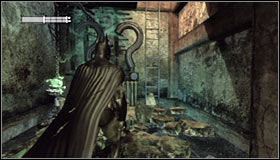 |
Now use the standard Batarang to hit the second question mark #1. Afterwards jump over the small hole and use the ladder to the right of the switched off question marks #2.
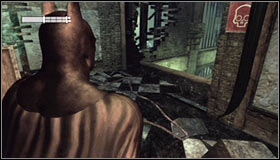 | 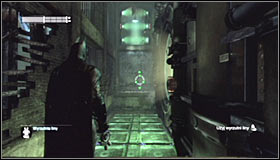 |
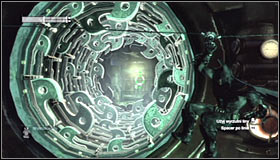
Head into the new corridor #1 and after listening out to another Riddler monologue, prepare the Line Launcher. Shoot it at the wall in front of you #2 and traditionally slow things down with the left trigger right after Batman start sliding along the line.
 | 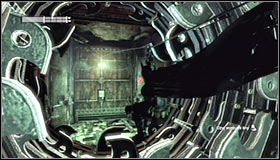 |
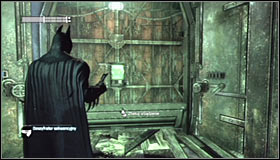
You need to be ready to change the direction to the right corridor with working machinery inside #1. Shoot at the wall at its end and wait for Batman to reach that spot #2.
 | 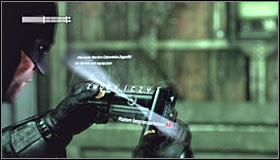 |
Nearby the landing area there's a control panel, so take out the Cryptographic Sequencer and start hacking it #1. In order to solve the mini-game, you need to create the password BAMBOOZLING #2.
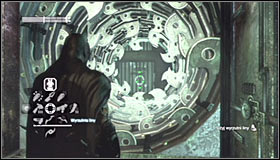 | 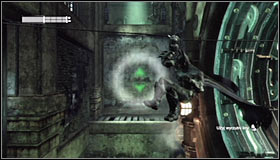 |
Once again equip the Line Launcher, and aim at the wall at the end of the corridor with working machinery #1. After getting through the corridor, change the direction by aiming at the right wall #2.
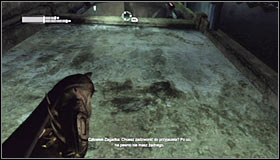 | 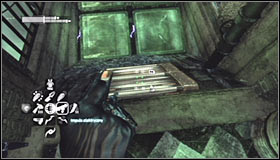 |
Land on the new ledge and use the Grapnel Gun to reach the passage you have opened by solving the hacking mini-game #1. Soon you should reach another corridor with electrified floor tiles. Equip the Electrical Charge and shoot at the magnet built into the floor #2.
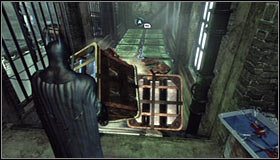 | 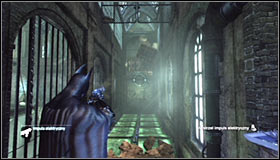 |
If you have done everything properly, the magnet will throw up the metal pallets behind you through the ceiling #1. Once again aim at the lower electromagnet, though this time you need to throw the metal pallets at the wall in the distance to destroy it #2.
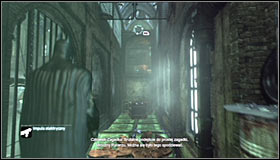 | 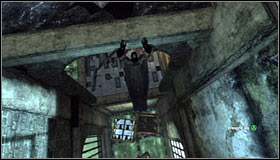 |
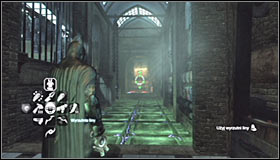
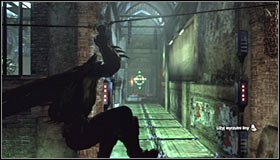
Now you can use the Grapnel Gun. Don't worry that the game suggests attaching to the upper ledge #1, as you will be able to lower yourself after reaching it (right trigger + A) #2 and grab the proper one #2. Afterwards you can head on.
 |  |
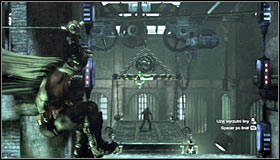
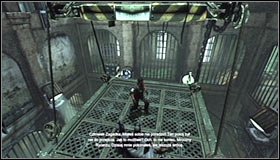
Stand in front of the electrified floor tiles, take out the Line Launcher and shoot it at the wall in the distance #1. Be ready to change direction after reaching the corner, as you can't land on the red tiles. Instead, turn the camera left and shoot a new line #2.
 |  |
Slow down this time as well (left trigger), as soon you will reach a hole in the left wall #1. Fire a line towards the platform on which officer Anne Bishop is and land on it #2.
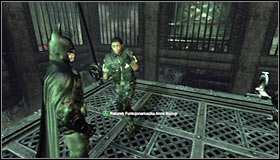 | 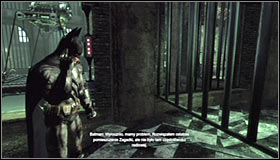 |
Traditionally, you have to approach the hostage and press A to save her #1. After getting to a safe spot, you won't receive any radio frequency. Instead, listen to a conversation with the Oracle regarding the plan of finding the Riddler's hideout #2.
Arresting the Riddler
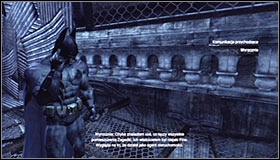 |  |
Unfortunately, you will be able to head for search of the Riddler only after obtaining all 400 collectibles that he has prepared for Batman. The game should then start a short conversation with the Oracle #1, during which you will learn of the possible location of the madman #2. The place is in the Burrows, north of the Museum.
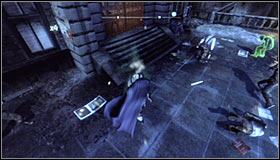 | 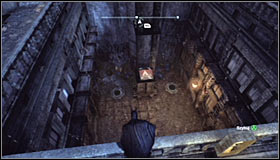 |
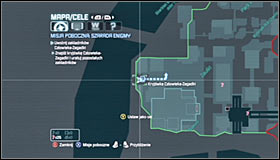
Head to the northern Museum entrance #1, the one leading into the Iceberg Lounge. The enemies here can be eliminated or simply ignored. Head west, reaching a spot where you can jump onto the lower level #2.
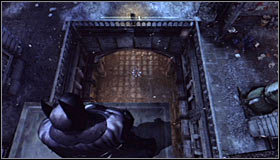 |  |
Now you need to repeat the same actions needed to gather one of the secrets here. Head onto one of the poles located west of the mission objective #1 #2.
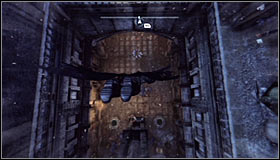 | 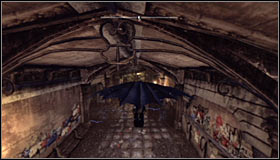 |
As you probably remember, you will now have to glide down #1 and afterwards flatten out at the right moment, flying above the electric fence #2.
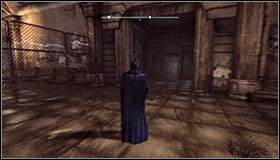 | 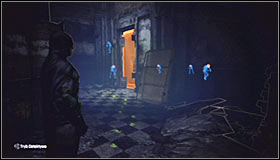 |
Land and look for a door in the north which will lead you to The Riddler's hideout #1. Once inside, try opening the closest door #2, only to find out that they're locked.
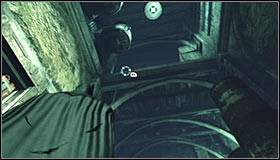 | 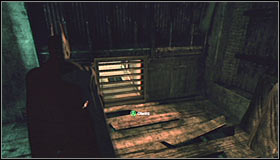 |
Look up and find a ledge which you can grab using the Grapnel Gun #1. After reaching the upper balcony, approach the ventilation shaft grate #2 and pull it out by tapping A.
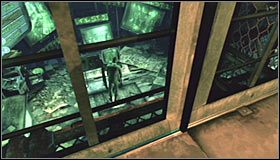 | 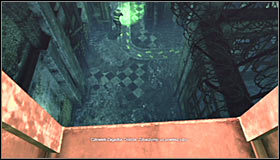 |
Enter the ventilation shaft and follow the only possible path #1, listening to the Riddler's monologues on your way. Eventually you will reach the end of the shaft and will be able to jump out of it #2.
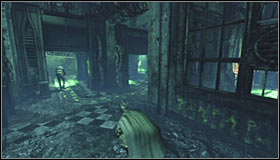 | 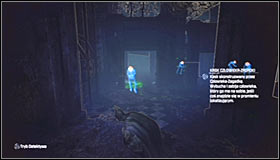 |
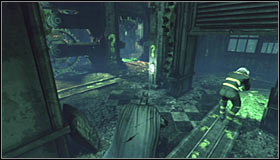
Take some time to familiarize yourself with the situation in which the Riddler's hostages are. They are constantly moving #1 and wearing helmets that send localizing beams #2. The key to success will be avoiding the beams symbolized by green circles, as otherwise the hostage will die and you will fail the whole mission. Luckily the game will give you a little margin of error, though you will be able to enter the field of detection only for a short while.
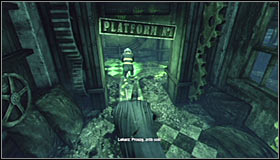 |  |
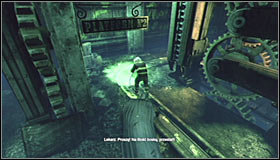
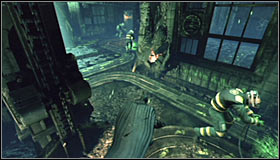
Wait for one of the hostages to pass by you and follow him #1. Try staying as close to him as possible, so another one doesn't catch on Batman. Keep following the hostage until you will be able to safely turn left #2.
 |  |
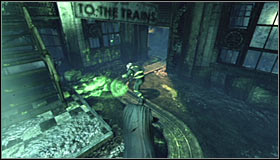
Here you will also have to wait for a hostage to come and follow him #1. At the same time look out for the previous hostages, trying to stick as close to the middle as possible, minimizing the probability of failing the mission. Keep following the second hostage until you reach a new passage on the left #2.
 | 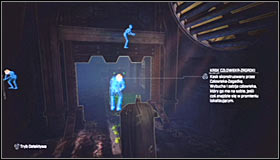 |
Note that the hostages from the third group are moving in the other direction, so you will have to go to the right #1. The hostage should eventually turn left twice. Get ready, as you're closing in on the Riddler #2.
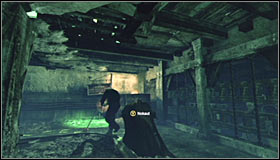 |  |
Head forward until you find yourself directly below the room occupied by the Riddler. You will be informed of this by a prompt that you can perform a takedown #1. Quickly press Y, thanks to which Batman will attack the Riddler by surprise #2.
 | 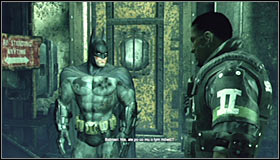 |
A longer cutscene will play, featuring the arresting of Riddler #1 and a conversation with Aaron Cash #2. Curiously, you can irritate the Riddler by stepping into his localizing beam :) That marks the end of this very long mission.
- Batman: Arkham City Game Guide
- Batman Arkham City: Game Guide
- Batman Arkham City: Side missions
- Batman Arkham City: Introduction
- Batman Arkham City: Watcher in the Wings
- Batman Arkham City: Fragile Alliance - p. 1
- Batman Arkham City: Fragile Alliance - p. 2
- Batman Arkham City: AR Training
- Batman Arkham City: Shot in the Dark - p. 1
- Batman Arkham City: Shot in the Dark - p. 2
- Batman Arkham City: Identity Theft
- Batman Arkham City: Remote Hideaway
- Batman Arkham City: The Tea Party
- Batman Arkham City: Heart of Ice
- Batman Arkham City: Hot and Cold
- Batman Arkham City: Enigma Conundrum (riddles 1-9)
- Batman Arkham City: Enigma Conundrum (riddles 10-15)
- Batman Arkham City: Enigma Conundrum (riddles 16-17)
- Batman Arkham City: Cold Call Killer
- Batman Arkham City: Acts of Violence
- Batman Arkham City: Side missions
- Batman Arkham City: Game Guide
You are not permitted to copy any image, text or info from this page. This site is not associated with and/or endorsed by the developers and the publishers. All logos and images are copyrighted by their respective owners.
Copyright © 2000 - 2026 Webedia Polska SA for gamepressure.com, unofficial game guides, walkthroughs, secrets, game tips, maps & strategies for top games.
