Batman Arkham City: Batman trophies (22-30) Bowery
TROPHY 22
Gadgets used: Remote Electrical Charge
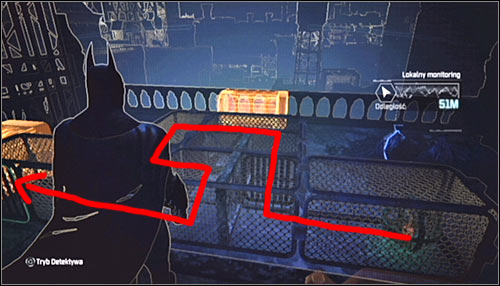
After reaching the destination, take some time to familiarize yourself with the assumptions of this puzzle. You will have to push the sphere from the starting point to the hole (screen above). In order to do that, you will have to make use of the two electromagnets and the pressure plate.
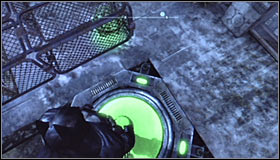 | 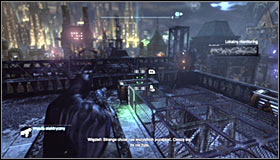 |
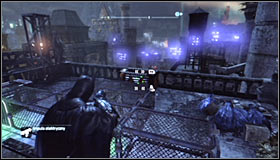
Start off by standing on the pressure plate #1. Equip the Remote Electrical Charge and shoot at the left electromagnet (the one beside the exit hole) #2
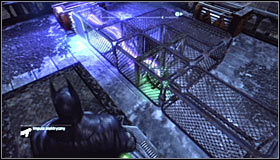 |  |
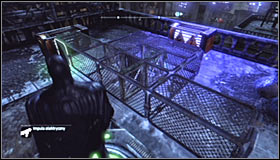
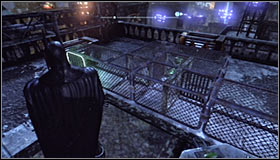
Push the sphere left and note that is has stopped by the blockade #1. As a result, shoot at the second magnet in the distance #2.
 |  |
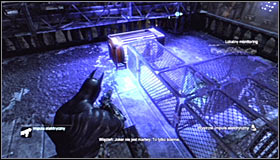
This time the sphere should roll to the upper part of the steel construction #1. Get off the pressure plate, thanks to which some of the gates will move and therefore change the configuration of the labyrinth #2.
 | 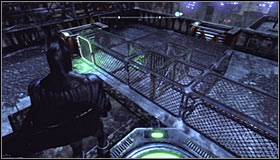 |
Aim at the left magnet and make the sphere move towards you #1. It should hit the grate, so get back onto the pressure plat #2.
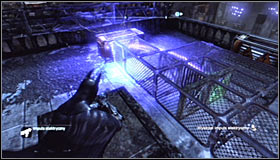 | 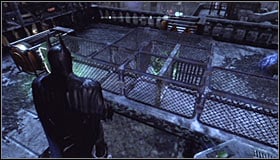 |
Shoot at the left magnet and make the sphere move slightly to the right #1. Once again get off the plate to unlock the final part of the labyrinth #2.
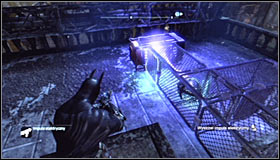 | 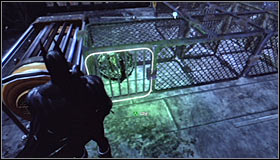 |
Now you just need to push the sphere to the exit #1. Shooting the electromagnet on the left should be enough, but if the situation requires it you can also use the upper one. Afterwards approach the hole and collect the Trophy from the sphere #2.
TROPHY 23
Used skills: Dive Bomb
Gadgets used: Line Launcher
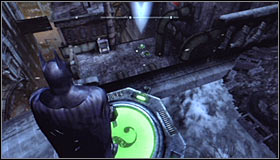 | 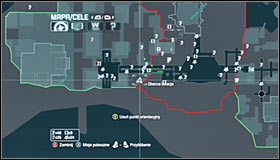 |
In order to unlock the Trophy you will have to interact with three pressure plates without touching any other environment elements or the ground. Start off by heading south-west of the cage, finding the pressure plate on the upper roof #1 #2. Of course stand on it to begin the whole process.
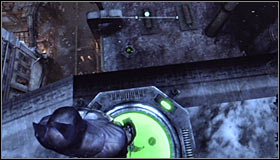 | 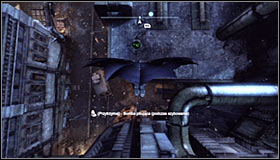 |
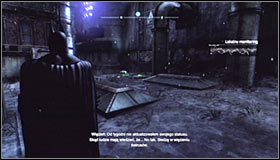
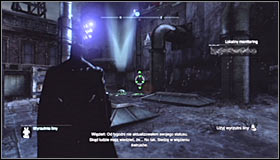
Jump off the ledge and glide towards the second plate found north of here #1, helping yourself with the Dive Bomb (activated by holding down the right trigger in mid-air) #2.
 |  |
After successfully landing, turn towards the last pressure plate. It's located nearby the Trophy cage, i.e. north-east from here #1. Equip the Line Launcher and shoot at the wall behind the pressure plate #2.
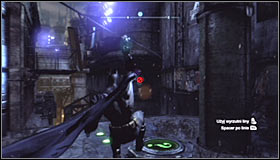 |  |
Right after beginning the ride, hold down the left trigger to slow down the whole process. You have to land on the last plate at the right moment #1 and you can't let go of the line too late, as Batman will miss the plate and you will have to begin everything from the beginning. If you manage to touch all three plates without any mistakes, you will be of course able to collect the Trophy #2.
TROPHY 24
Gadgets used: Batclaw, Explosive Gel
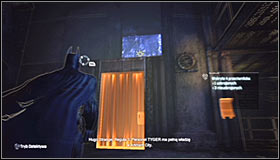 | 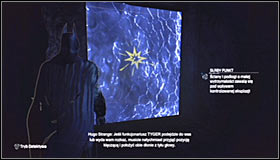 |
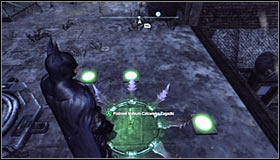
Approach the Trophy from the north. Instead of using the door, equip the Grapnel Gun and reach the upper balcony #1. Locate a destructible wall there #2 and make use of the Explosive Gel. Pick up the Trophy.
TROPHY 25
Gadgets used: Remote Electrical Charge
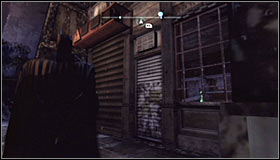 | 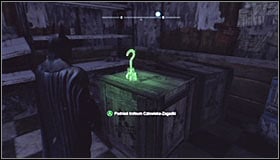 |
Start off south-west of where the Trophy is, jumping over the fence. Now look for a locked door #1. Equip the Remote Electrical Charge and shoot with it into the engine. Crouch, enter the small room and pick up the Trophy #2.
TROPHY 26
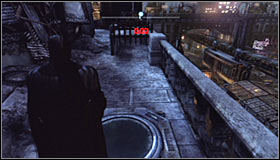 | 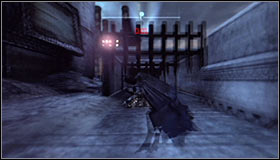 |
Stand on the pressure plate located west of the Trophy #1. Note that it has led to the grate blocking access to the secret to temporarily raise. Head towards them and perform a slide #2 before the time runs out. Pick up the Trophy. Leave the area in the same way, without worrying about the grates now.
TROPHY 27
Gadgets used: Batarang, Batclaw
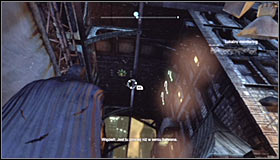 | 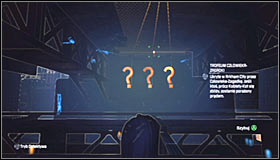 |
The Trophy cage is found below the big bridge #1 and you should start off by reaching the monorail track #2. Get ready for a rather complicated puzzle which will require you to turn off six nearby interactive question marks in a short period of time.
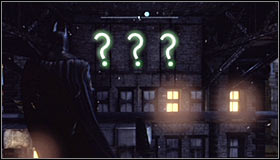 | 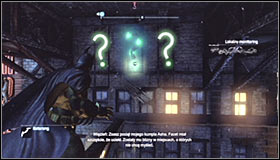 |
Stand opposite to the group of three question marks #1. Equip a standard Batarang and get ready to throw three of them #2 by tapping the left trigger.
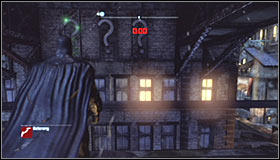 | 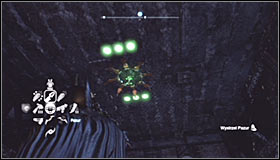 |
After throwing the Batarangs, quickly turn around as you won't have too much time for hitting the three other question marks #1. Just like before, use the quick throw by tapping the left trigger. If you manage to do it within the time limit, all the question marks should deactivate. Look up and grab the Trophy using the Batclaw #2.
TROPHY 28
Gadgets used: Freeze Blast
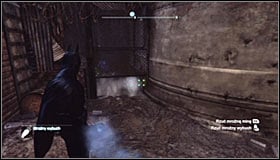 | 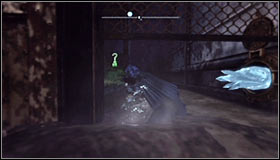 |
Approach the Trophy from the west. Take out the Freeze Blast and use it to seal the pipe from which steam is coming out #1. Gain momentum and perform a slide #2 to reach the secret.
TROPHY 29
Gadgets used: Cryptographic Sequencer
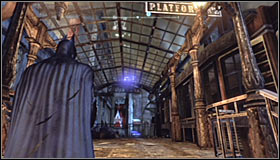 | 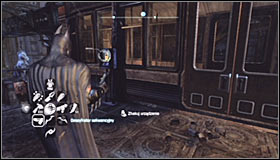 |
Find the stairs leading onto the upper platform of the monorail #1. After getting there, approach the train car, equip the Cryptographic Sequencer and use it on the control panel #2.
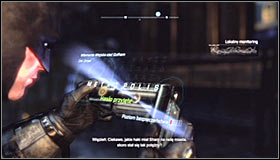 | 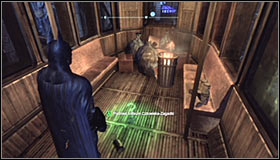 |
Approach the hacking mini-game and create the password #1. Afterwards enter the car and pick up the Trophy #2.
TROPHY 30
Gadgets used: Explosive Gel
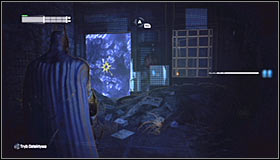 | 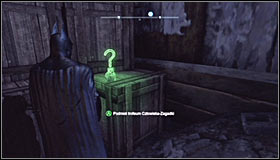 |
Approach the Trophy from the east. Find a destructible wall #1 and spray Explosive Gel onto it. After a successful detonation, enter the small room and pick up the Trophy #2.
- Batman: Arkham City Game Guide
- Batman Arkham City: Game Guide
- Batman Arkham City: Secrets & Challenges
- Batman Arkham City: Bowery
- Batman Arkham City: Location info & maps Bowery
- Batman Arkham City: Batman trophies (01-09) Bowery
- Batman Arkham City: Batman trophies (10-21) Bowery
- Batman Arkham City: Batman trophies (22-30) Bowery
- Batman Arkham City: Batman trophies (31-39) Bowery
- Batman Arkham City: Riddles Bowery
- Batman Arkham City: TYGER cameras Bowery
- Batman Arkham City: Catwoman trophies Bowery
- Batman Arkham City: Bowery
- Batman Arkham City: Secrets & Challenges
- Batman Arkham City: Game Guide
You are not permitted to copy any image, text or info from this page. This site is not associated with and/or endorsed by the developers and the publishers. All logos and images are copyrighted by their respective owners.
Copyright © 2000 - 2026 Webedia Polska SA for gamepressure.com, unofficial game guides, walkthroughs, secrets, game tips, maps & strategies for top games.
